Preparing for a Head Shot Photography Session
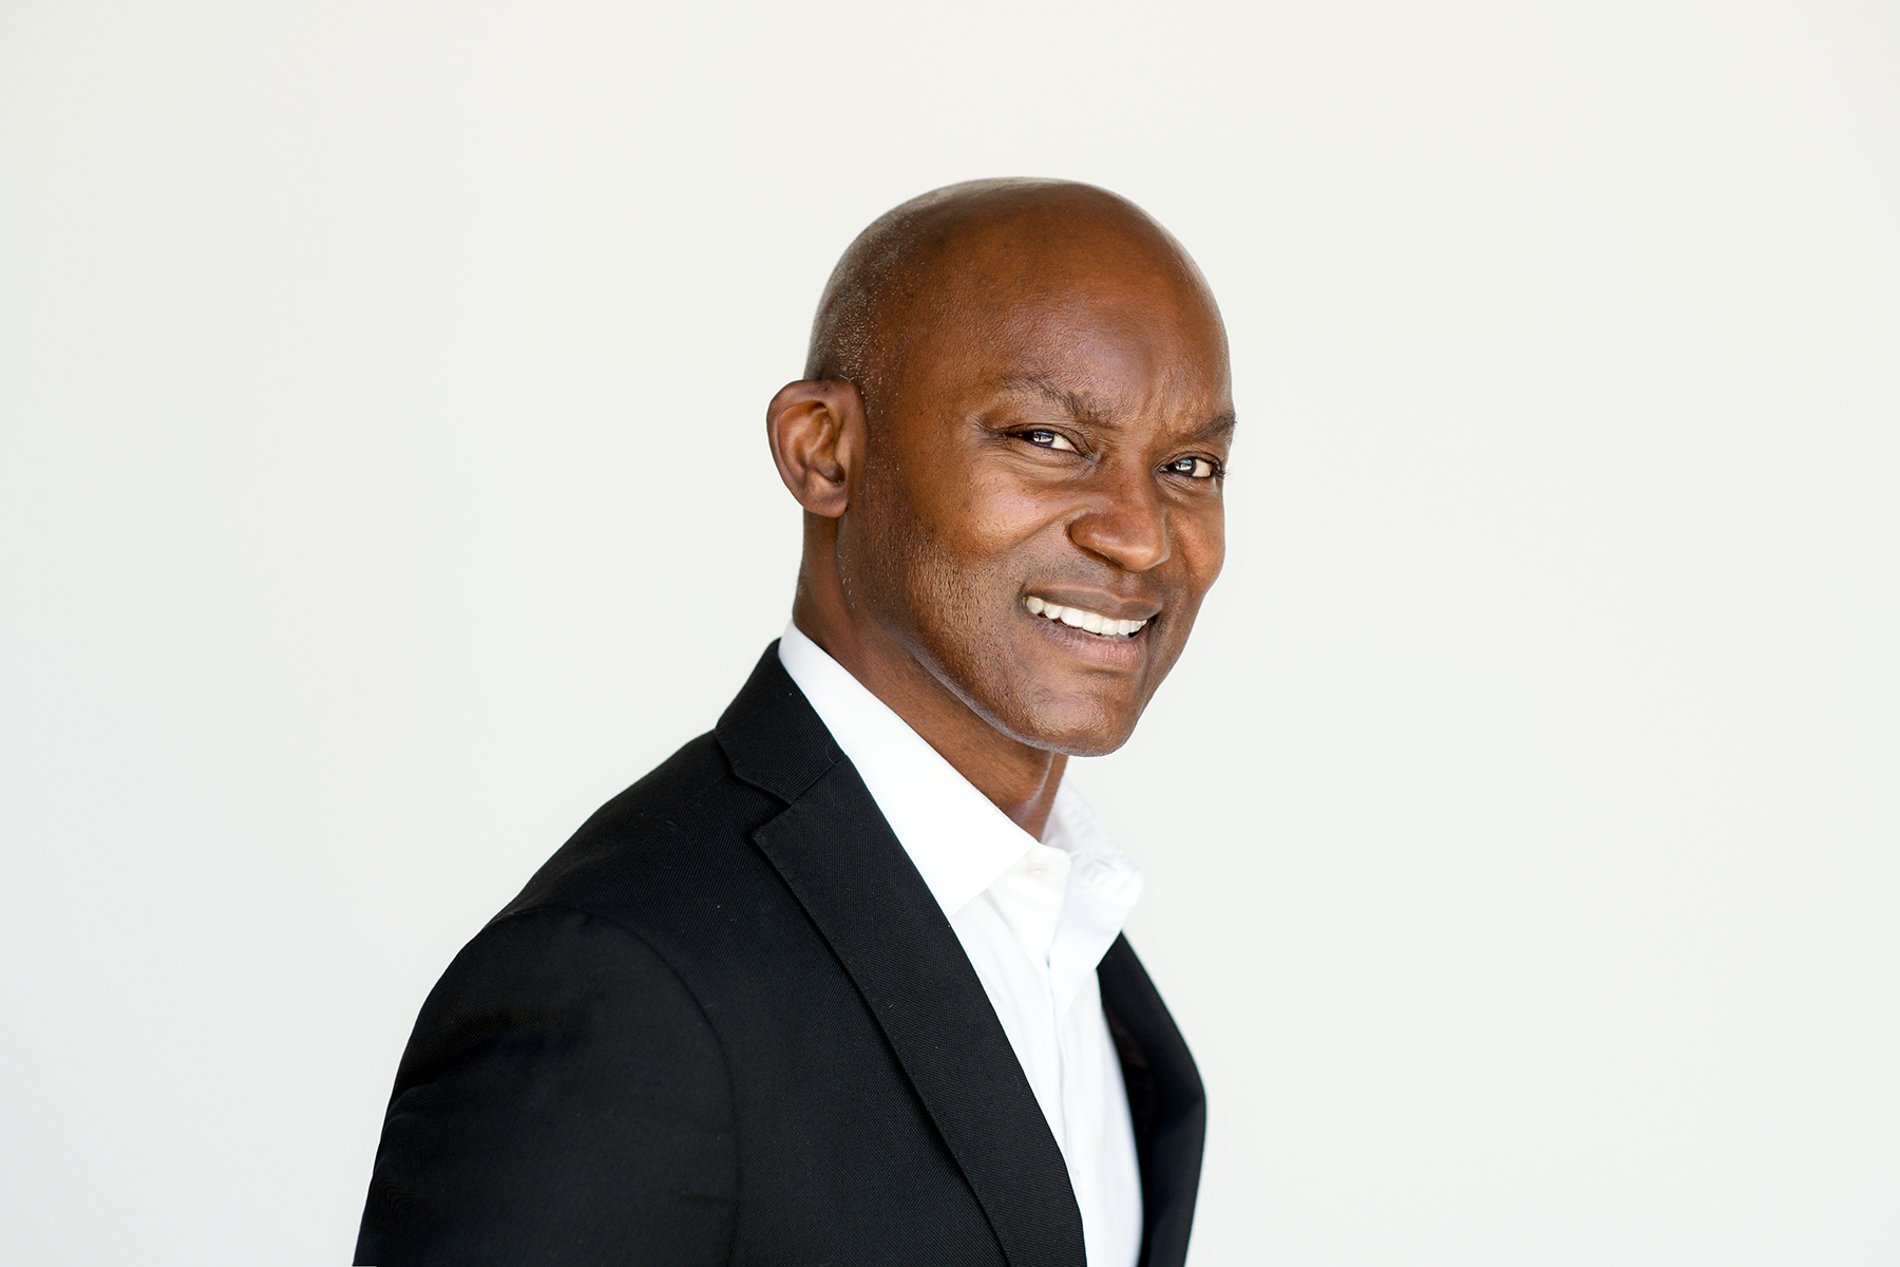
In today’s digital era, your head shot photo is often the first impression you make on potential clients. Not only should your head shot be polished and approachable, it should also bring your personality through and make a connection with the viewer. It should be a photo you feel good having as your point of contact. Having recently updated my headshots, it occurred to me that a lot more goes into photoshoot prep than you might think! I thought I’d share my tips for making your headshot session a great success.
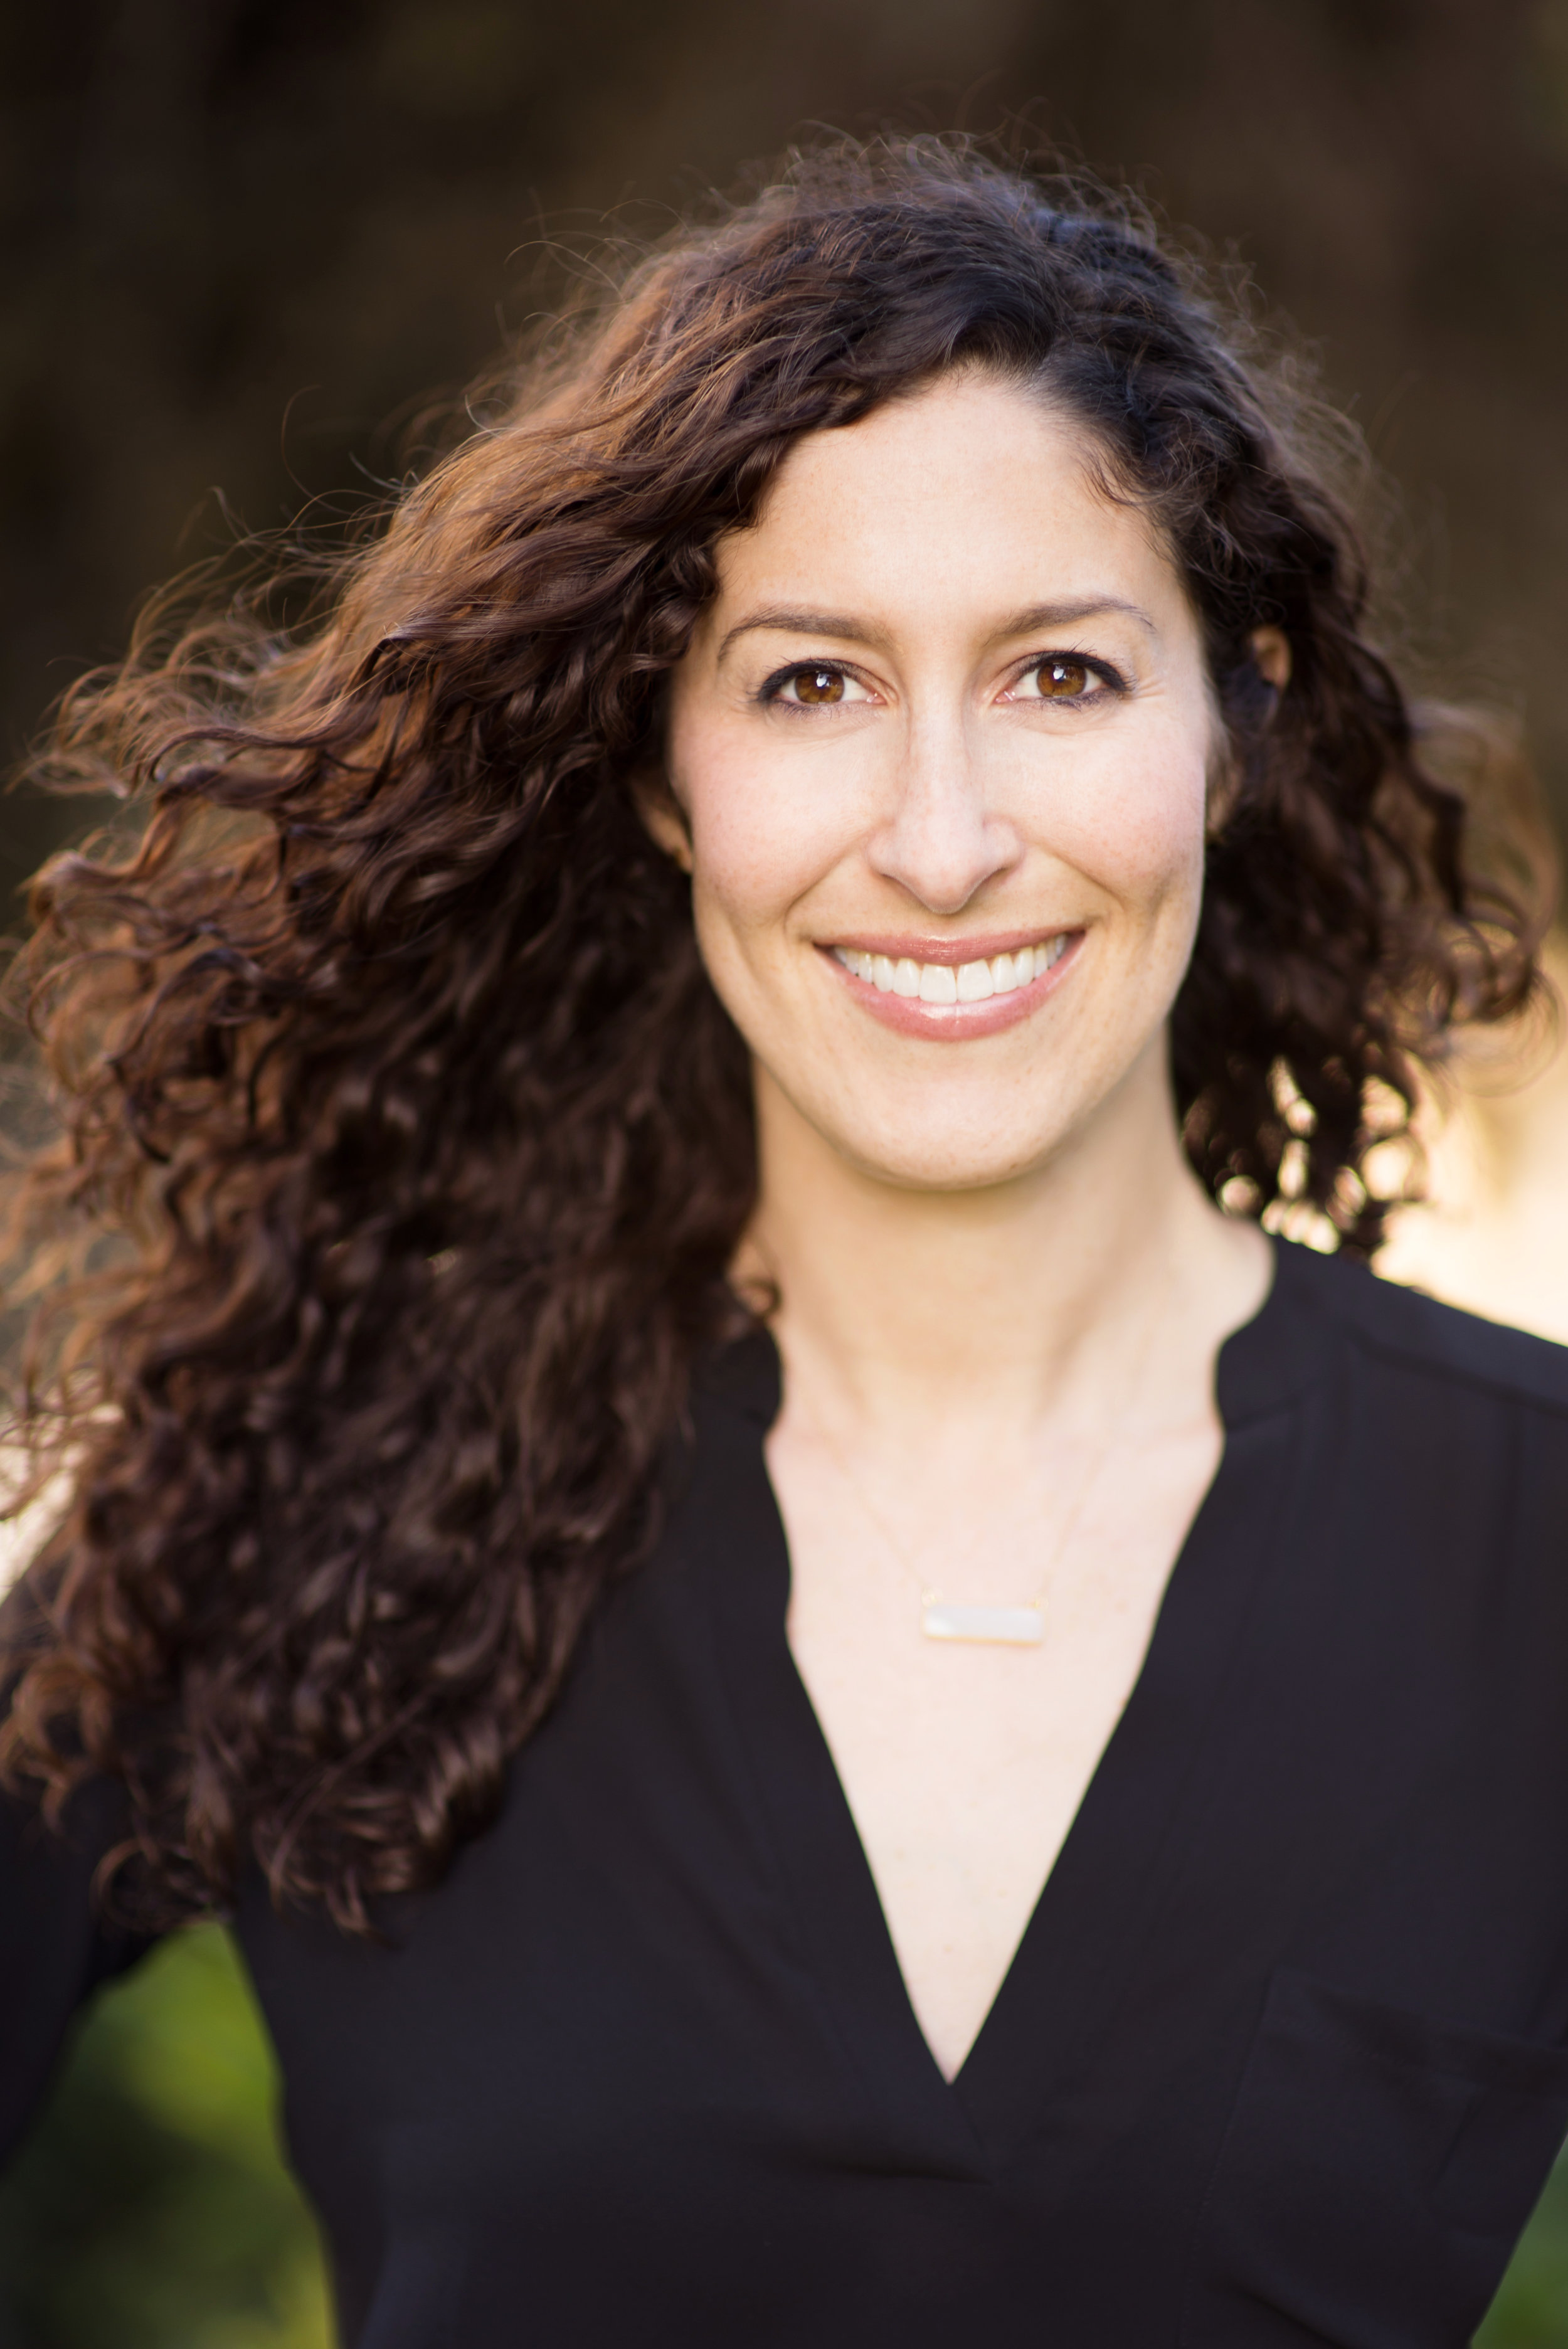
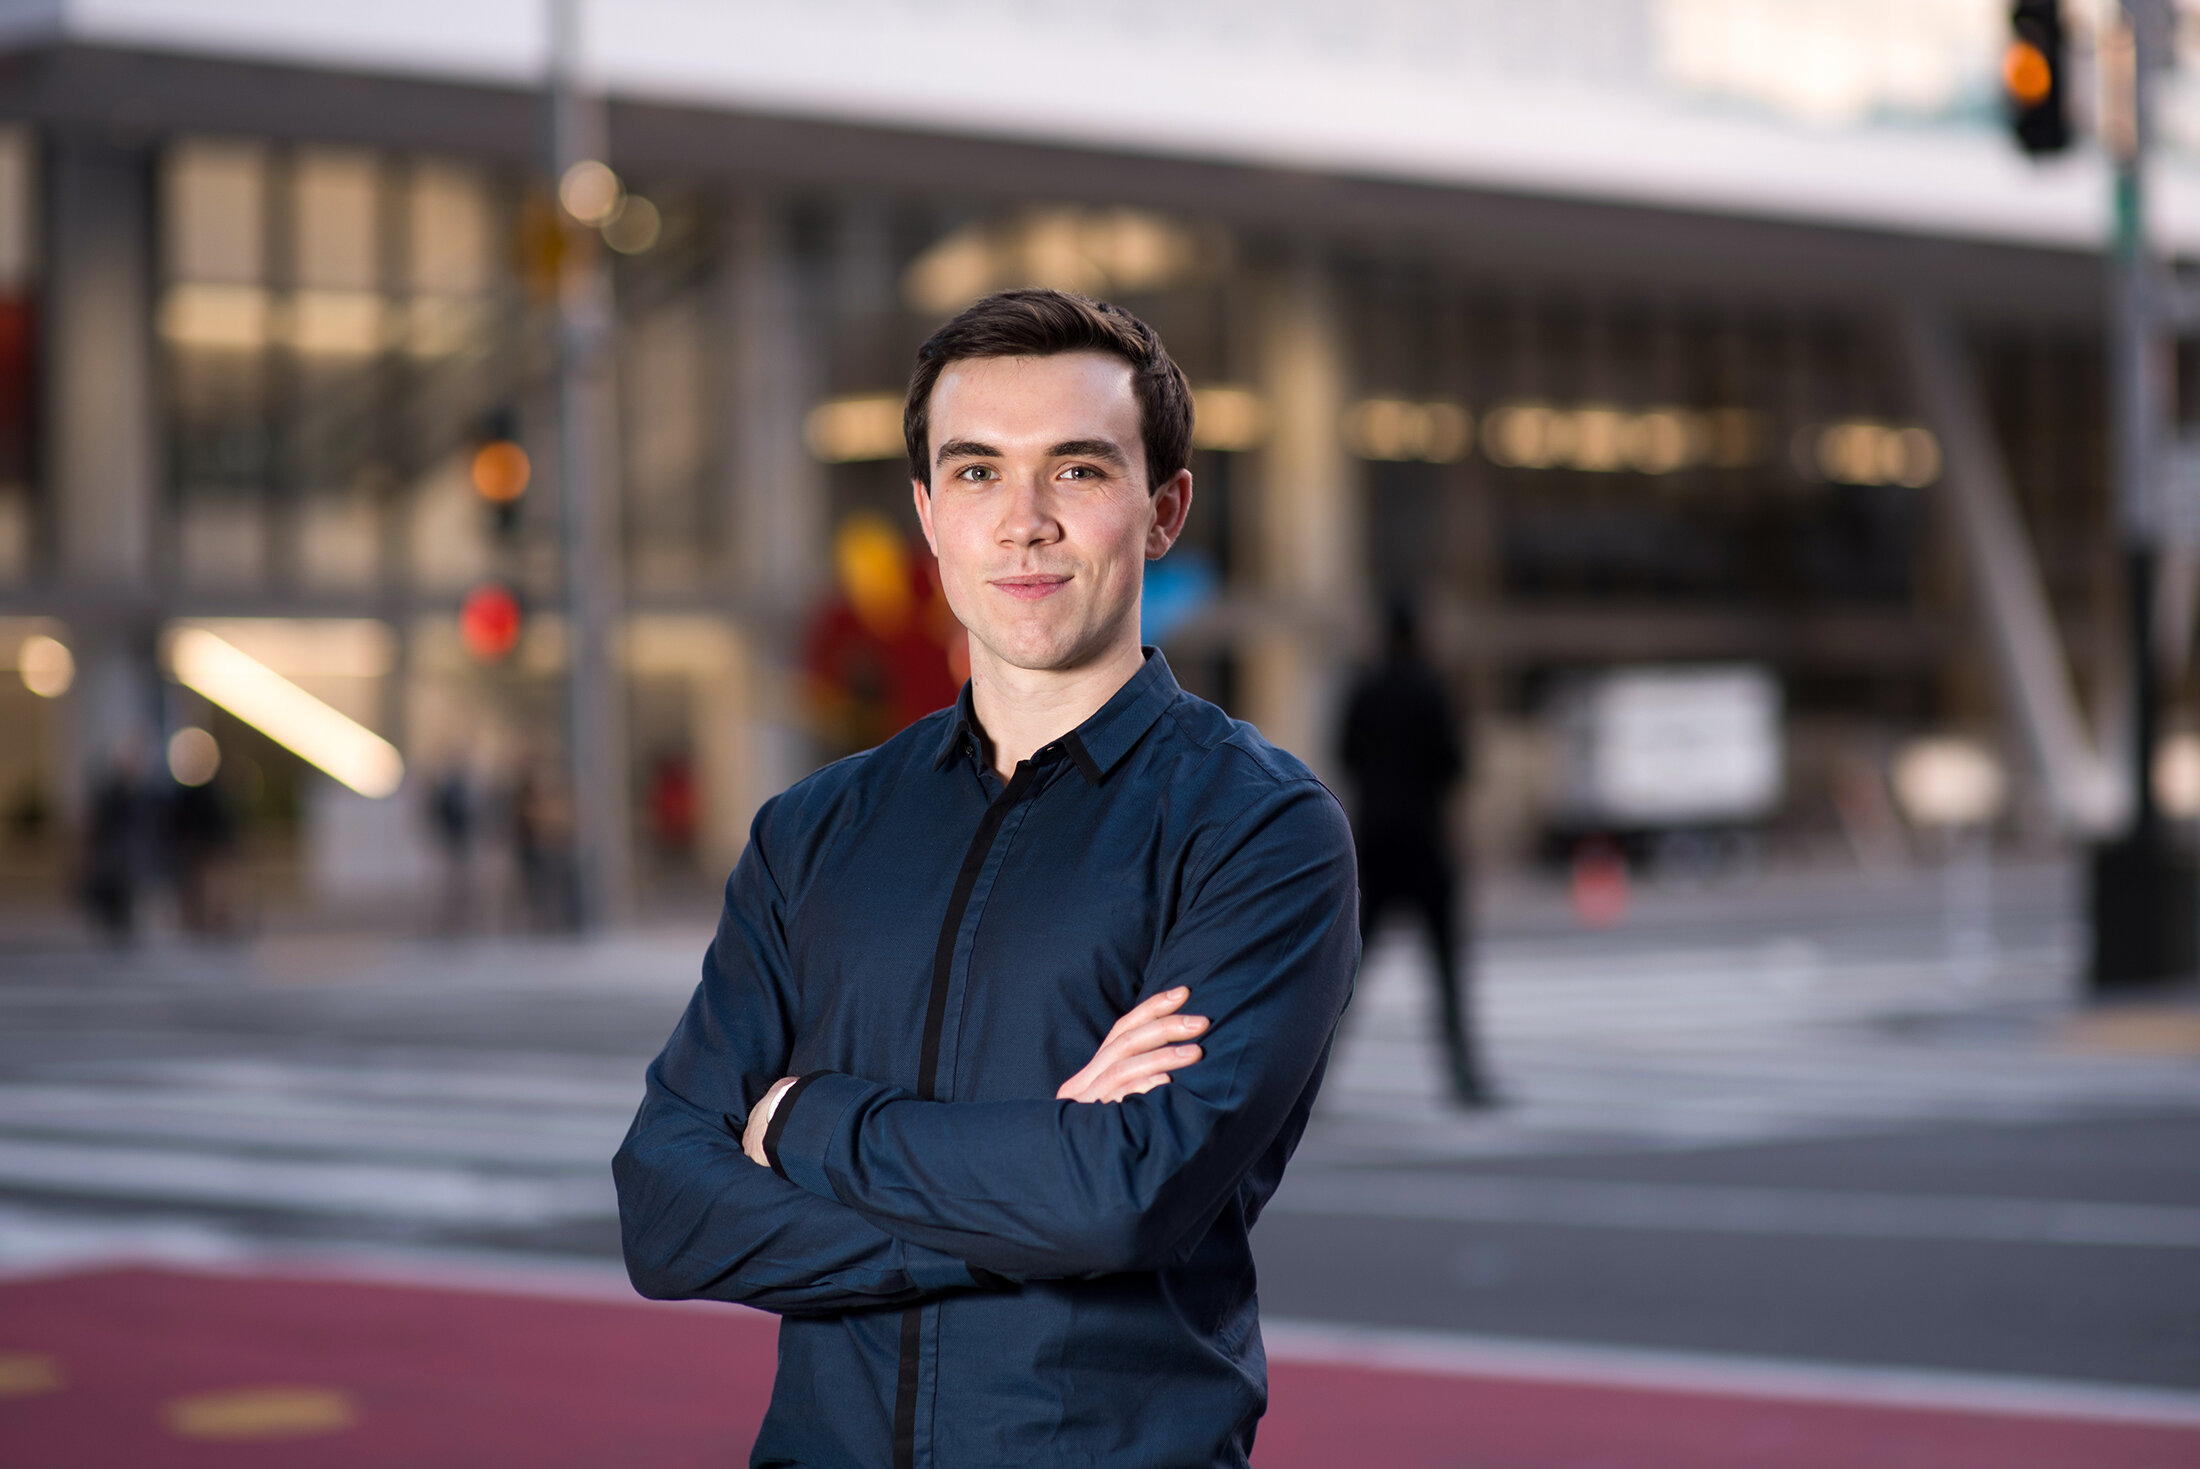
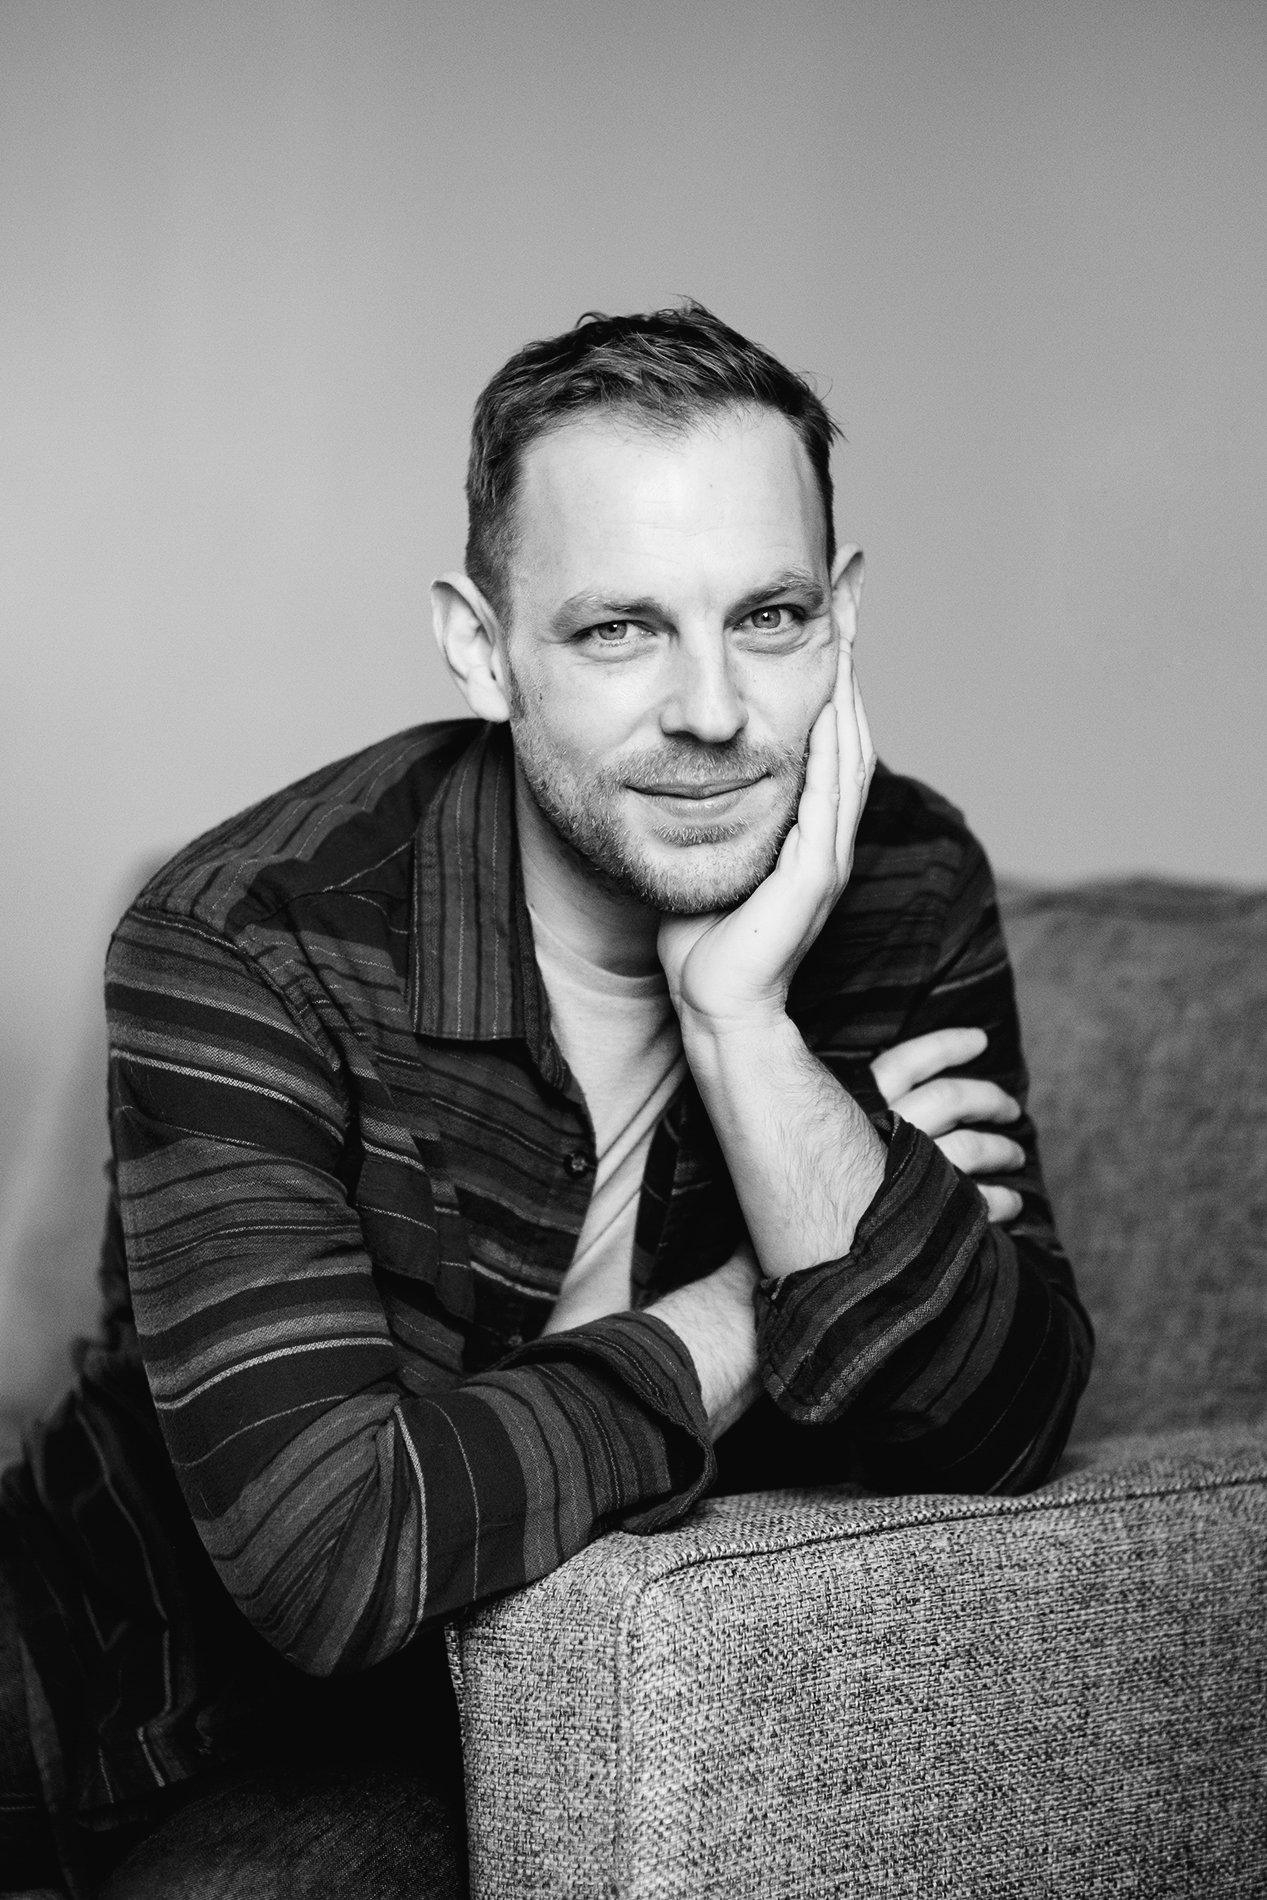
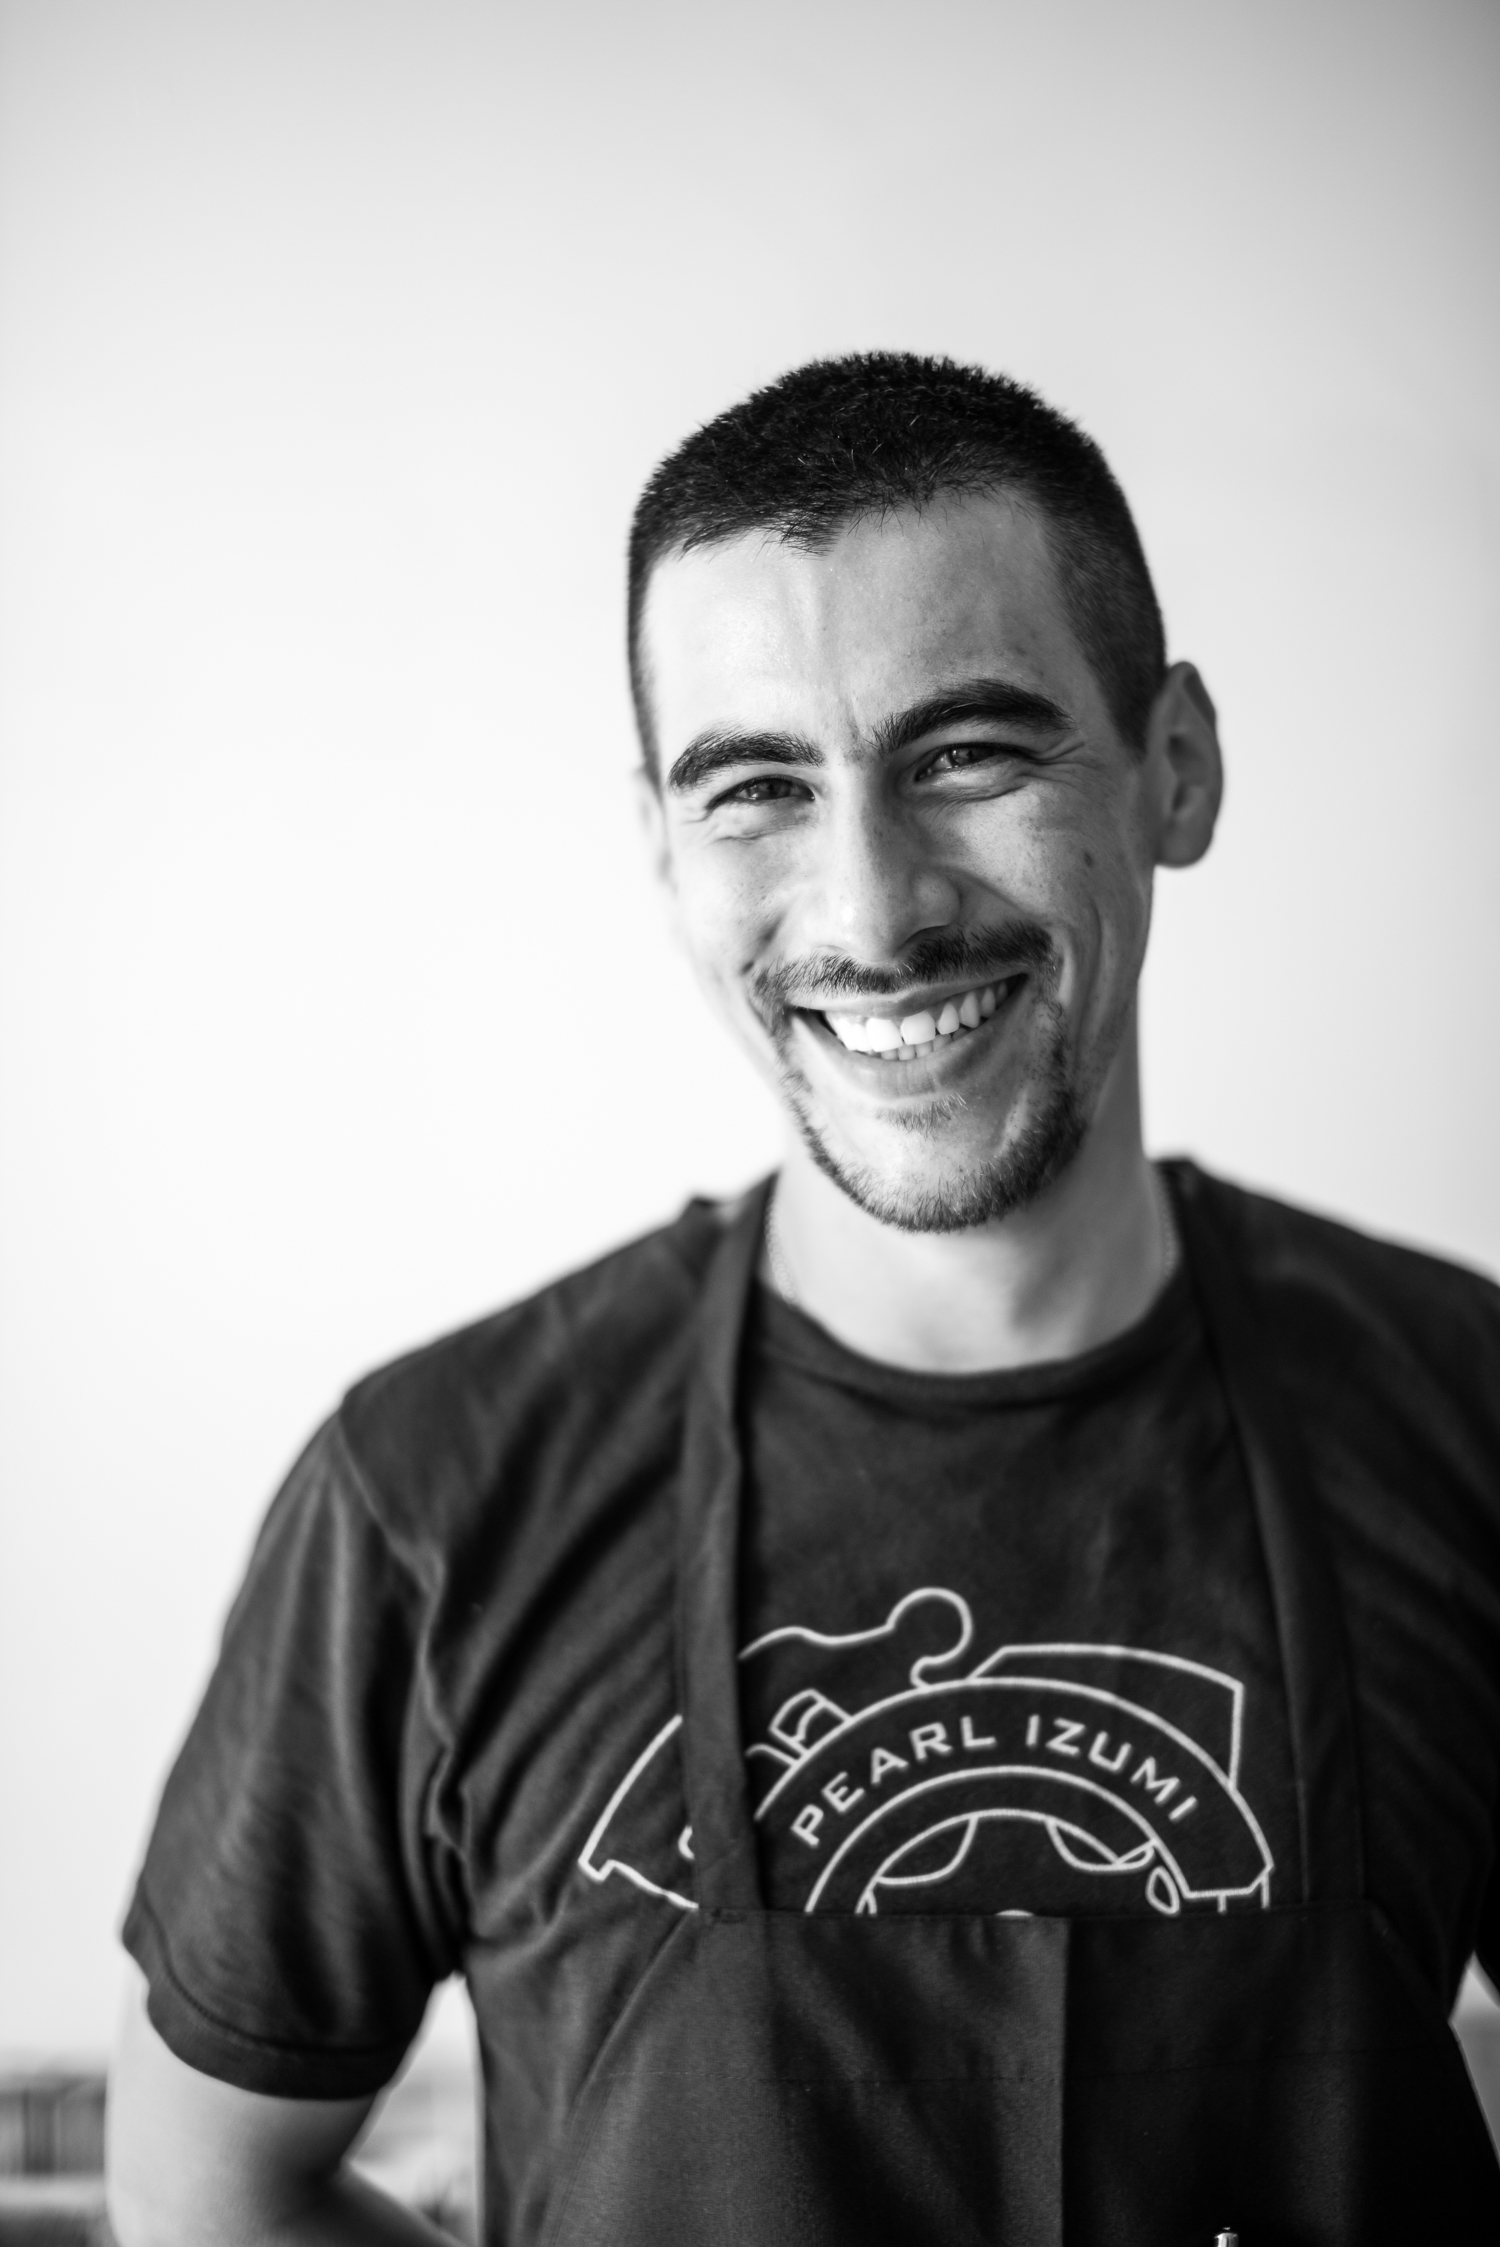
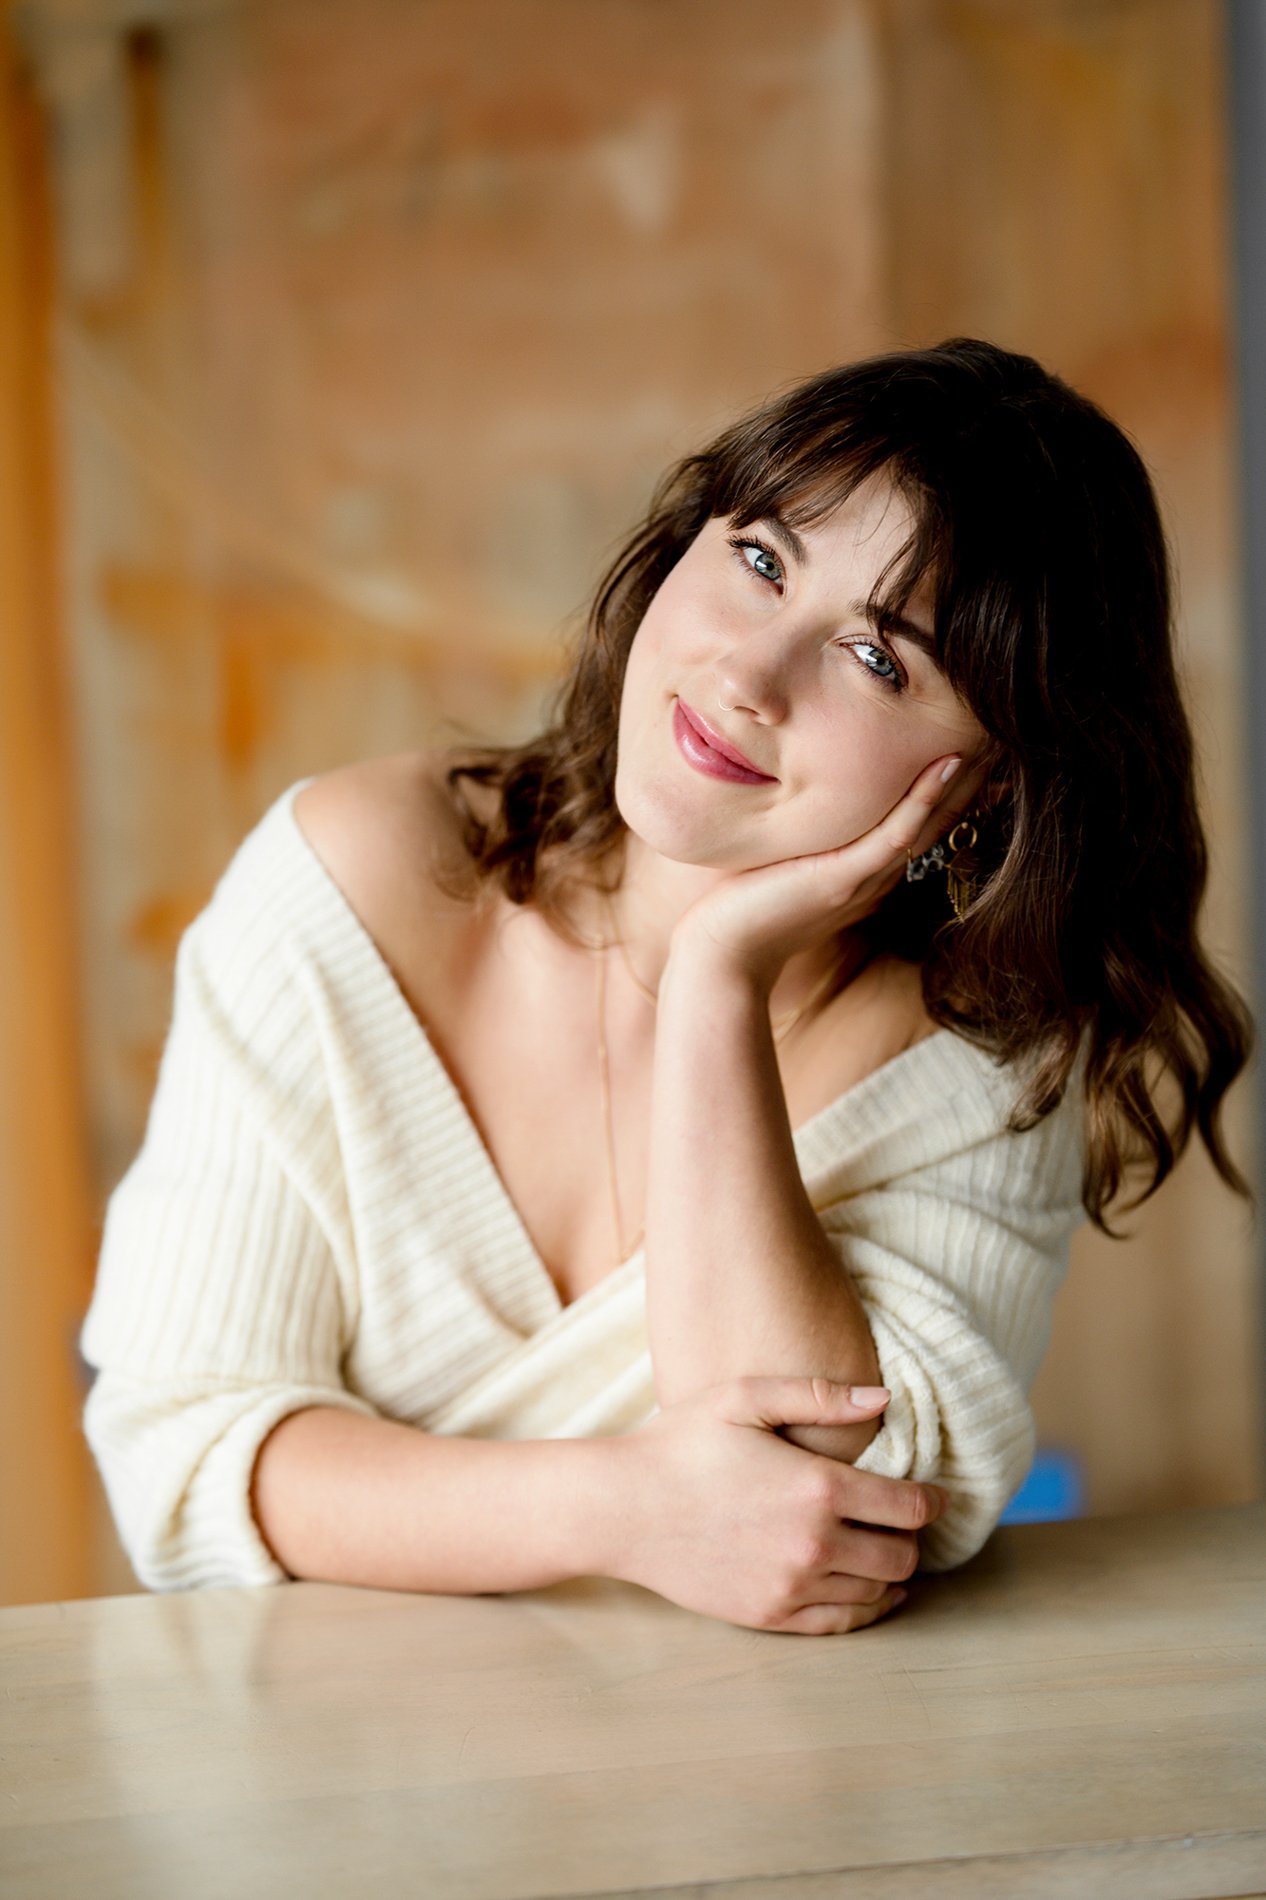
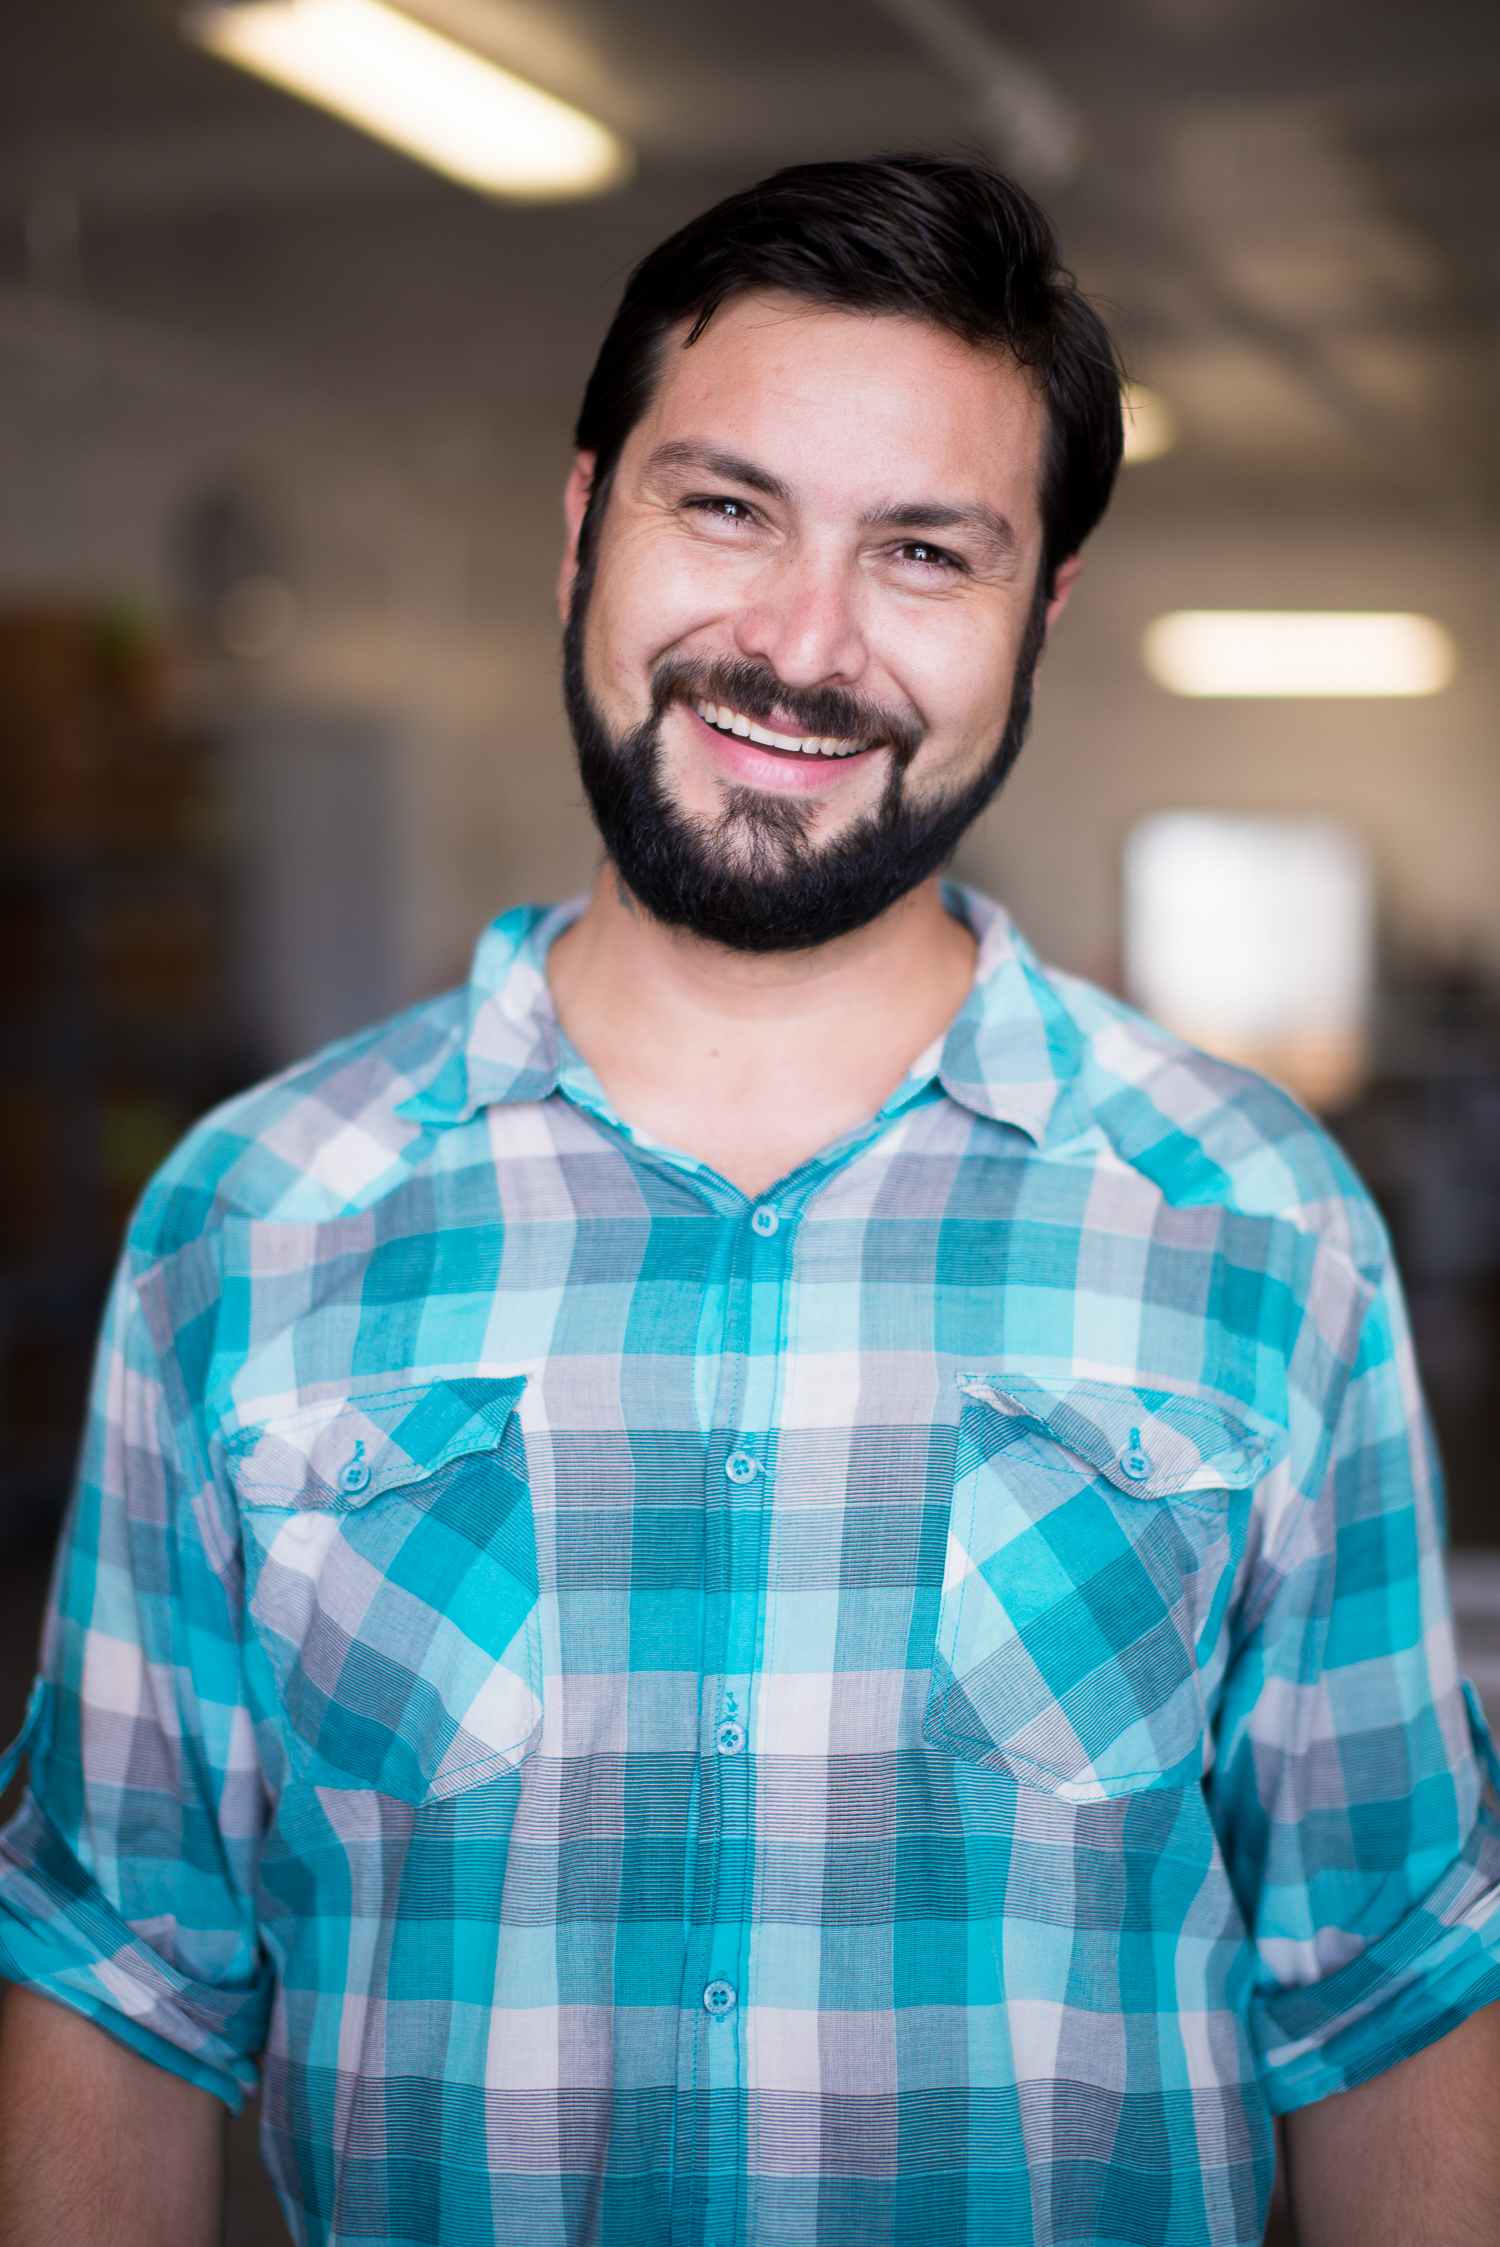
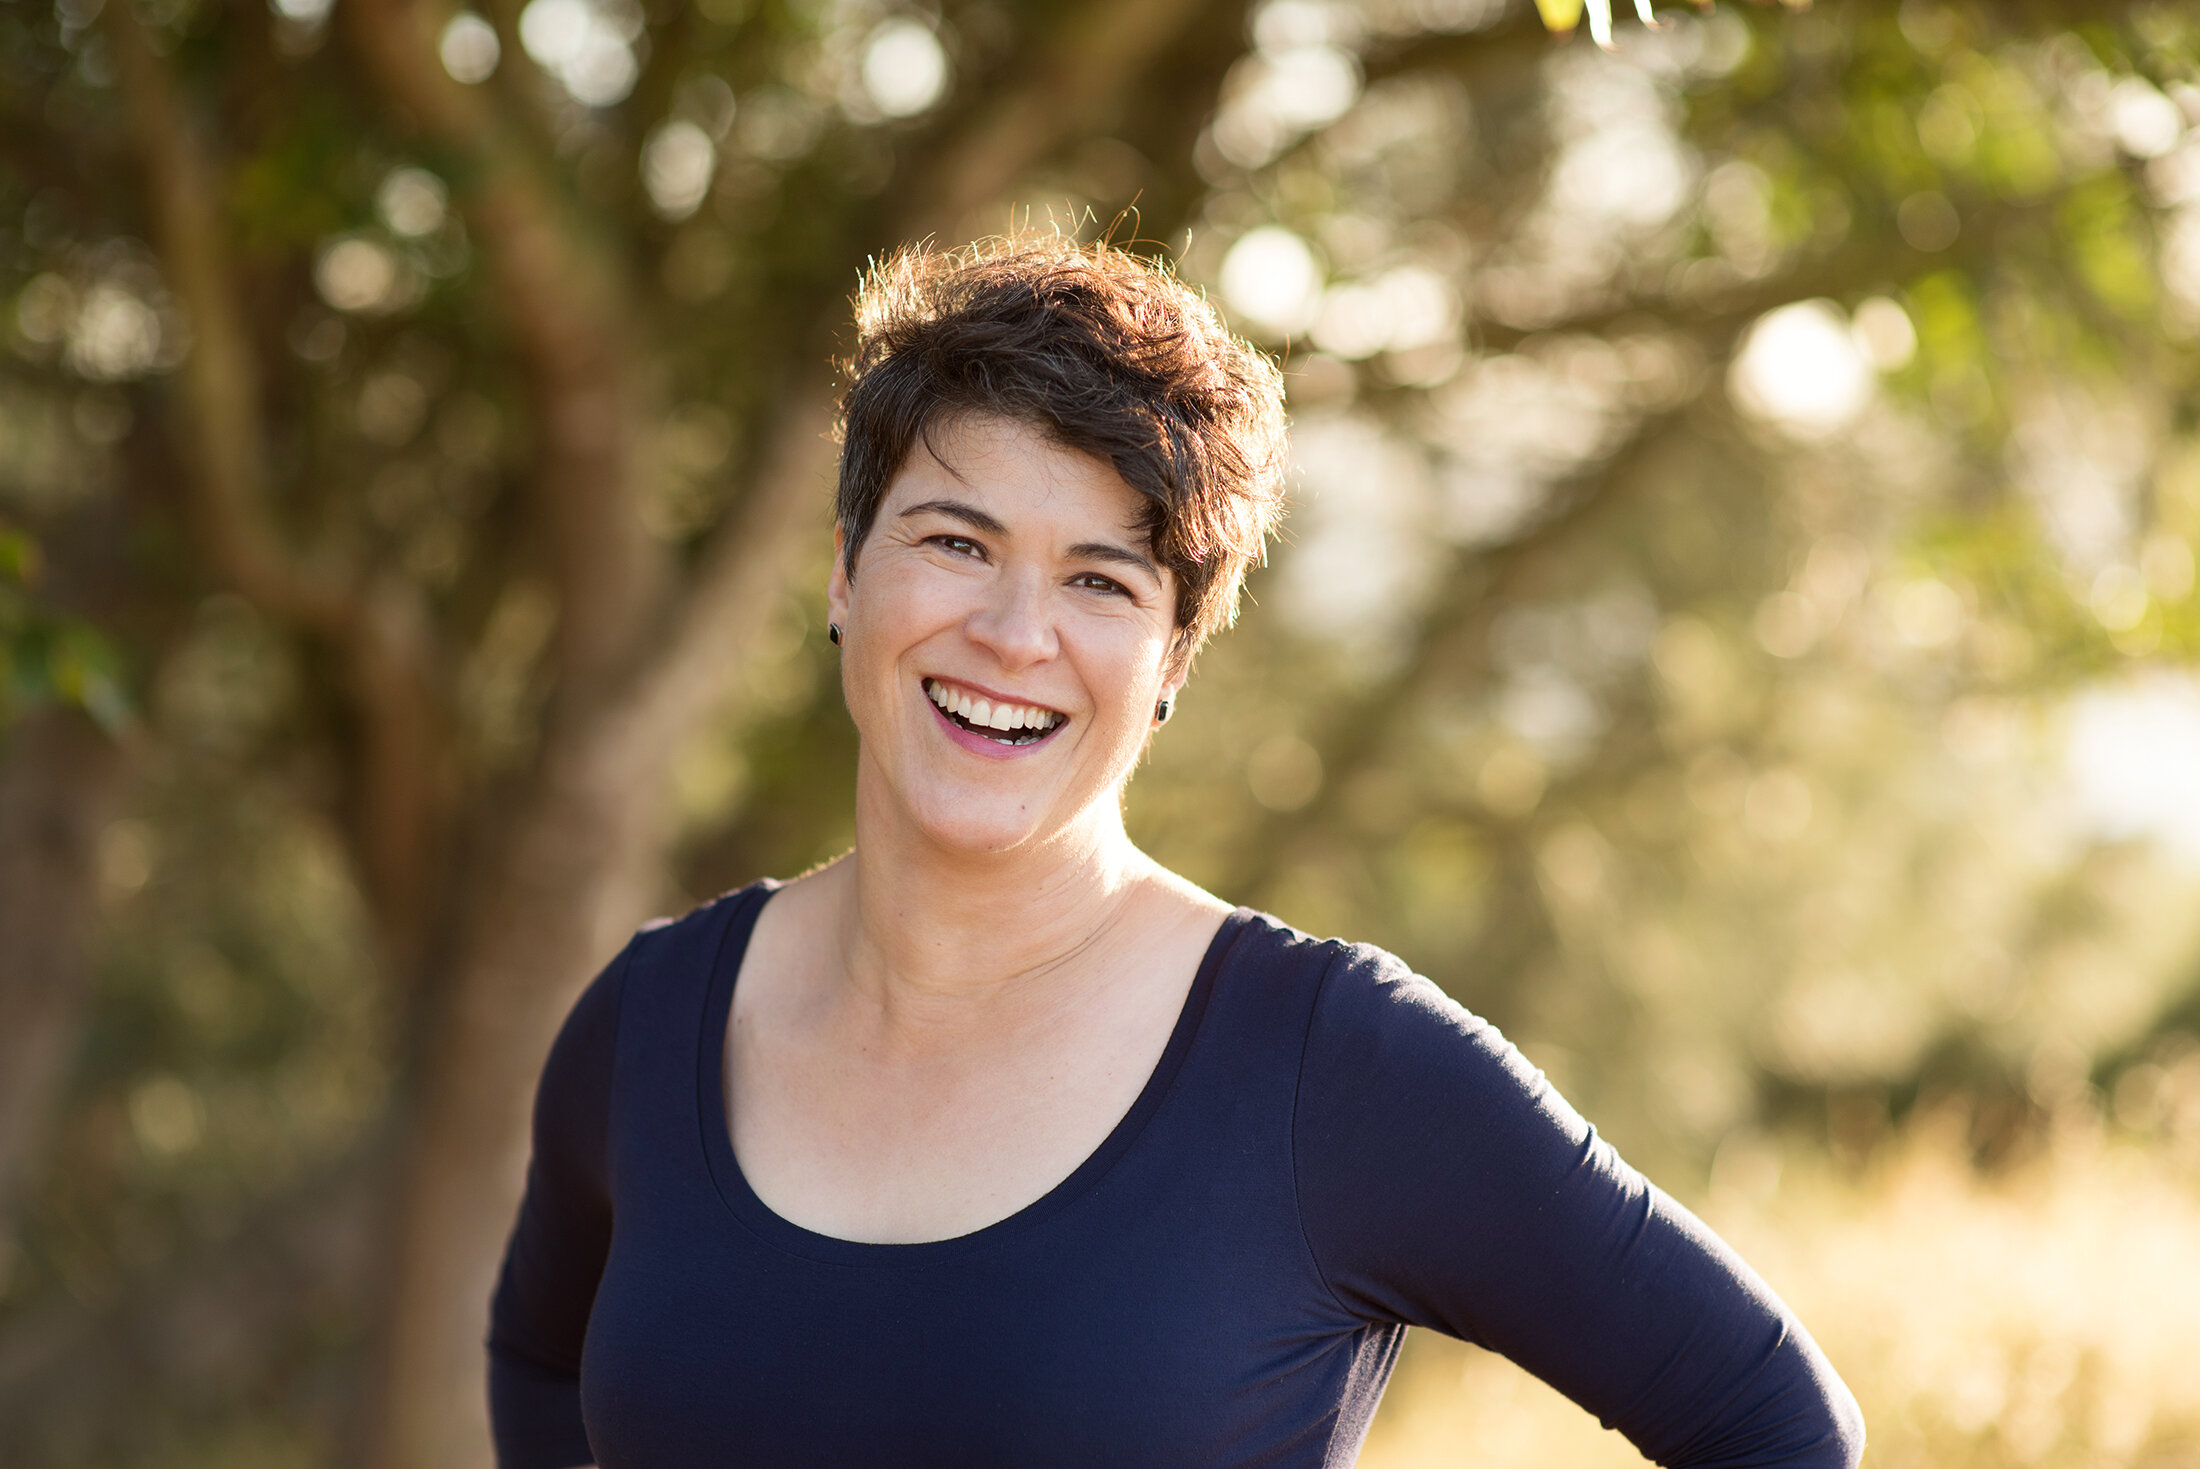
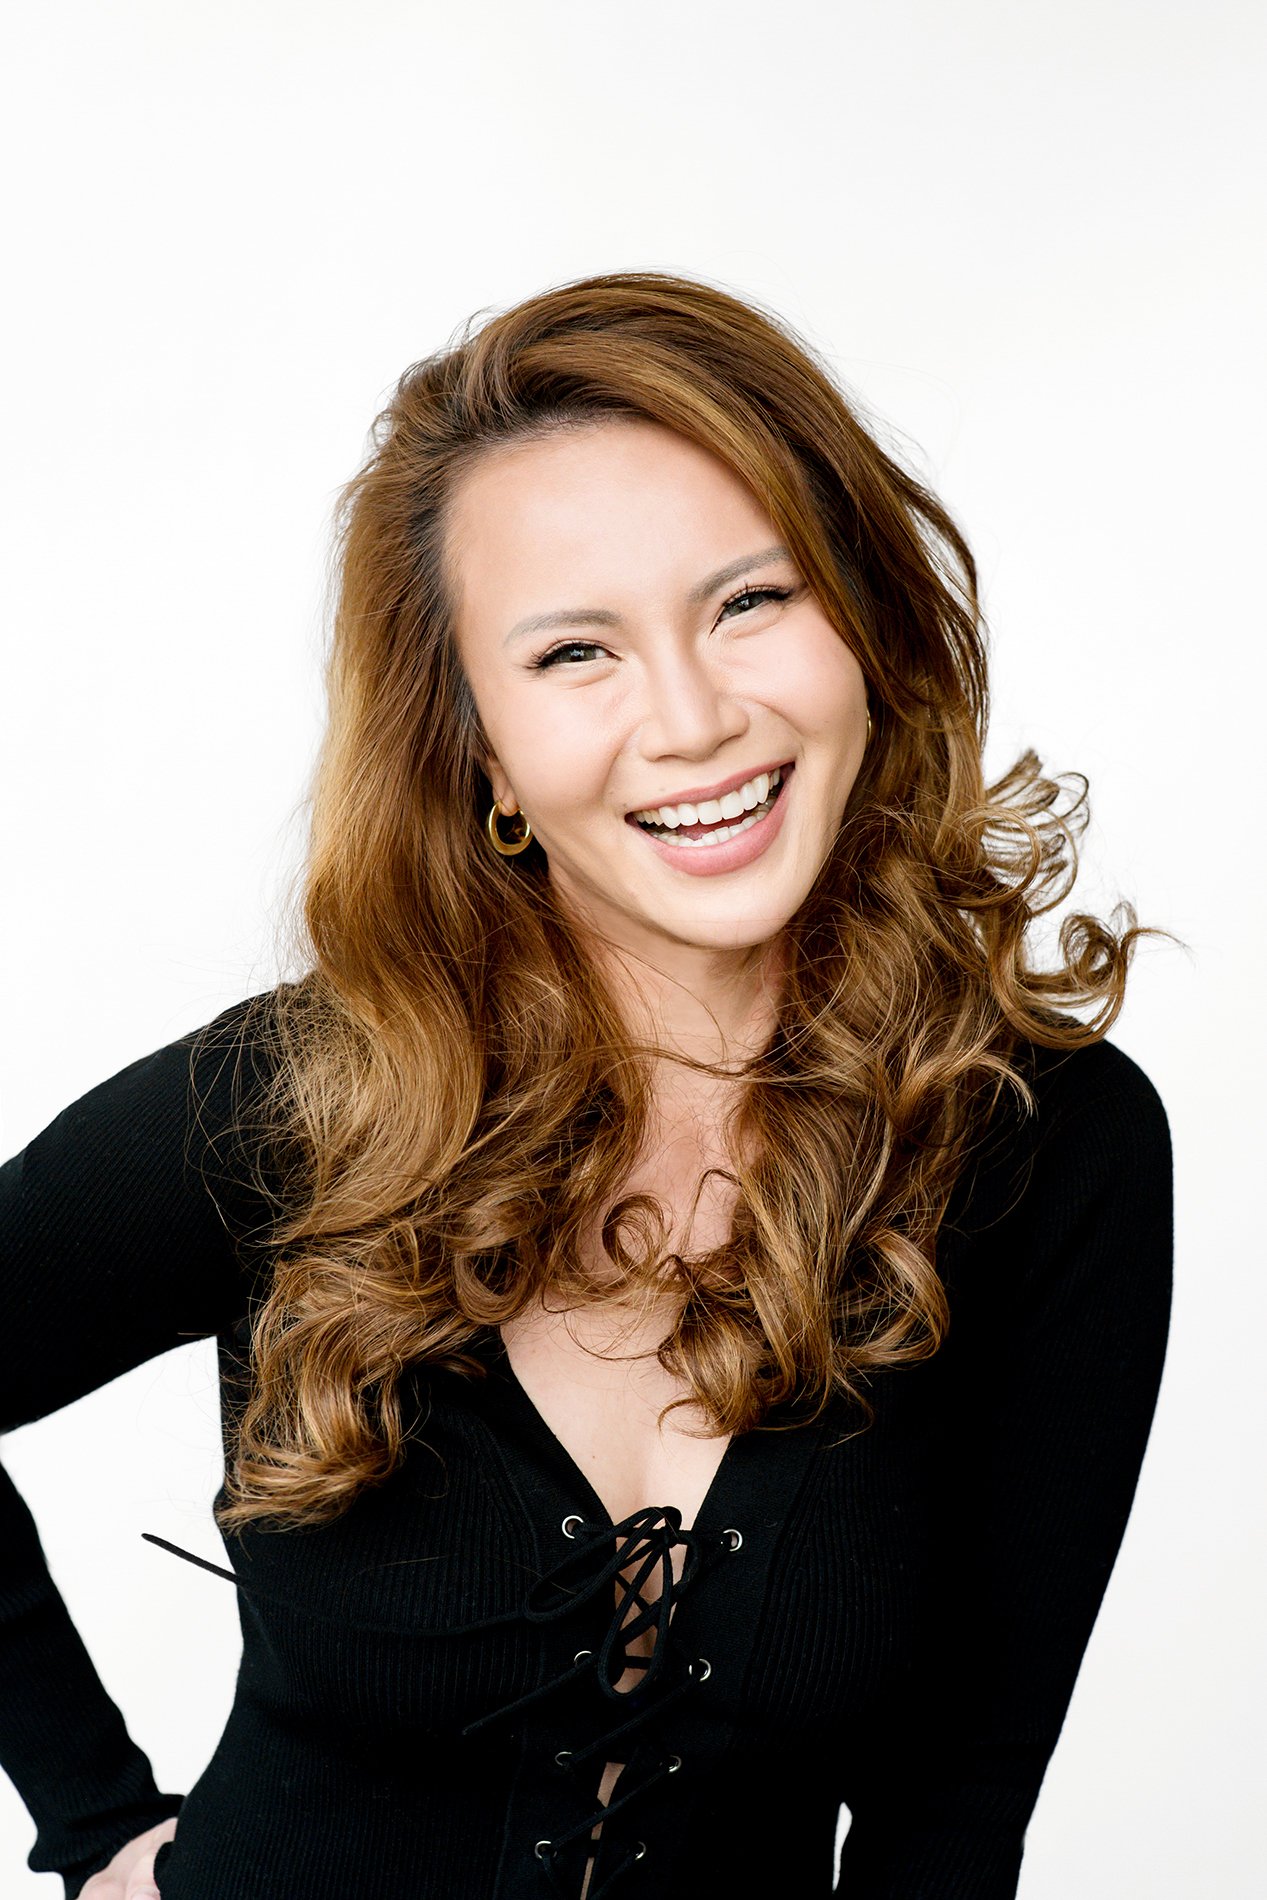
Choose a photographer who’s style you love. This should go without saying, but pay attention to the aesthetic presented in the portfolio of your potential headshot photographer. Is the skin blurred out and overly edited? Do the expressions look forced and unnatural? Do the photos have odd skin tones or look like a filter was applied to them? If the photographer had better photos to present to you they would be posted on their website, so find the worst photo in their gallery and assume that’s what you’ll get.
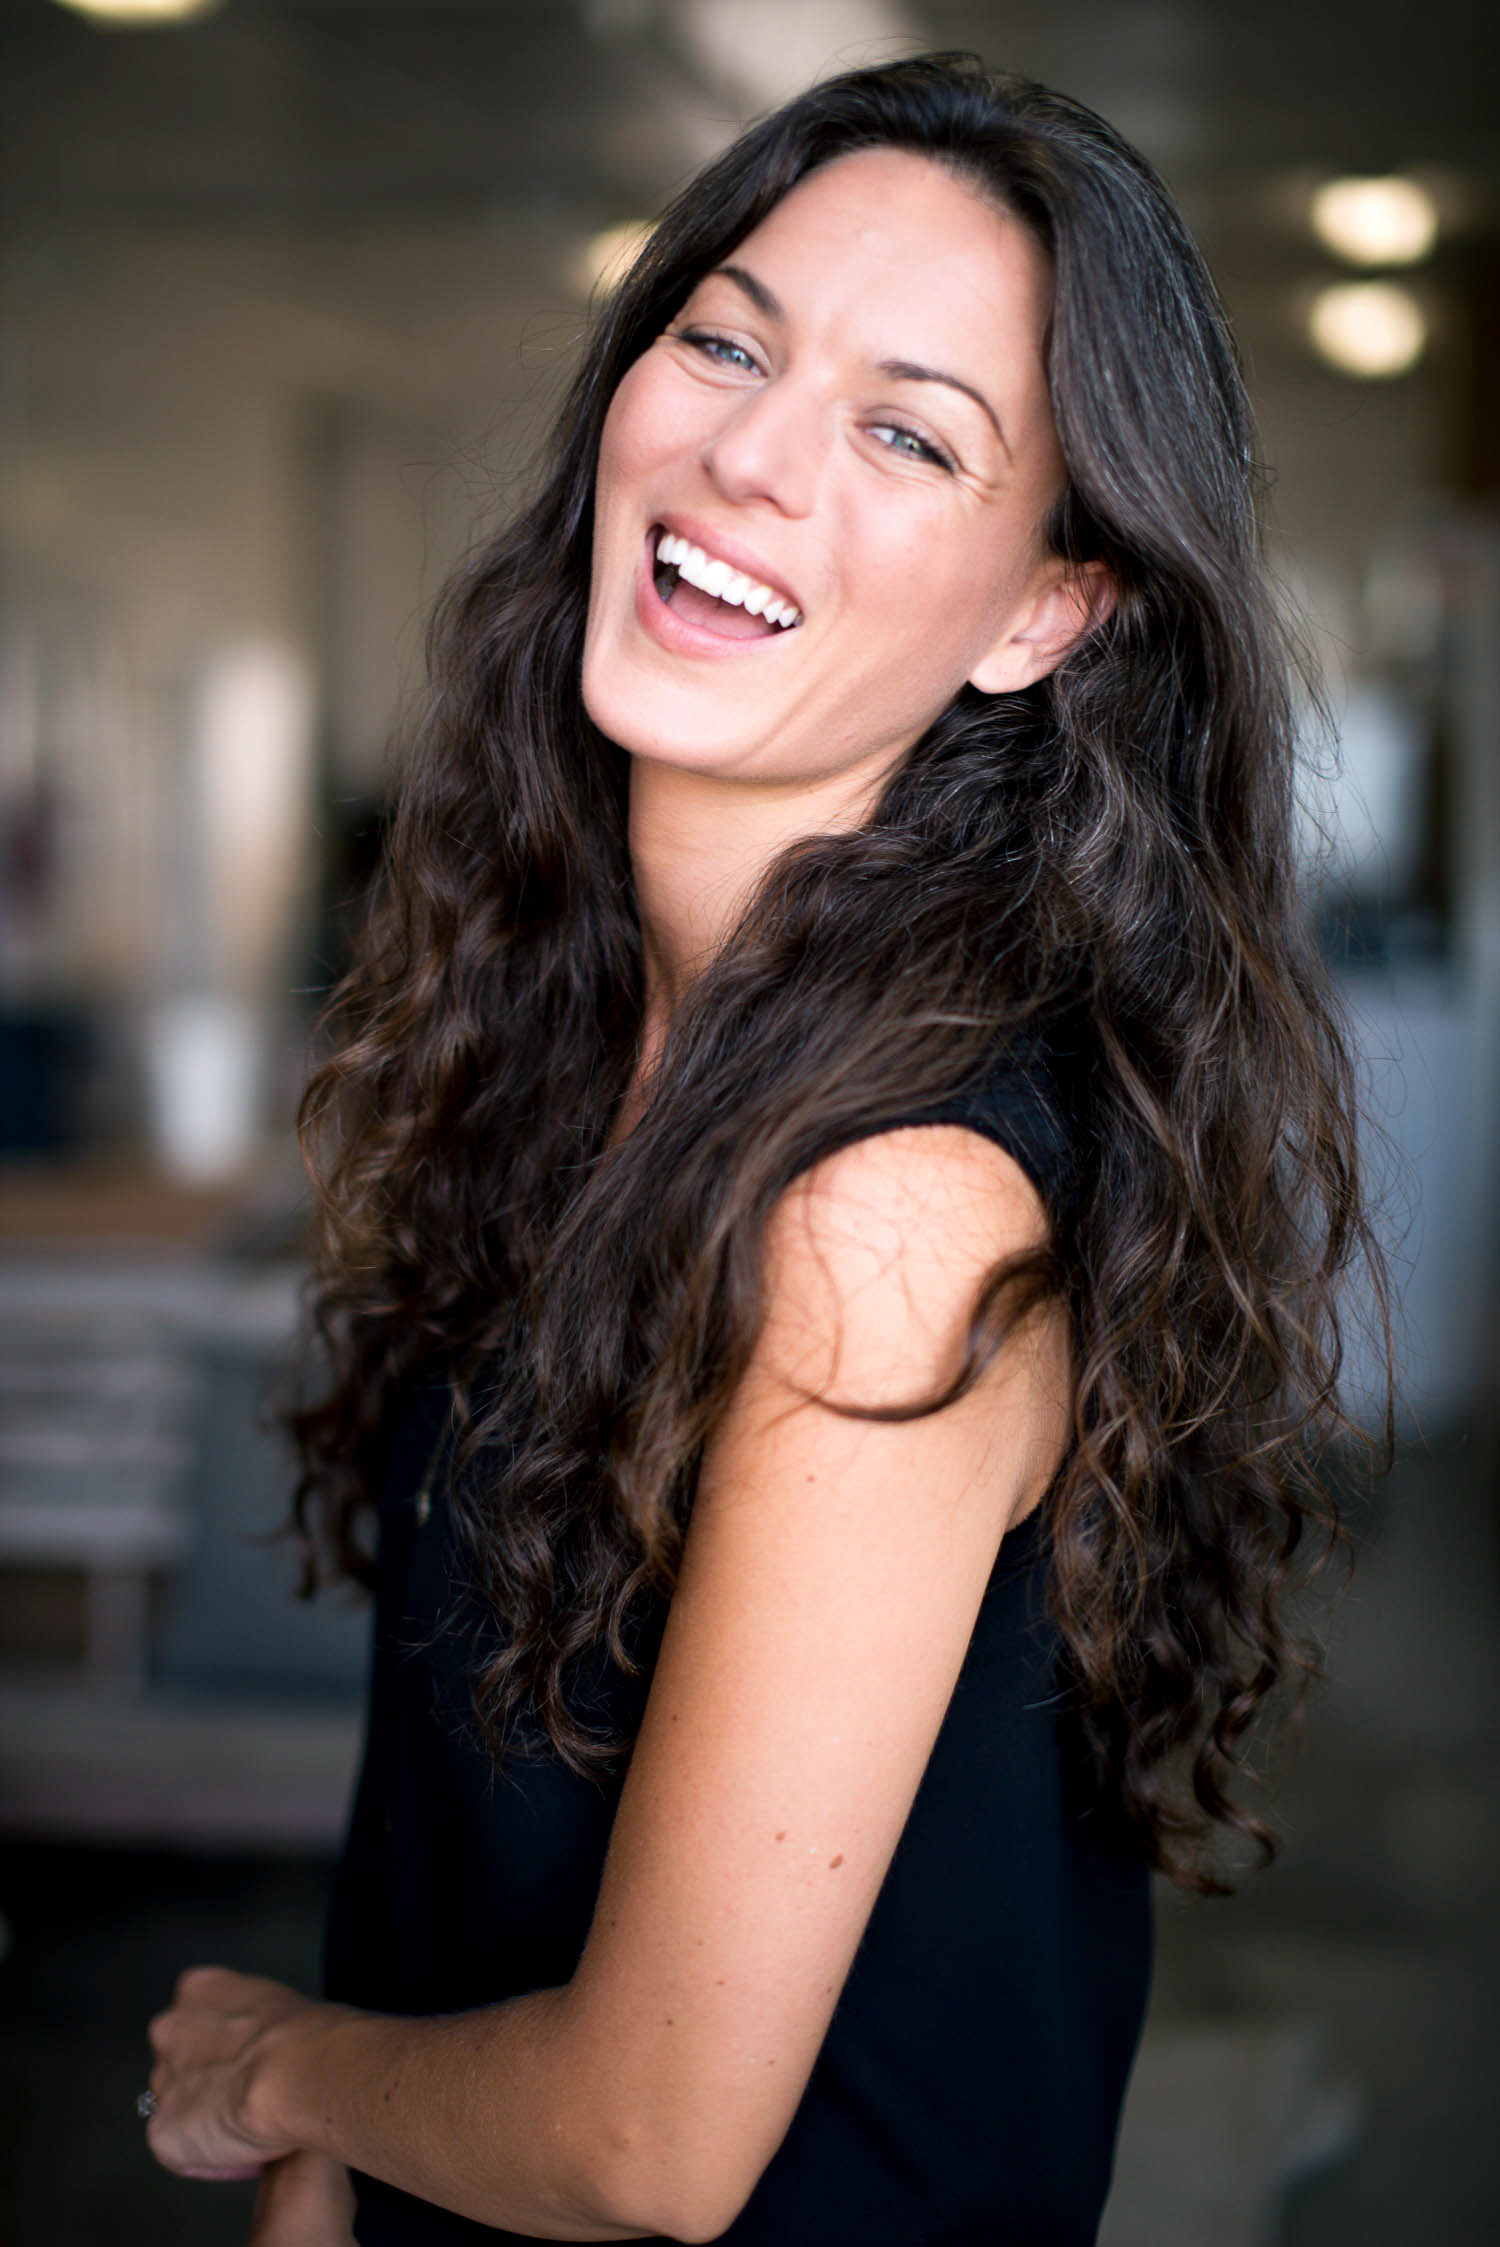
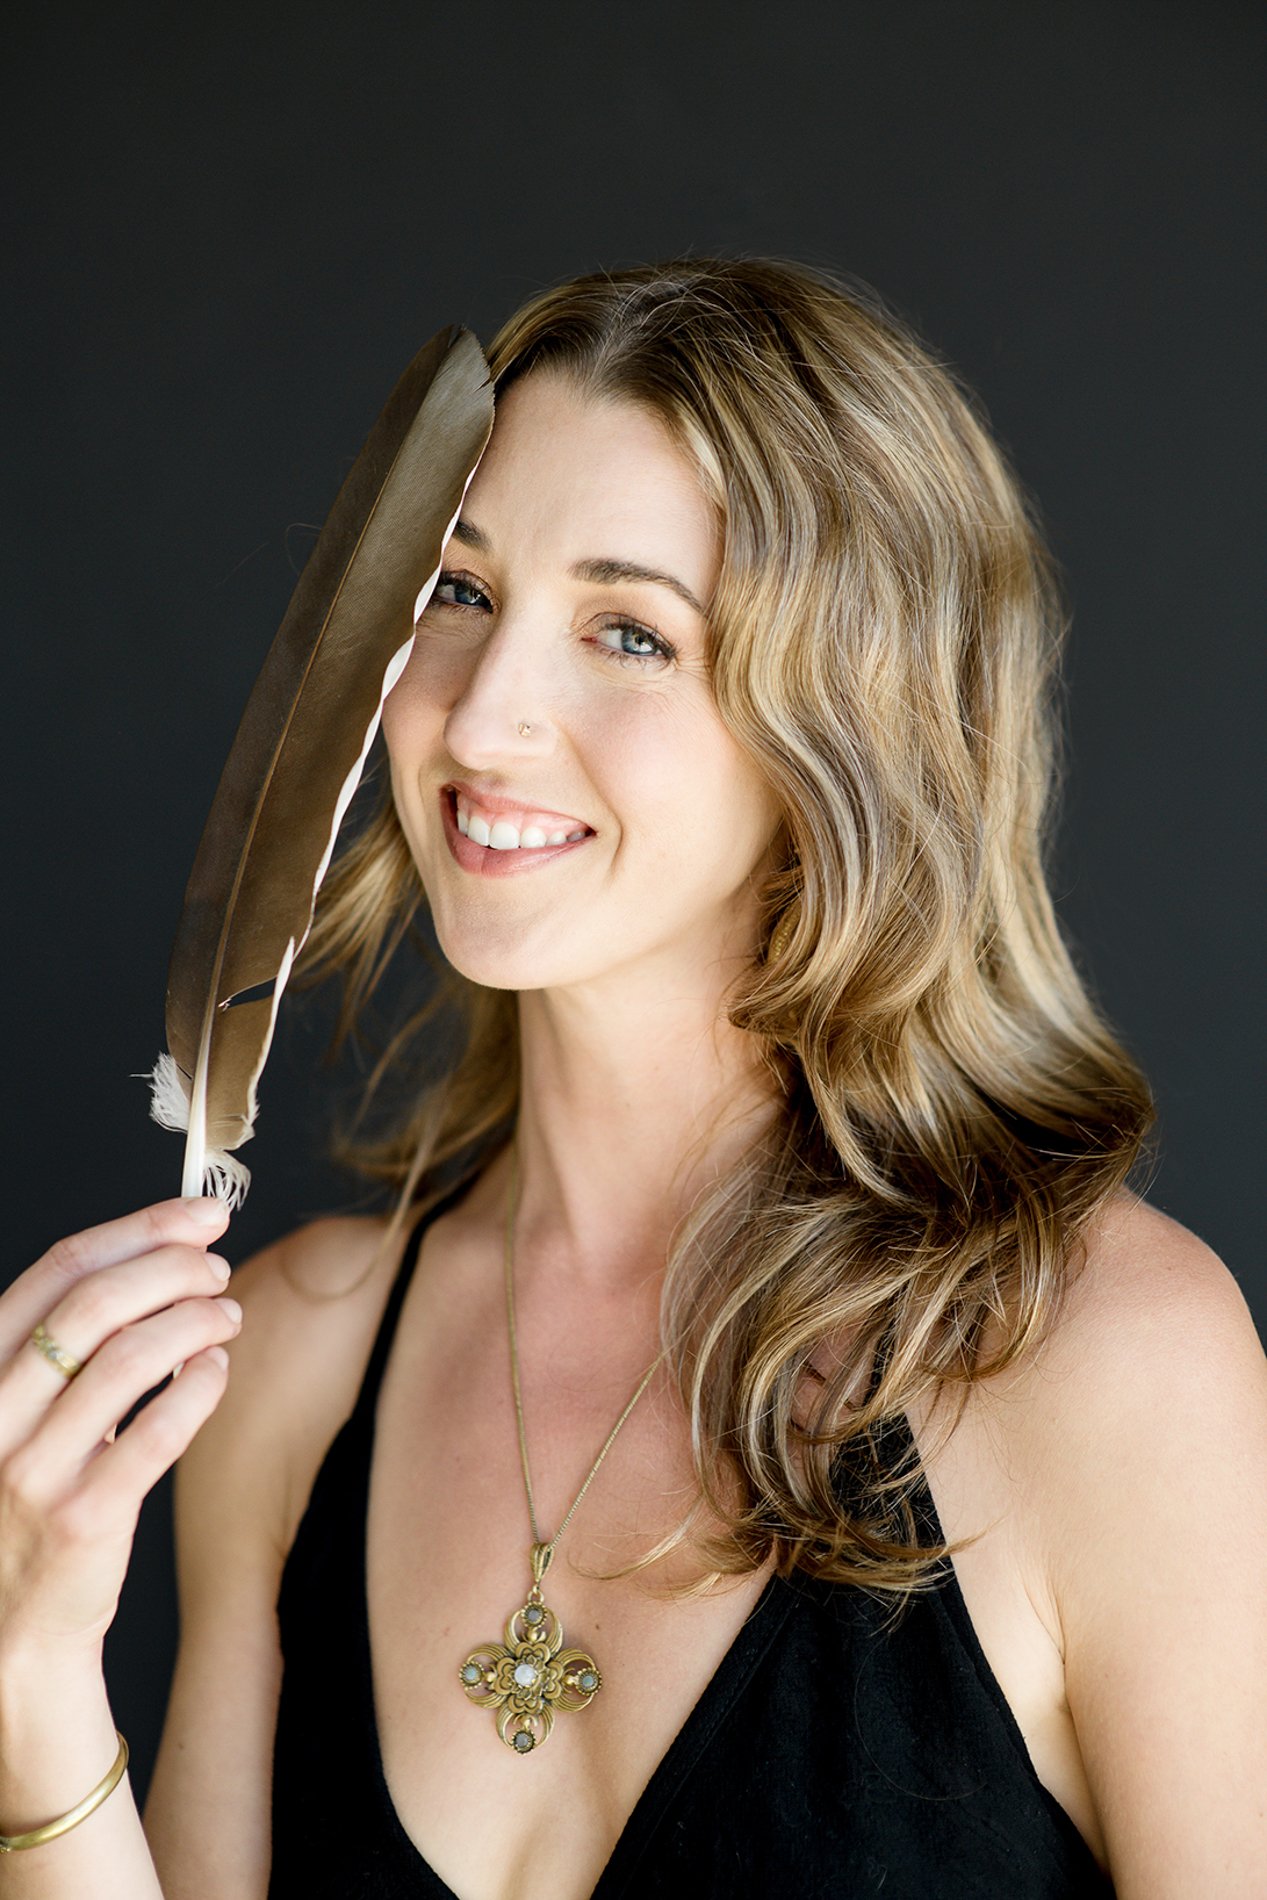
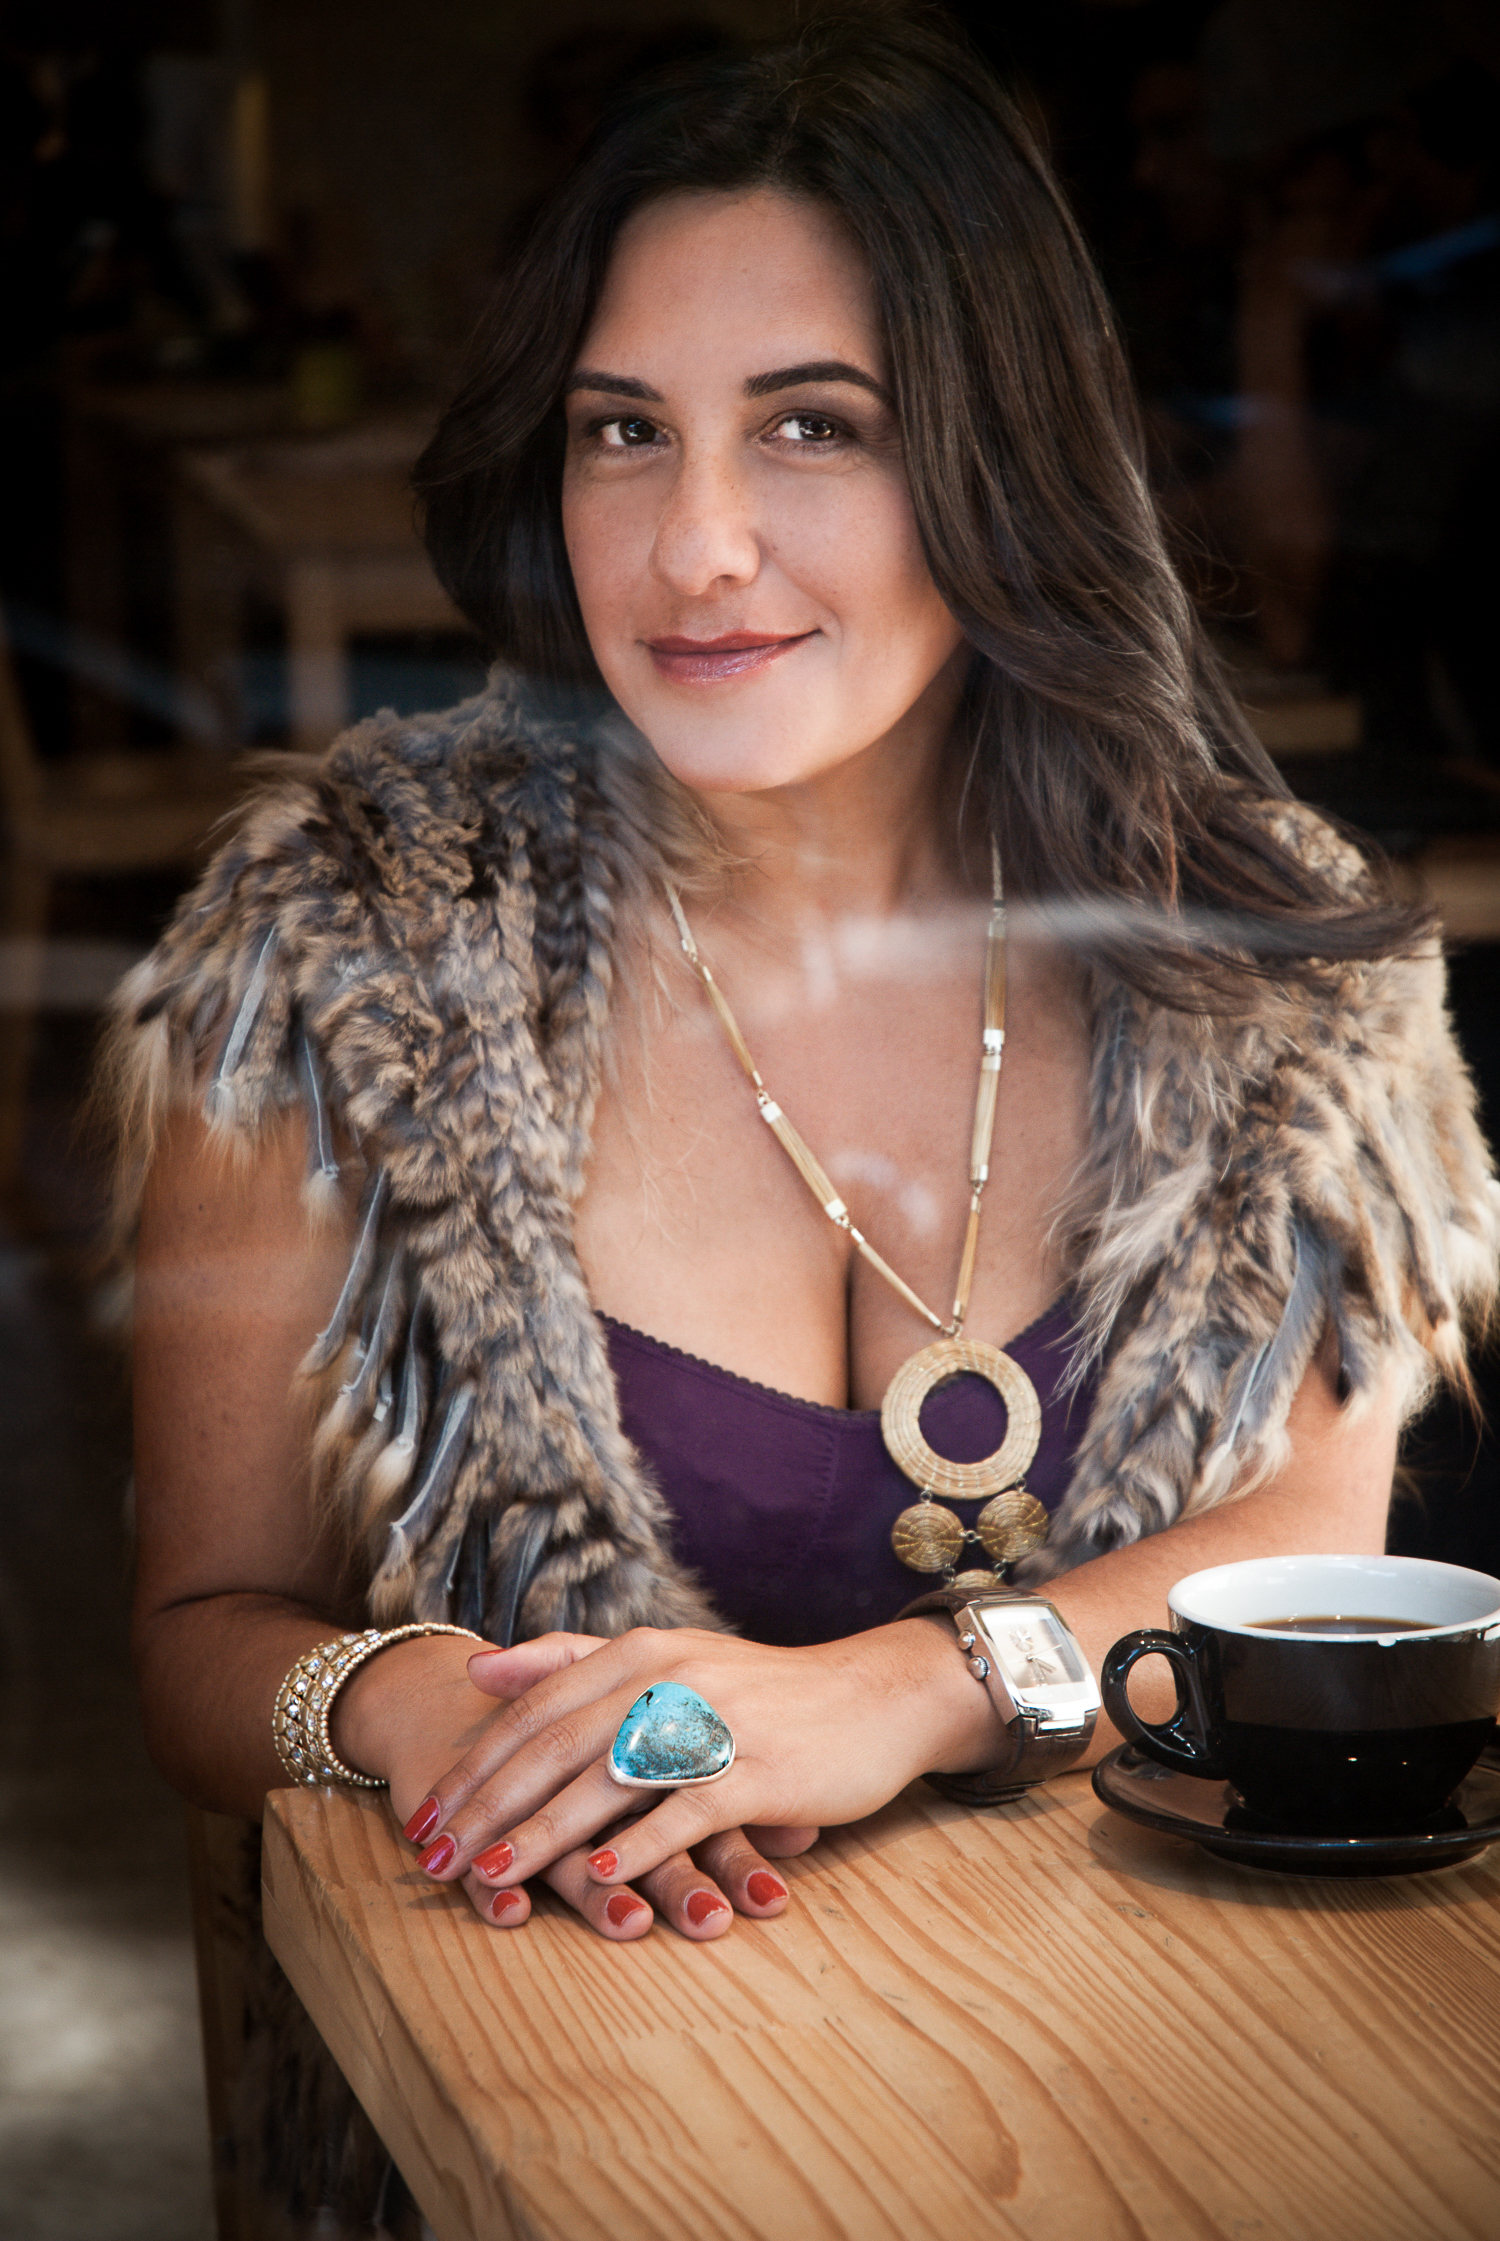
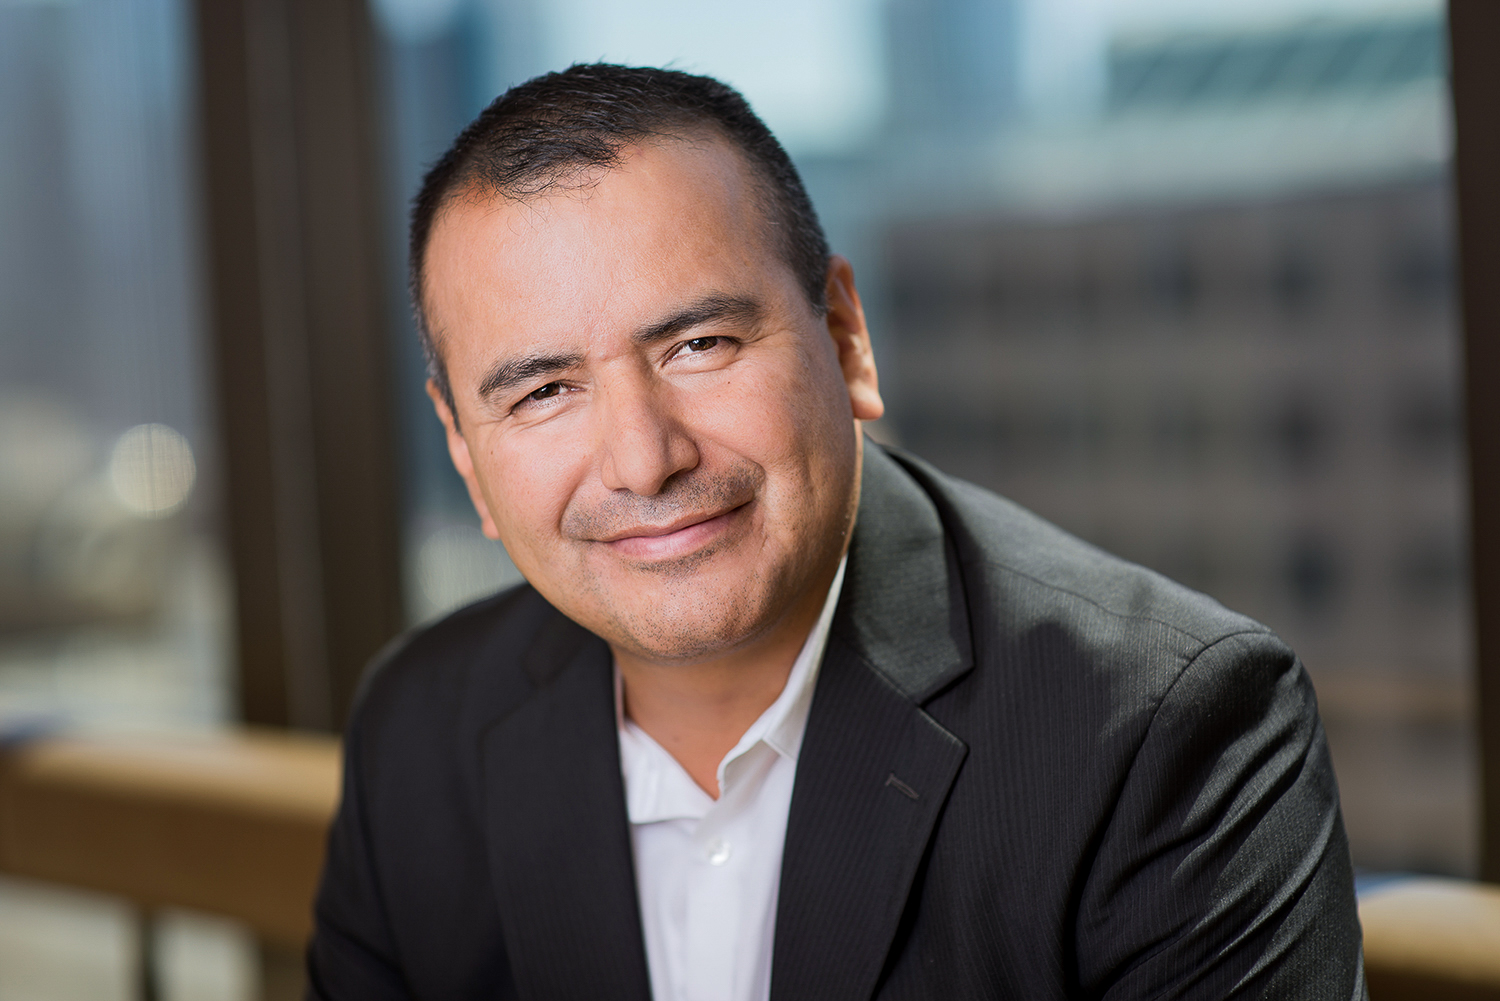
A good headshot should look natural, eye catching, and inviting. Find a photographer who’s work makes you want to be one of the subjects in it.Simple and bold is the best choice for your outfits. Go with something that feels like you, but elevated. Choose the neckline that you know suits you best. Wear something form fitted, and avoid anything that flares at the waist. I suggest wearing a top that is a solid color or a print that is not busy. Plan to bring 2-3 top options, and a blazer to go over one of them for a more professional look.
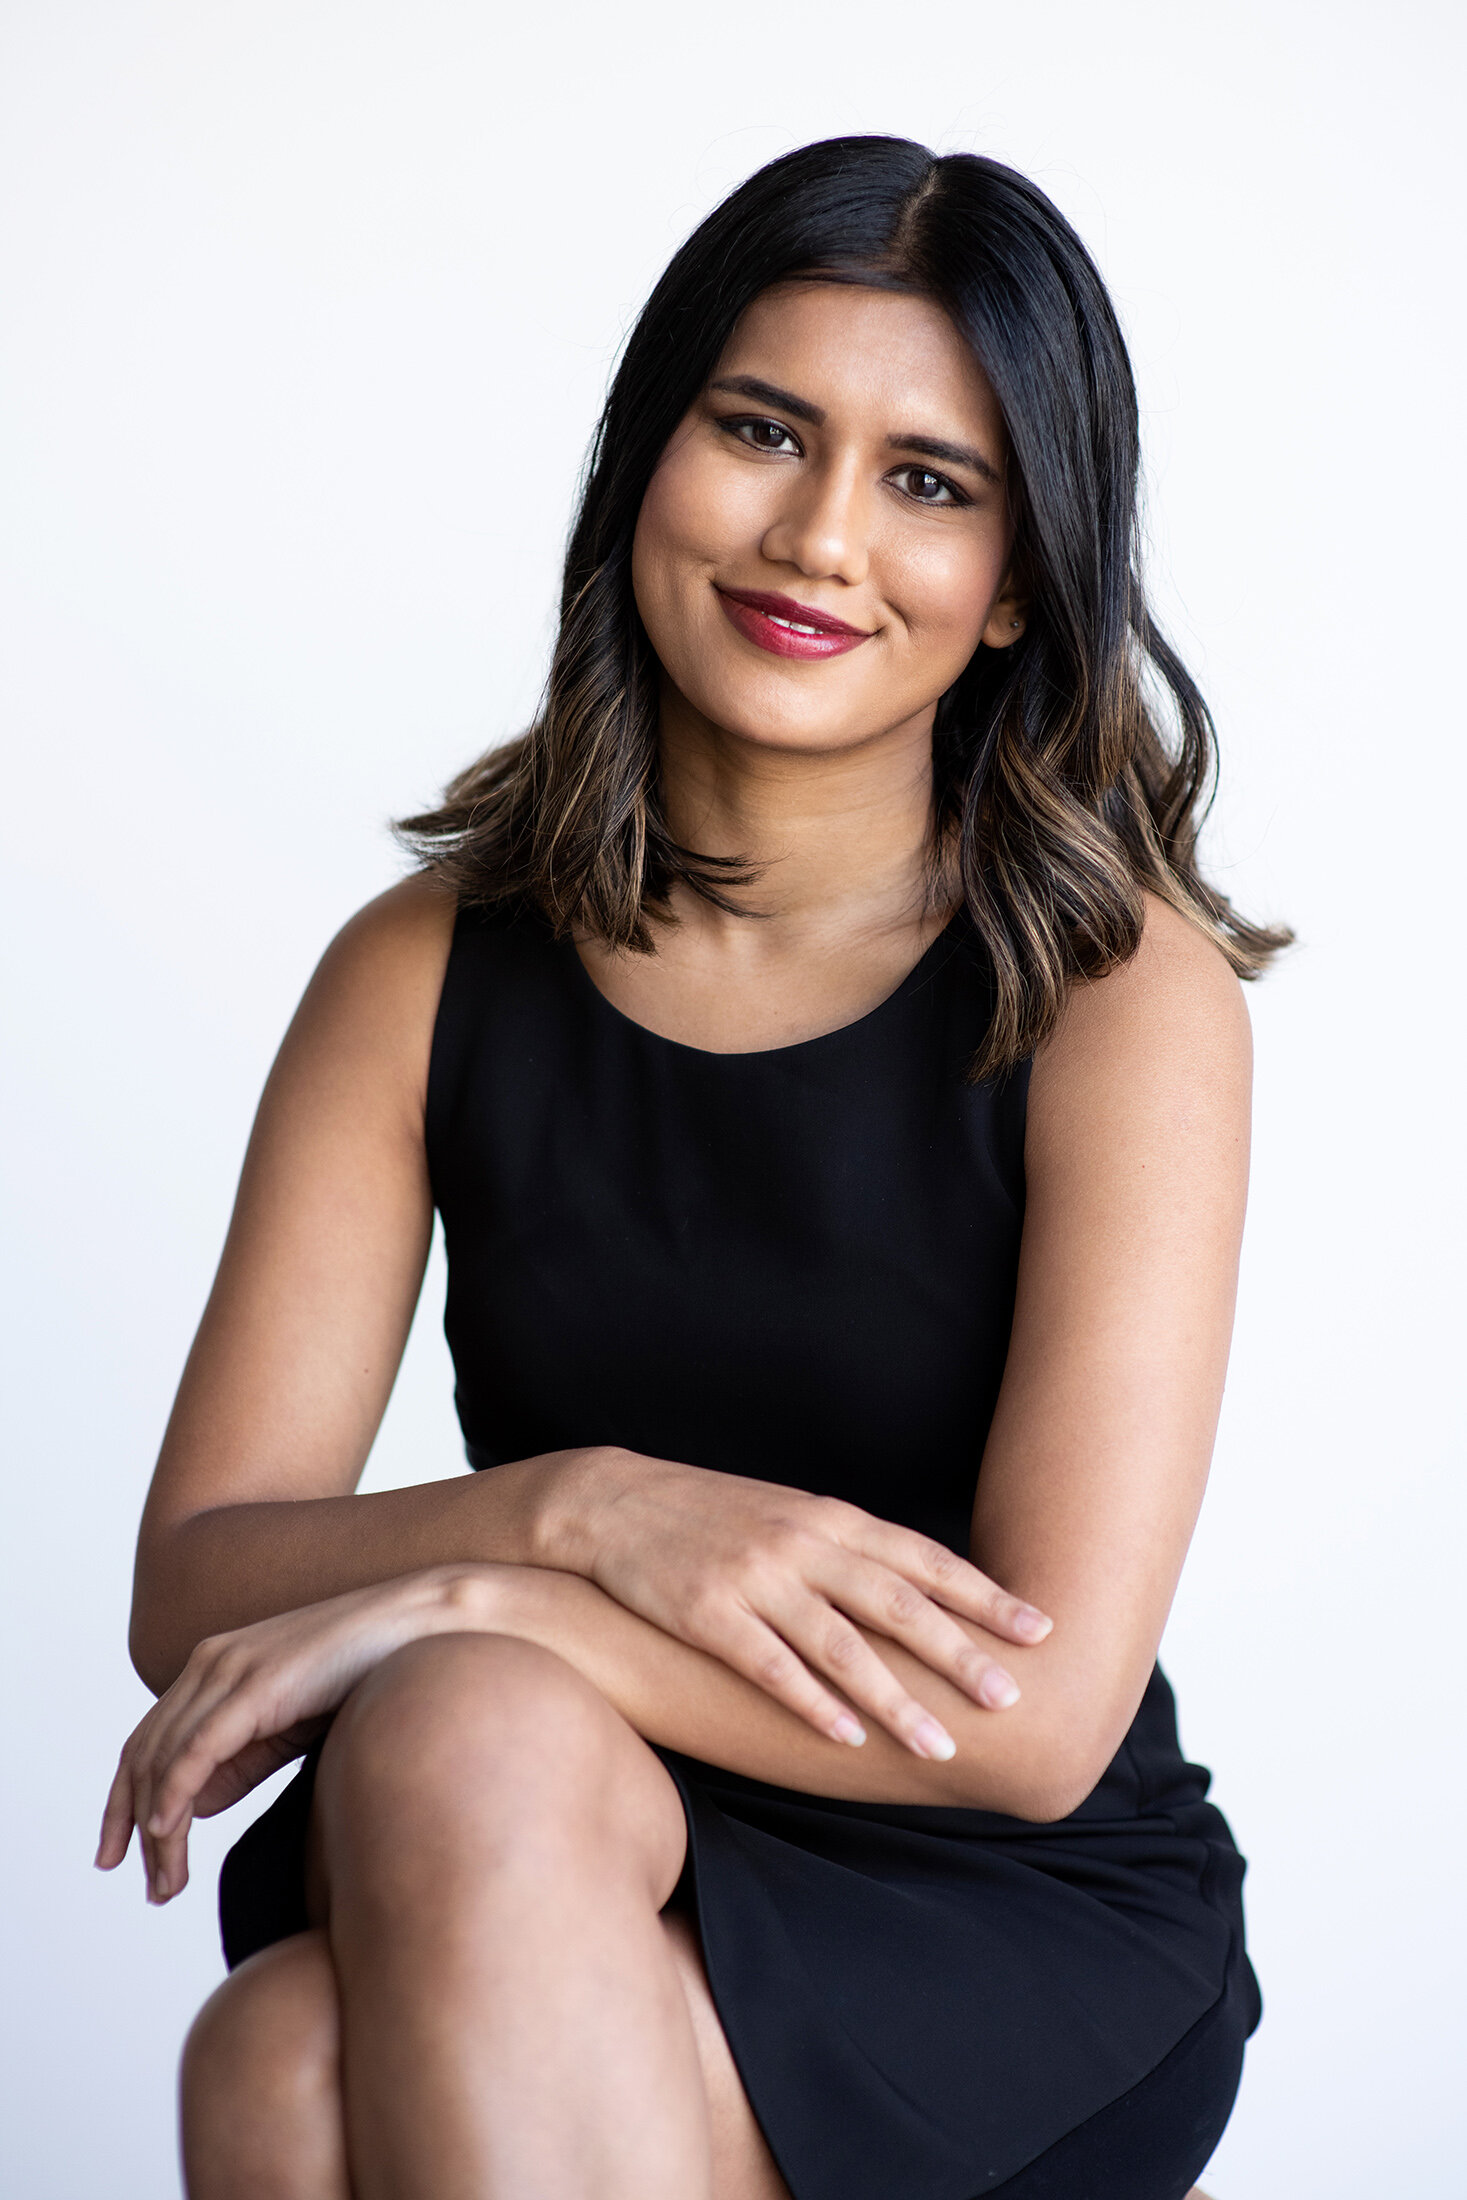
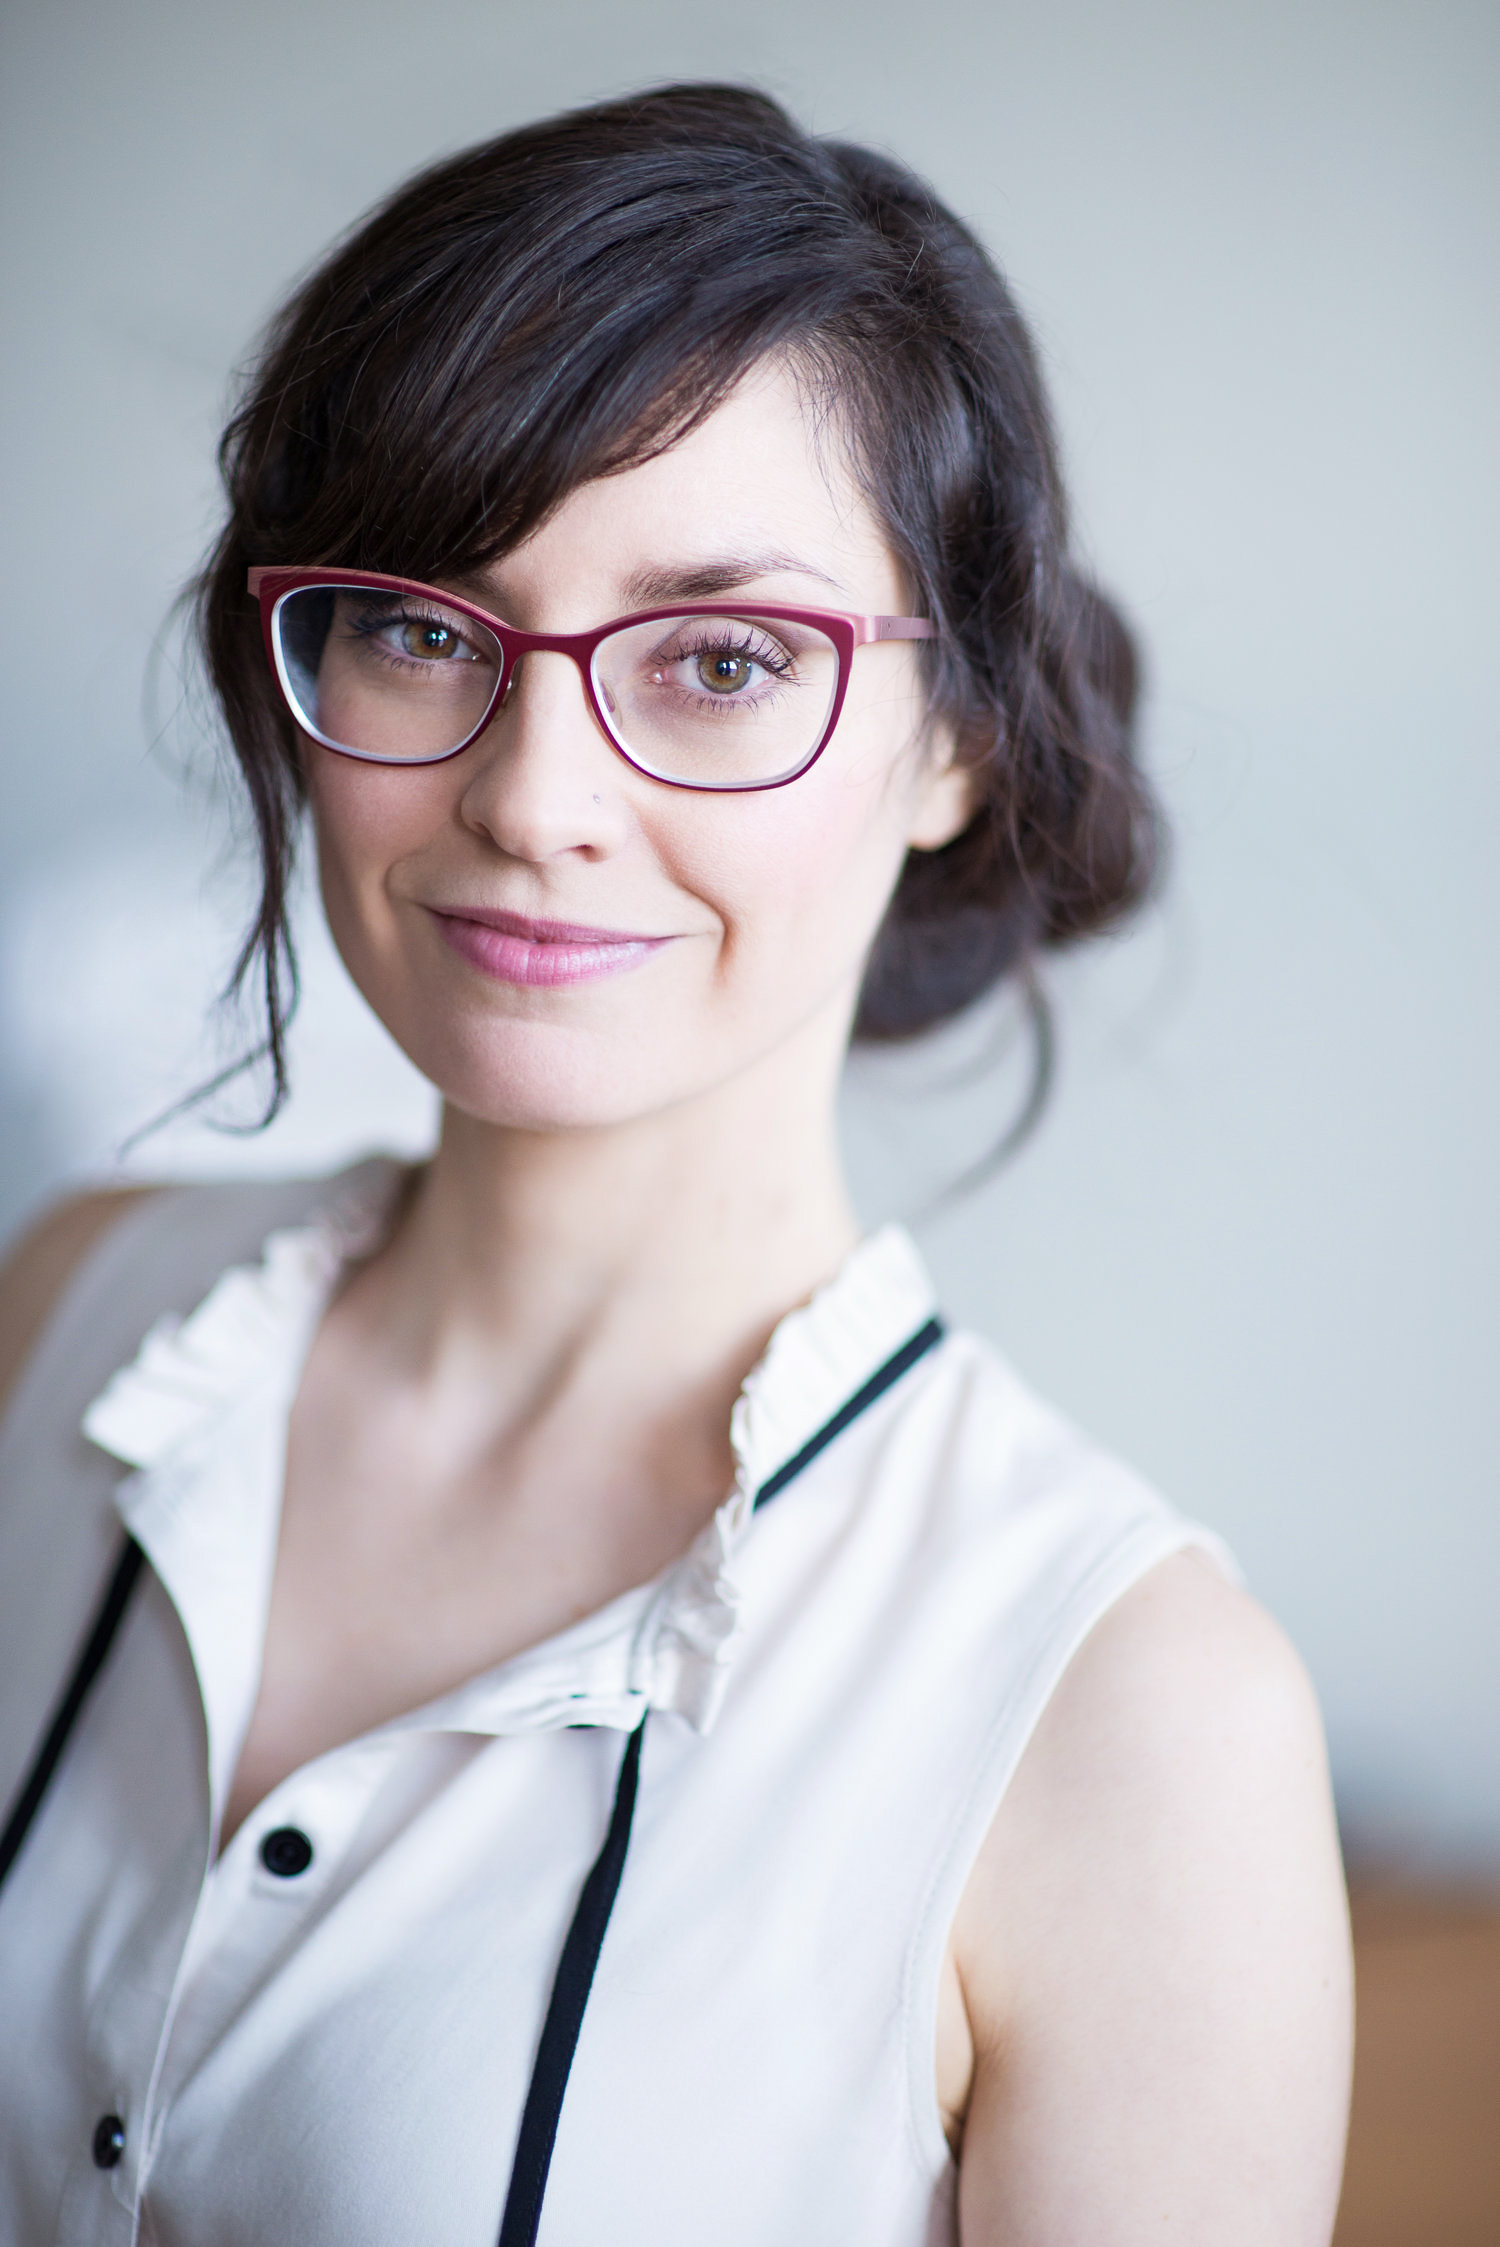
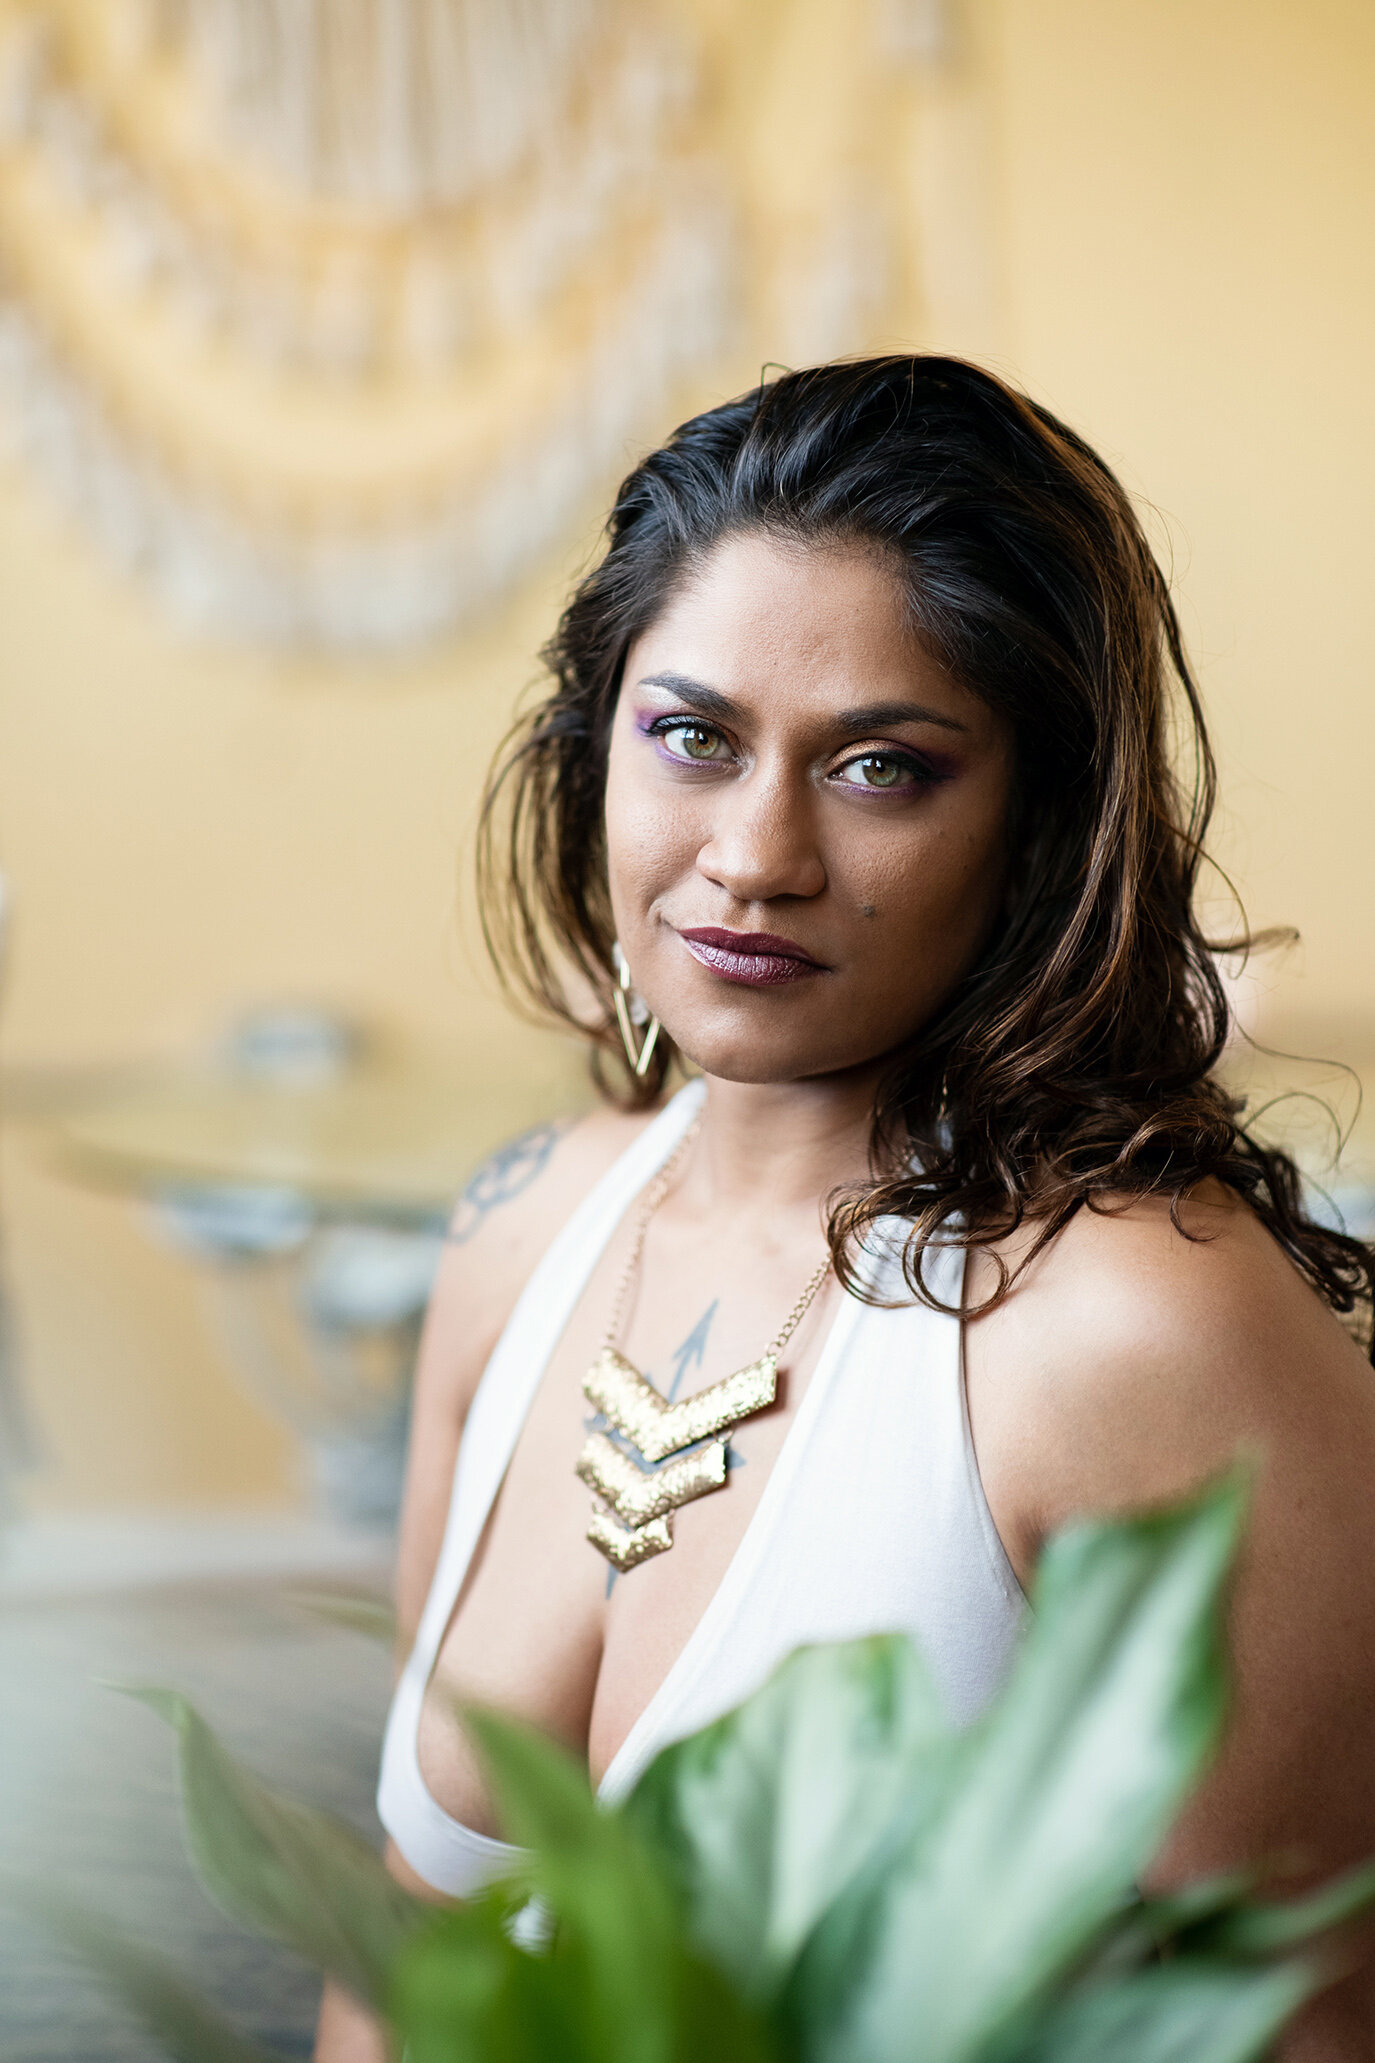
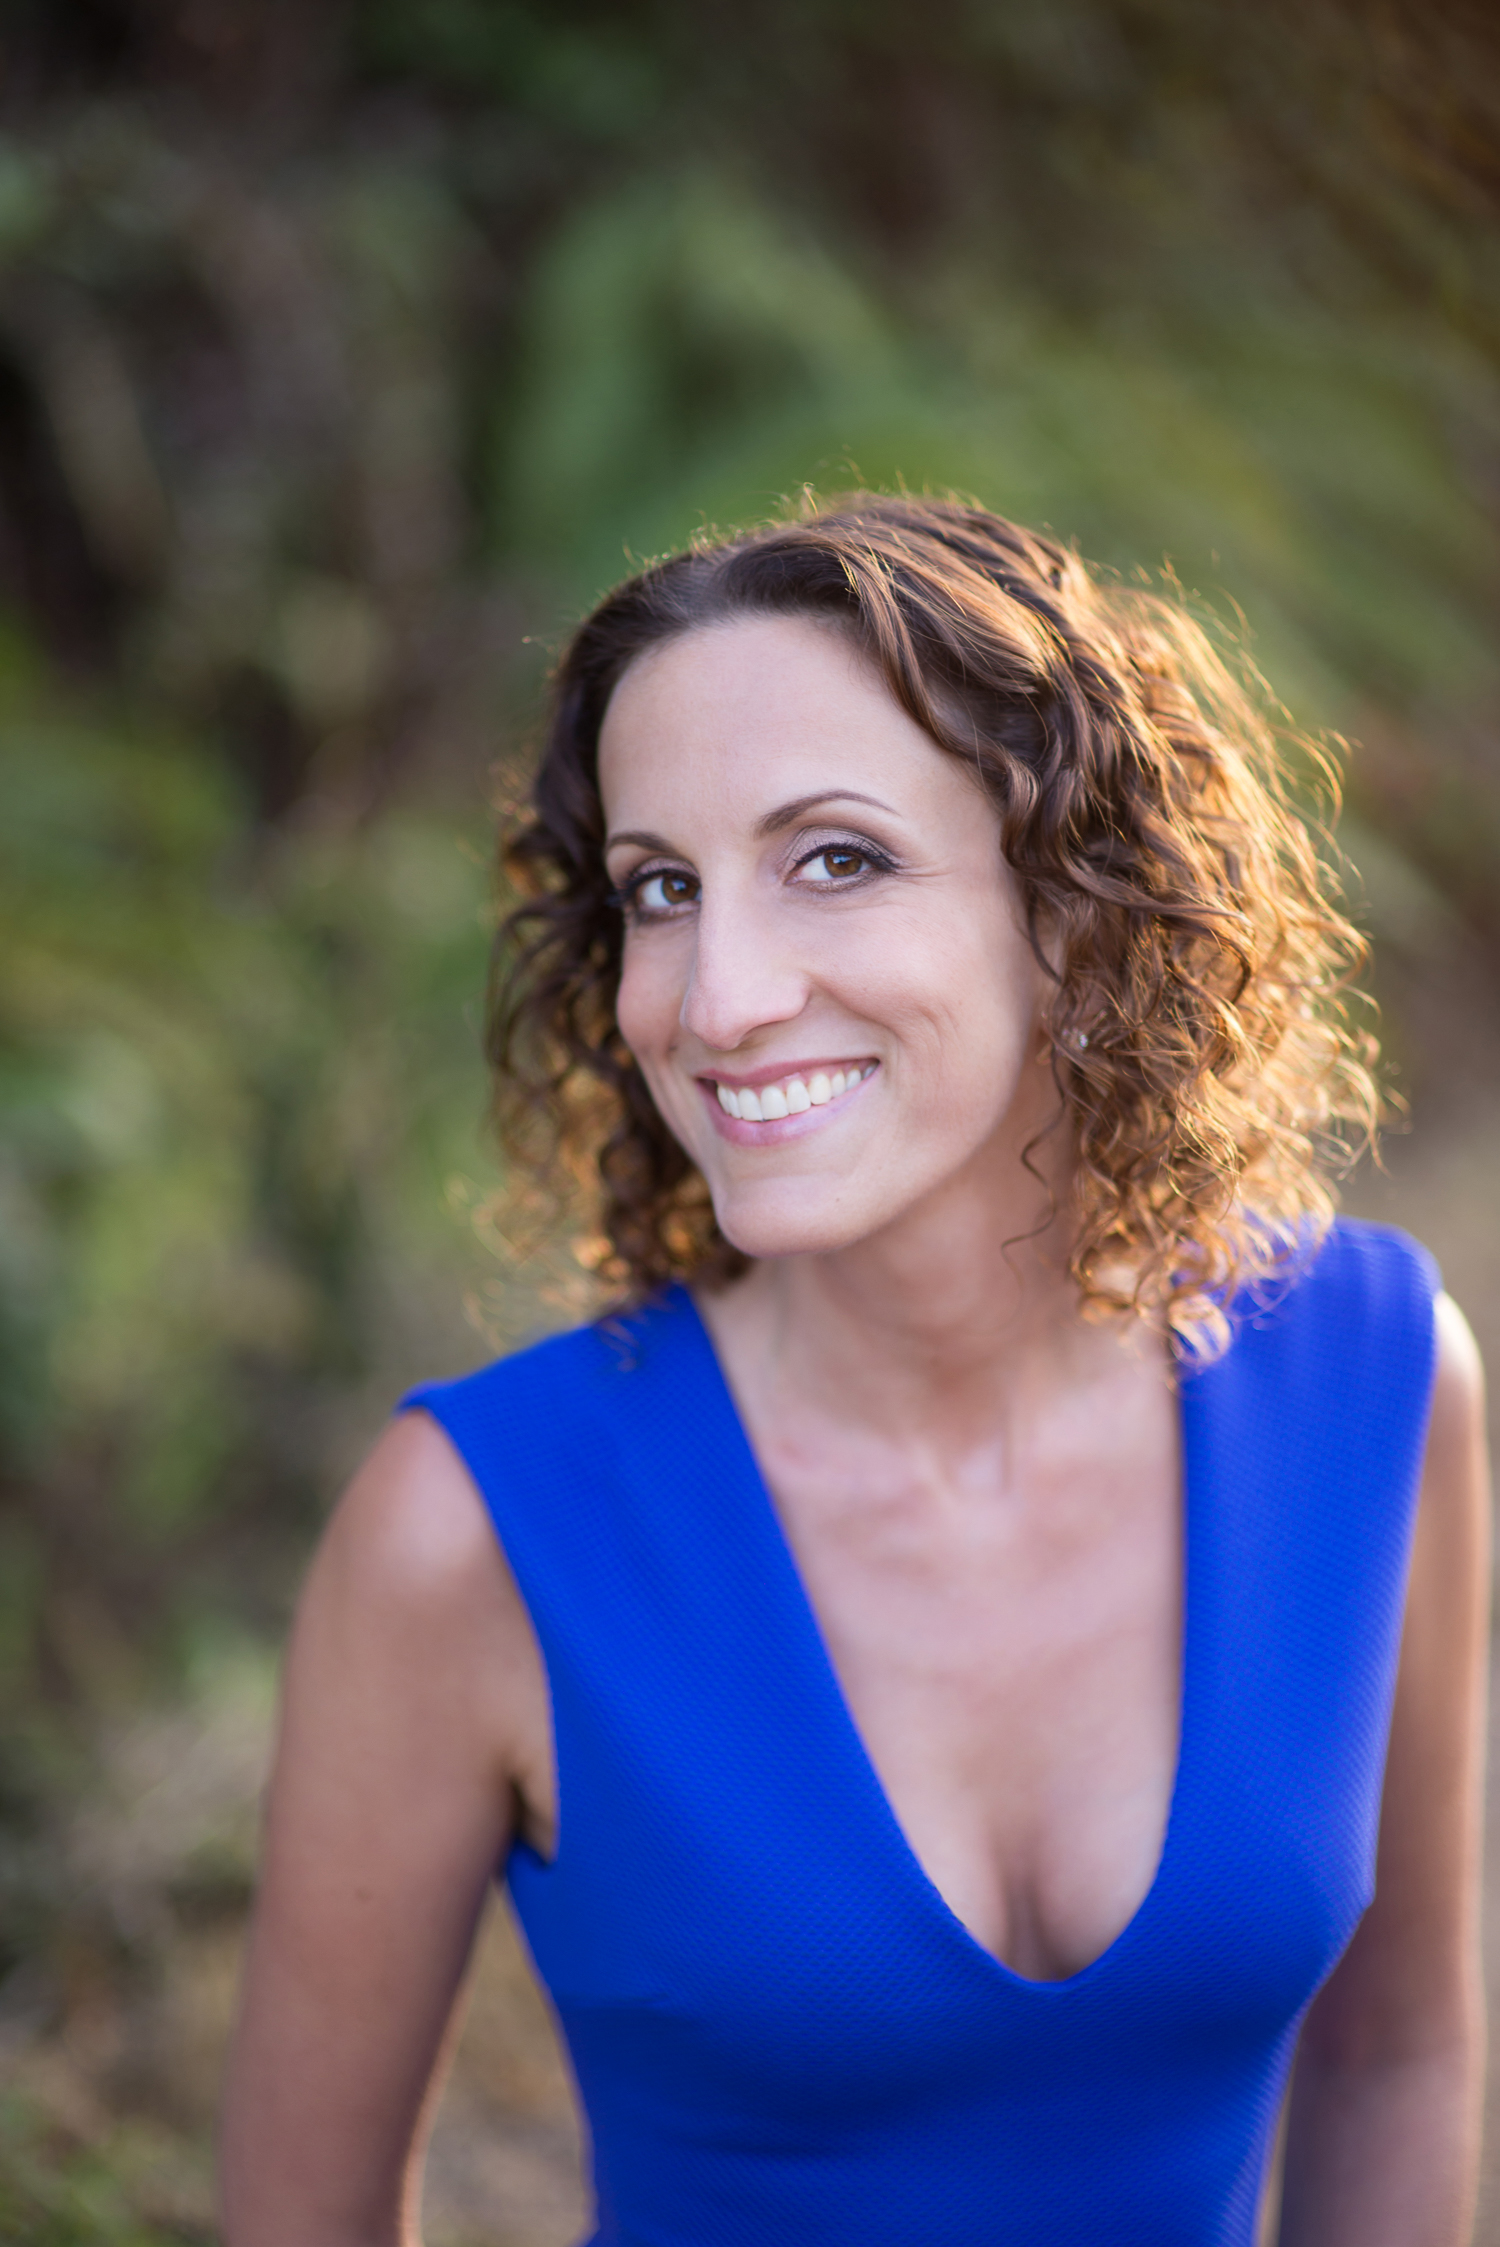
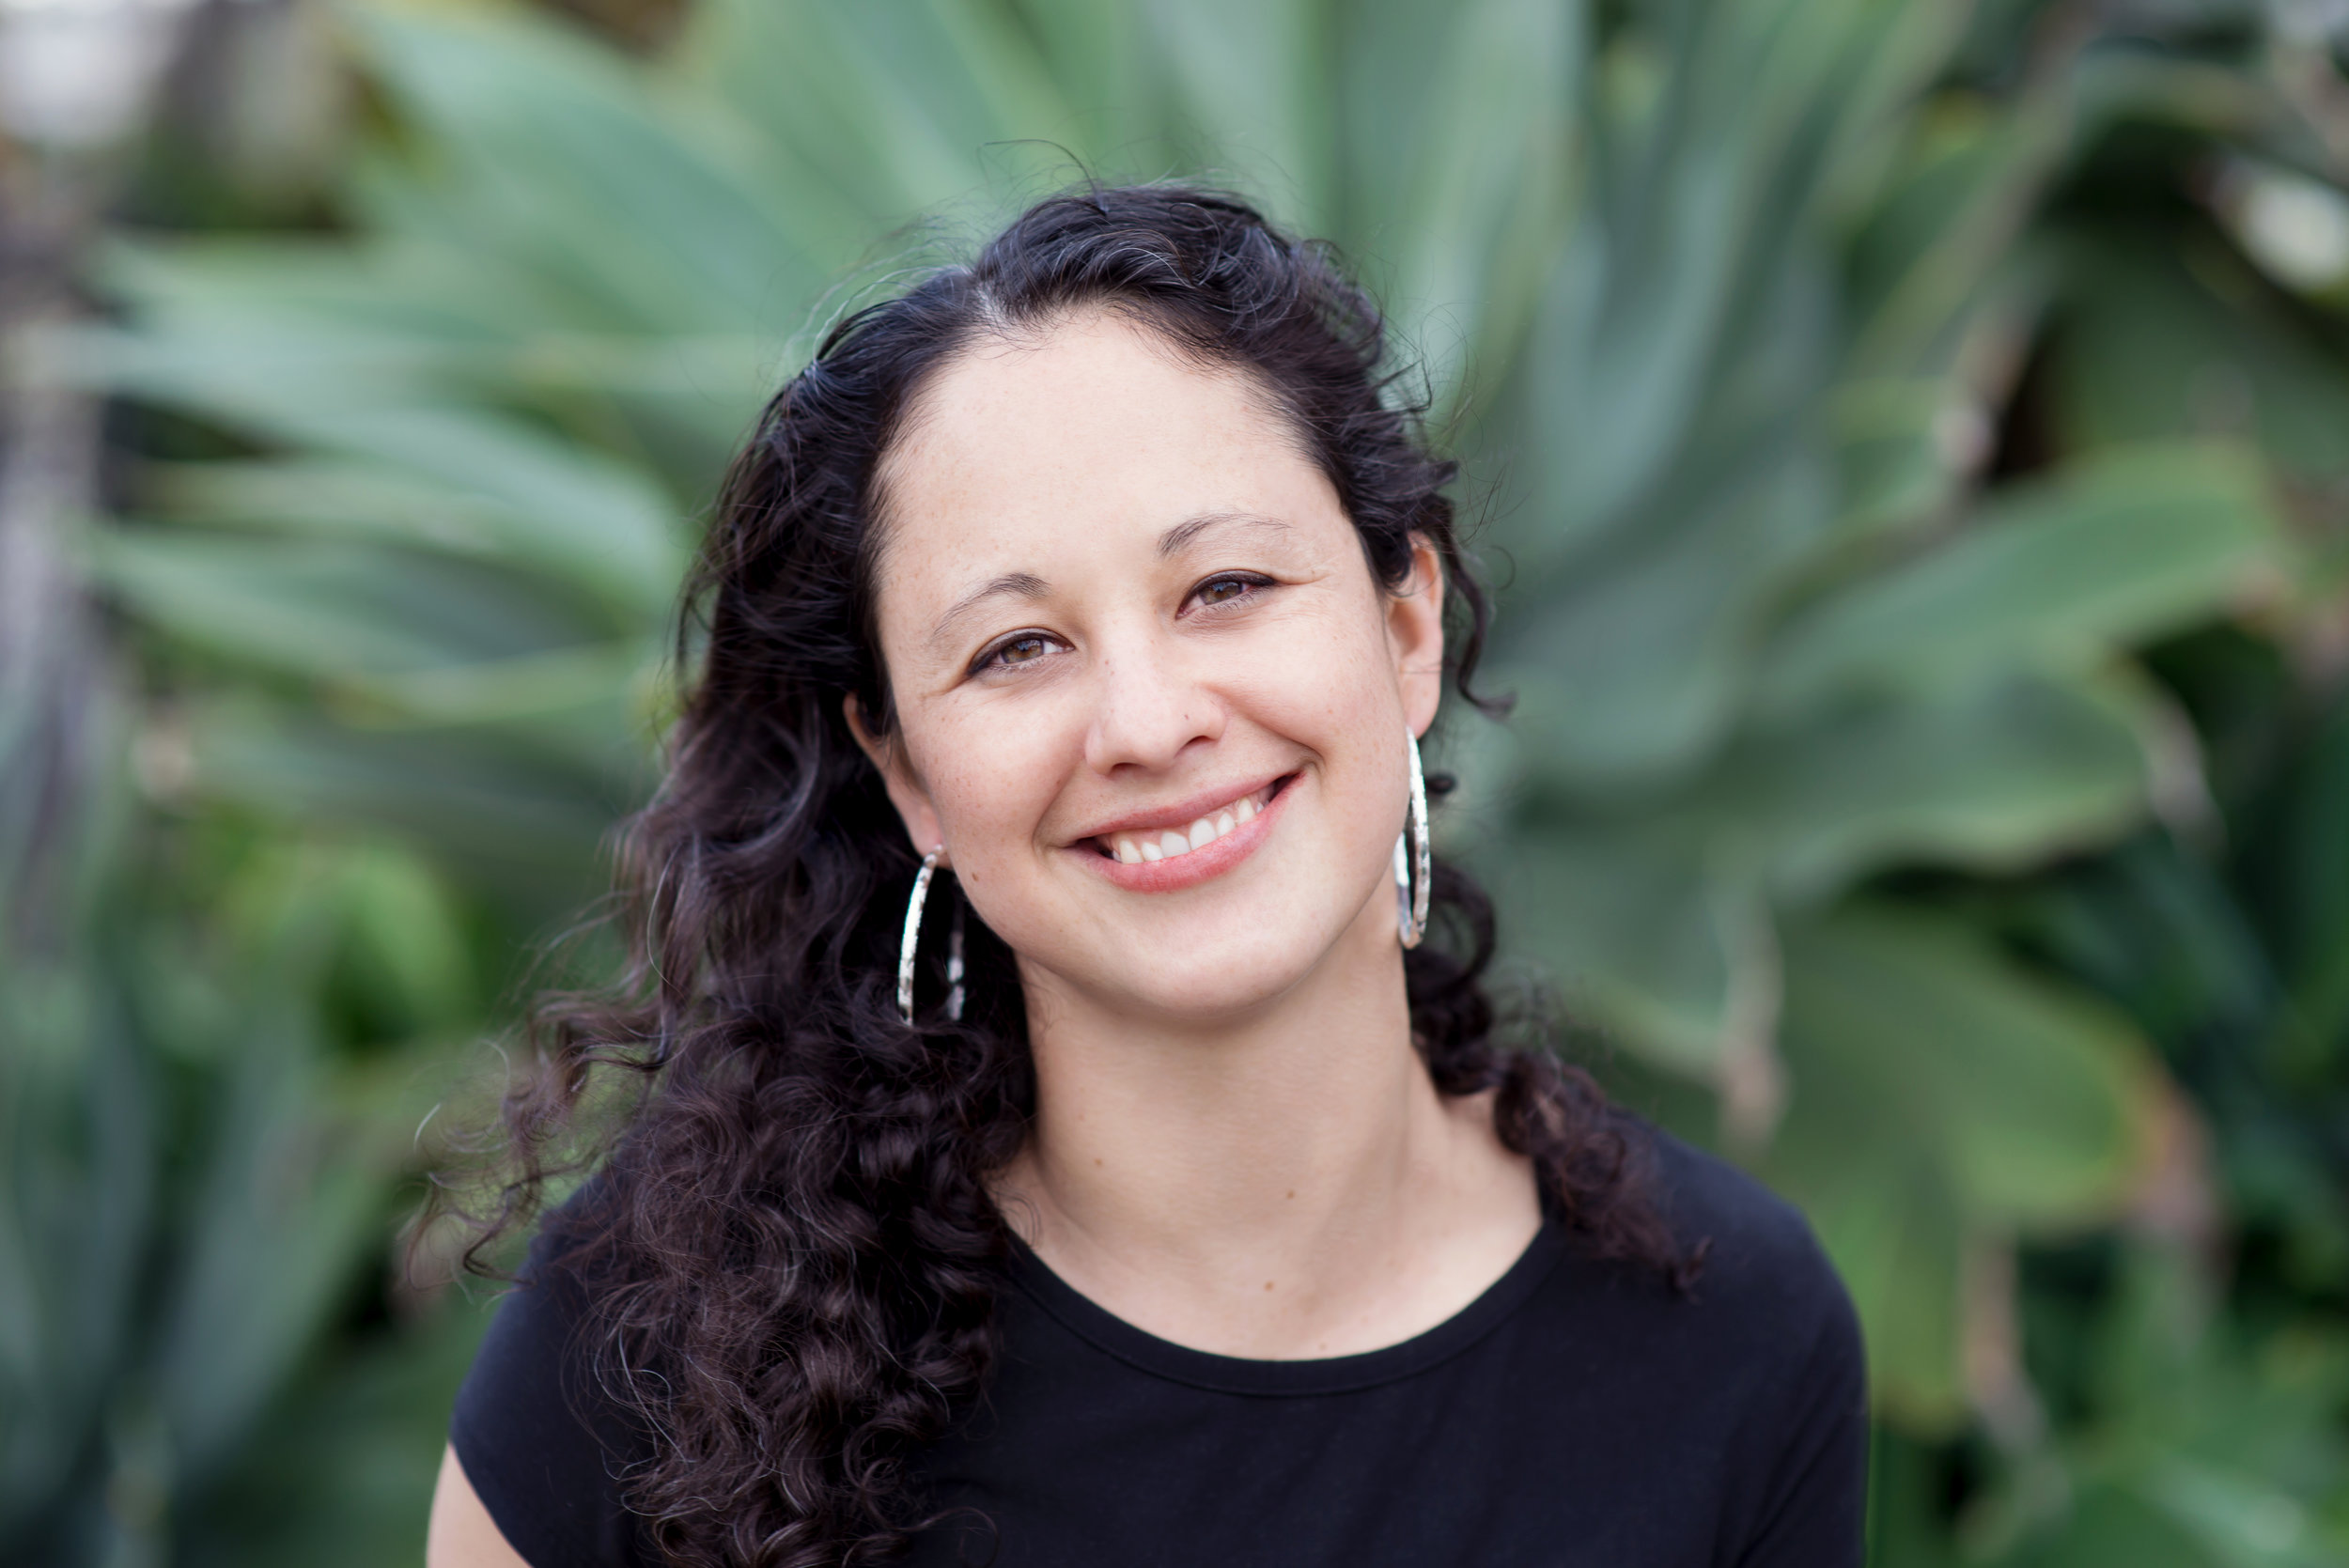
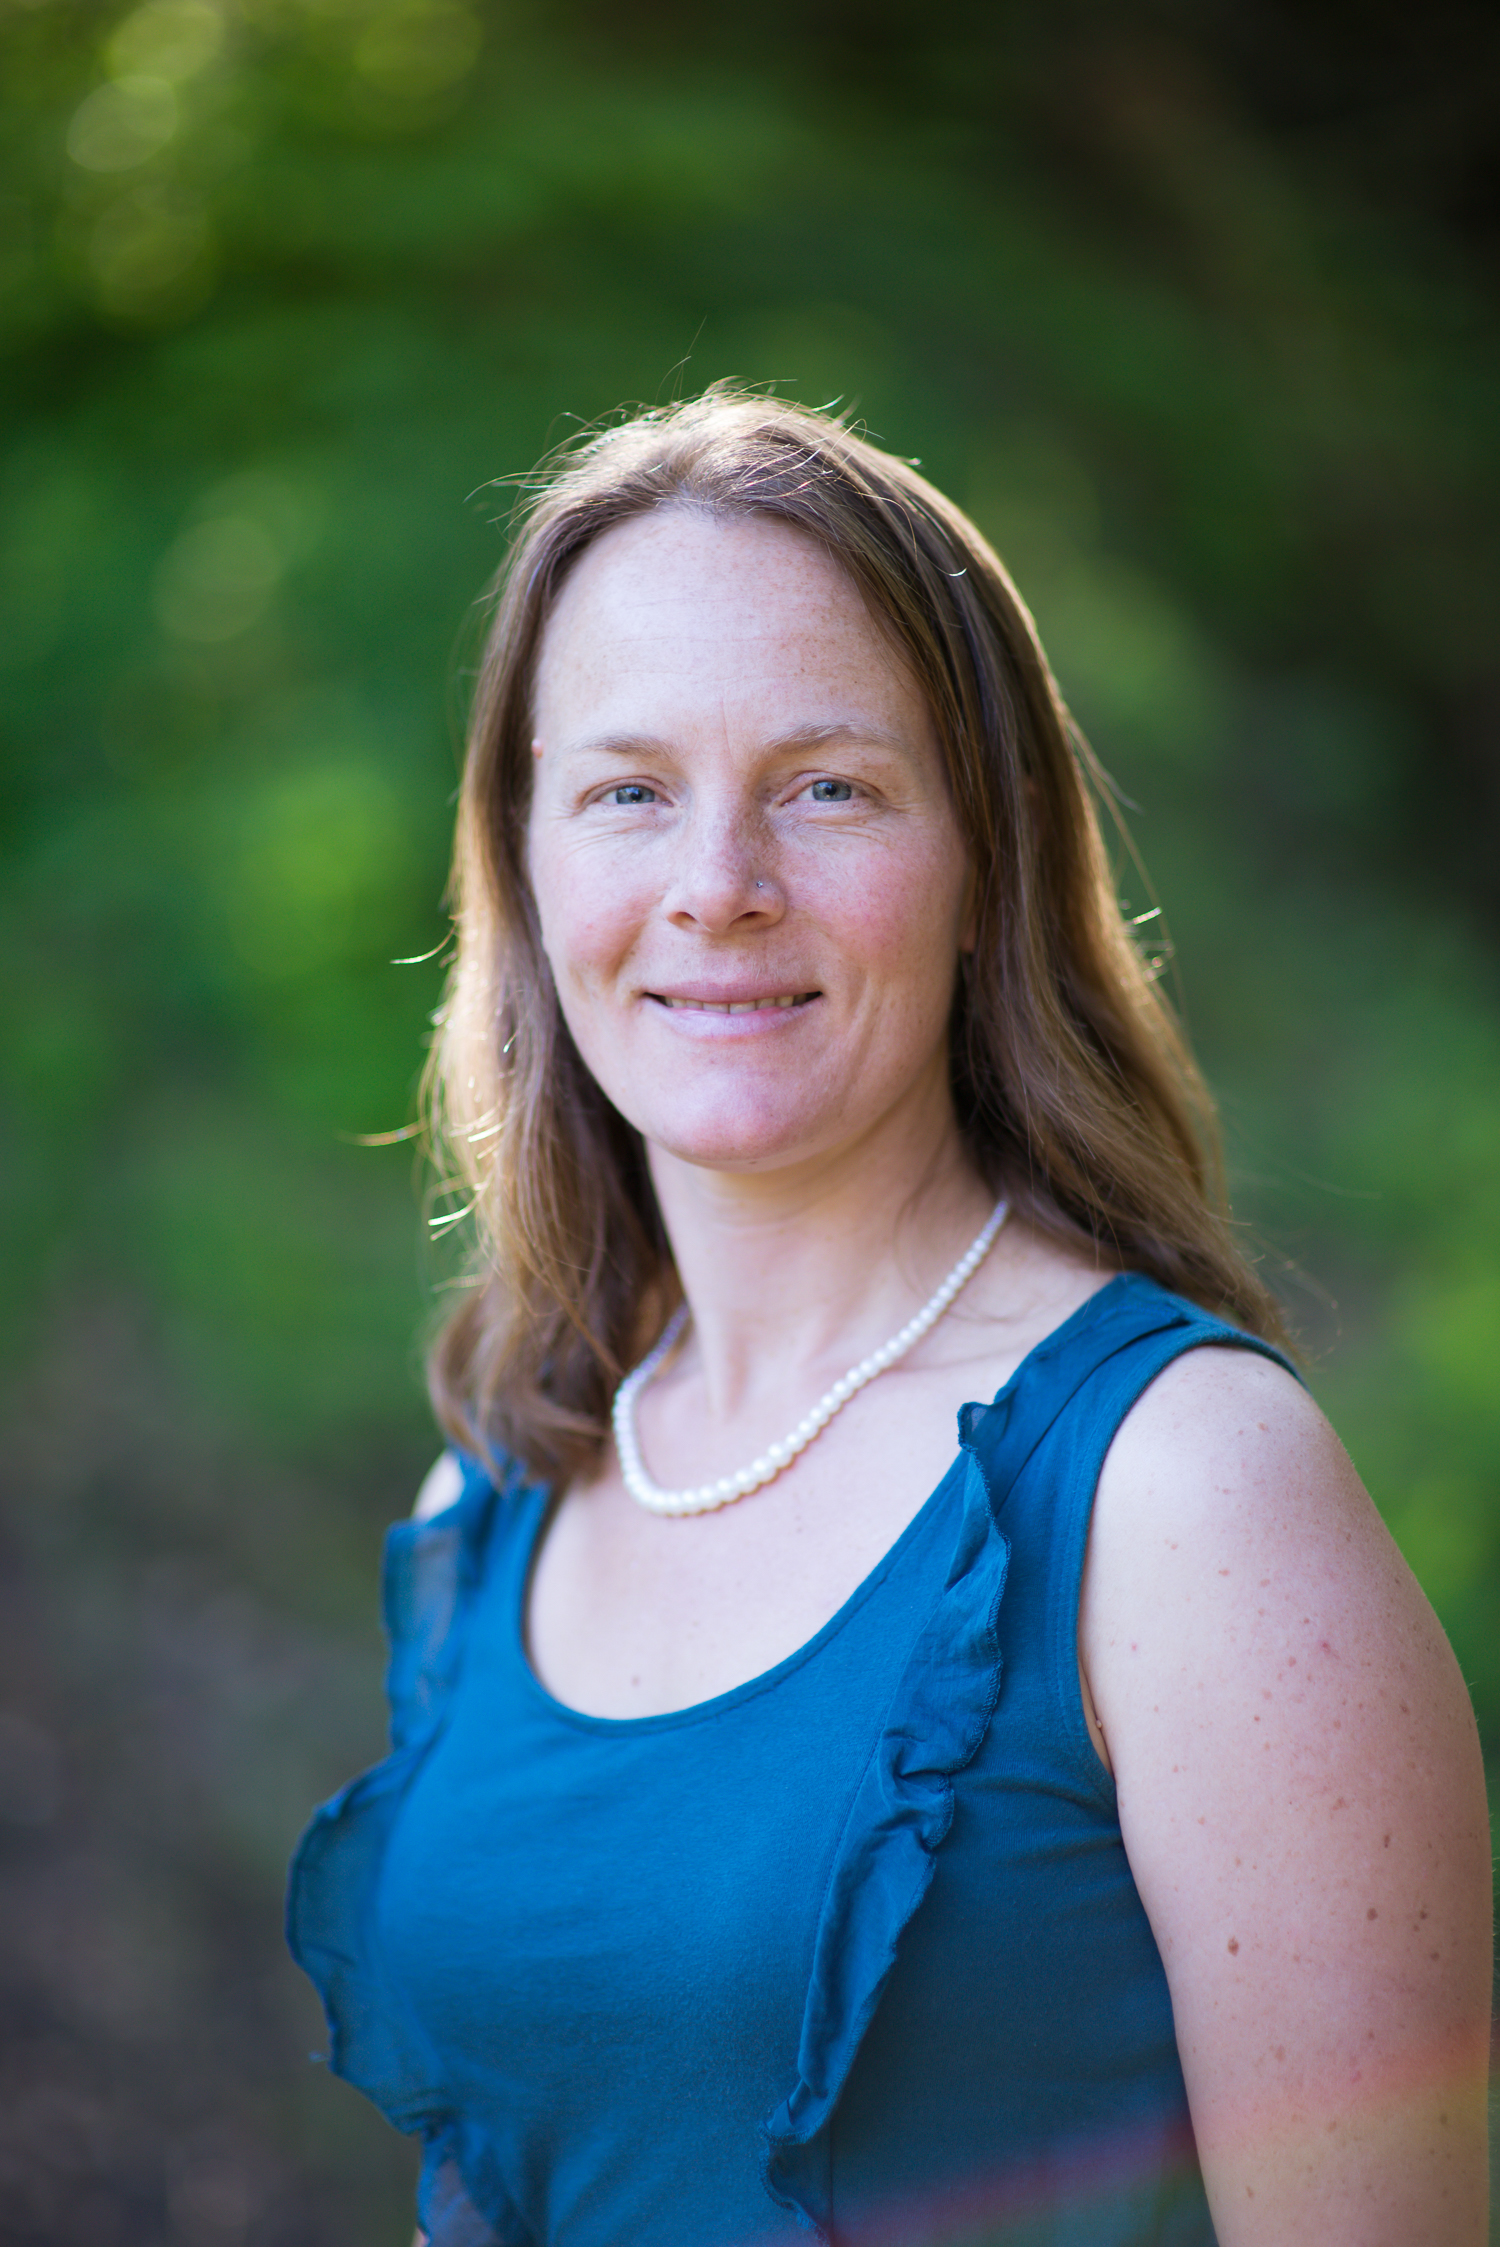
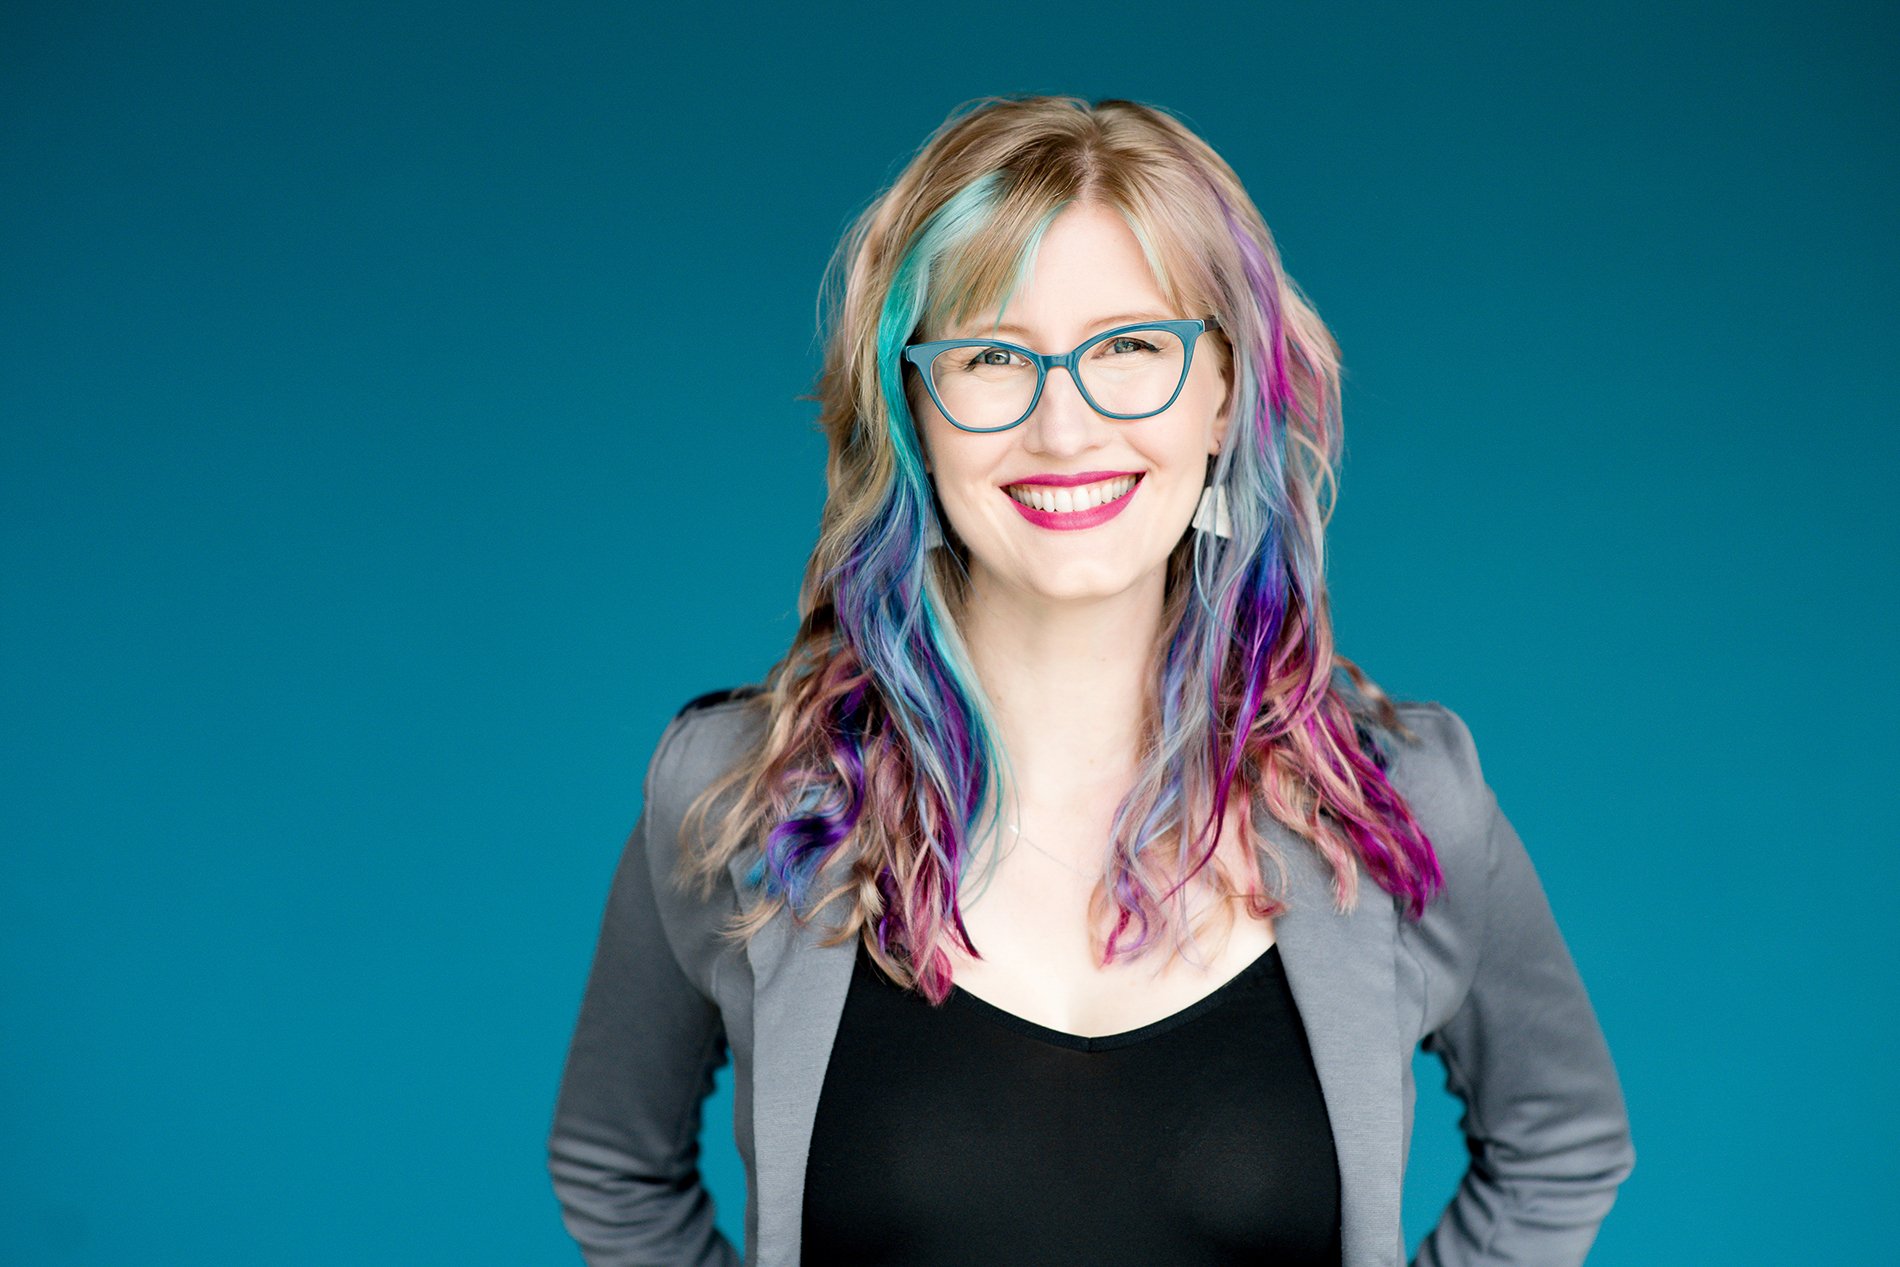
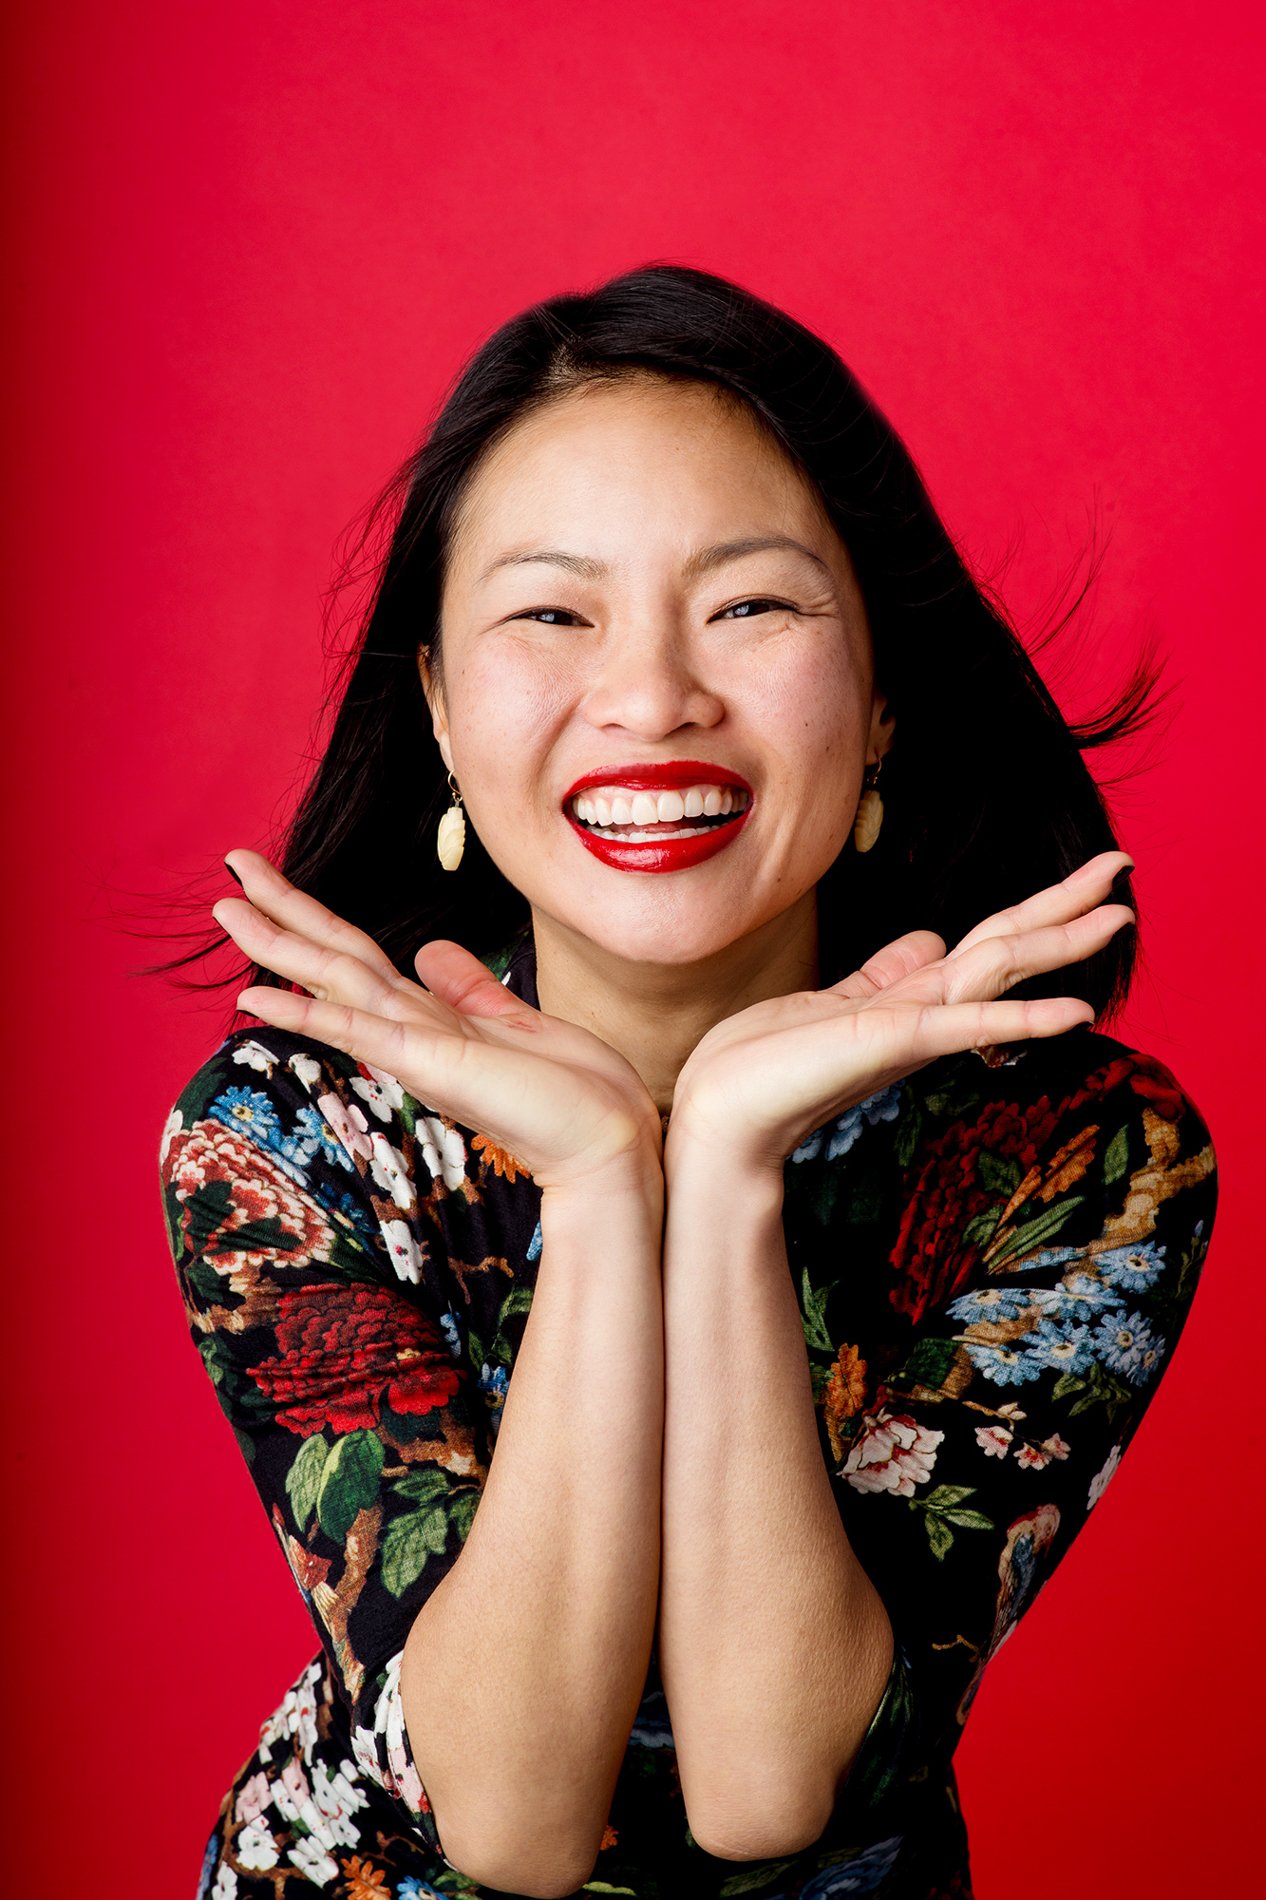
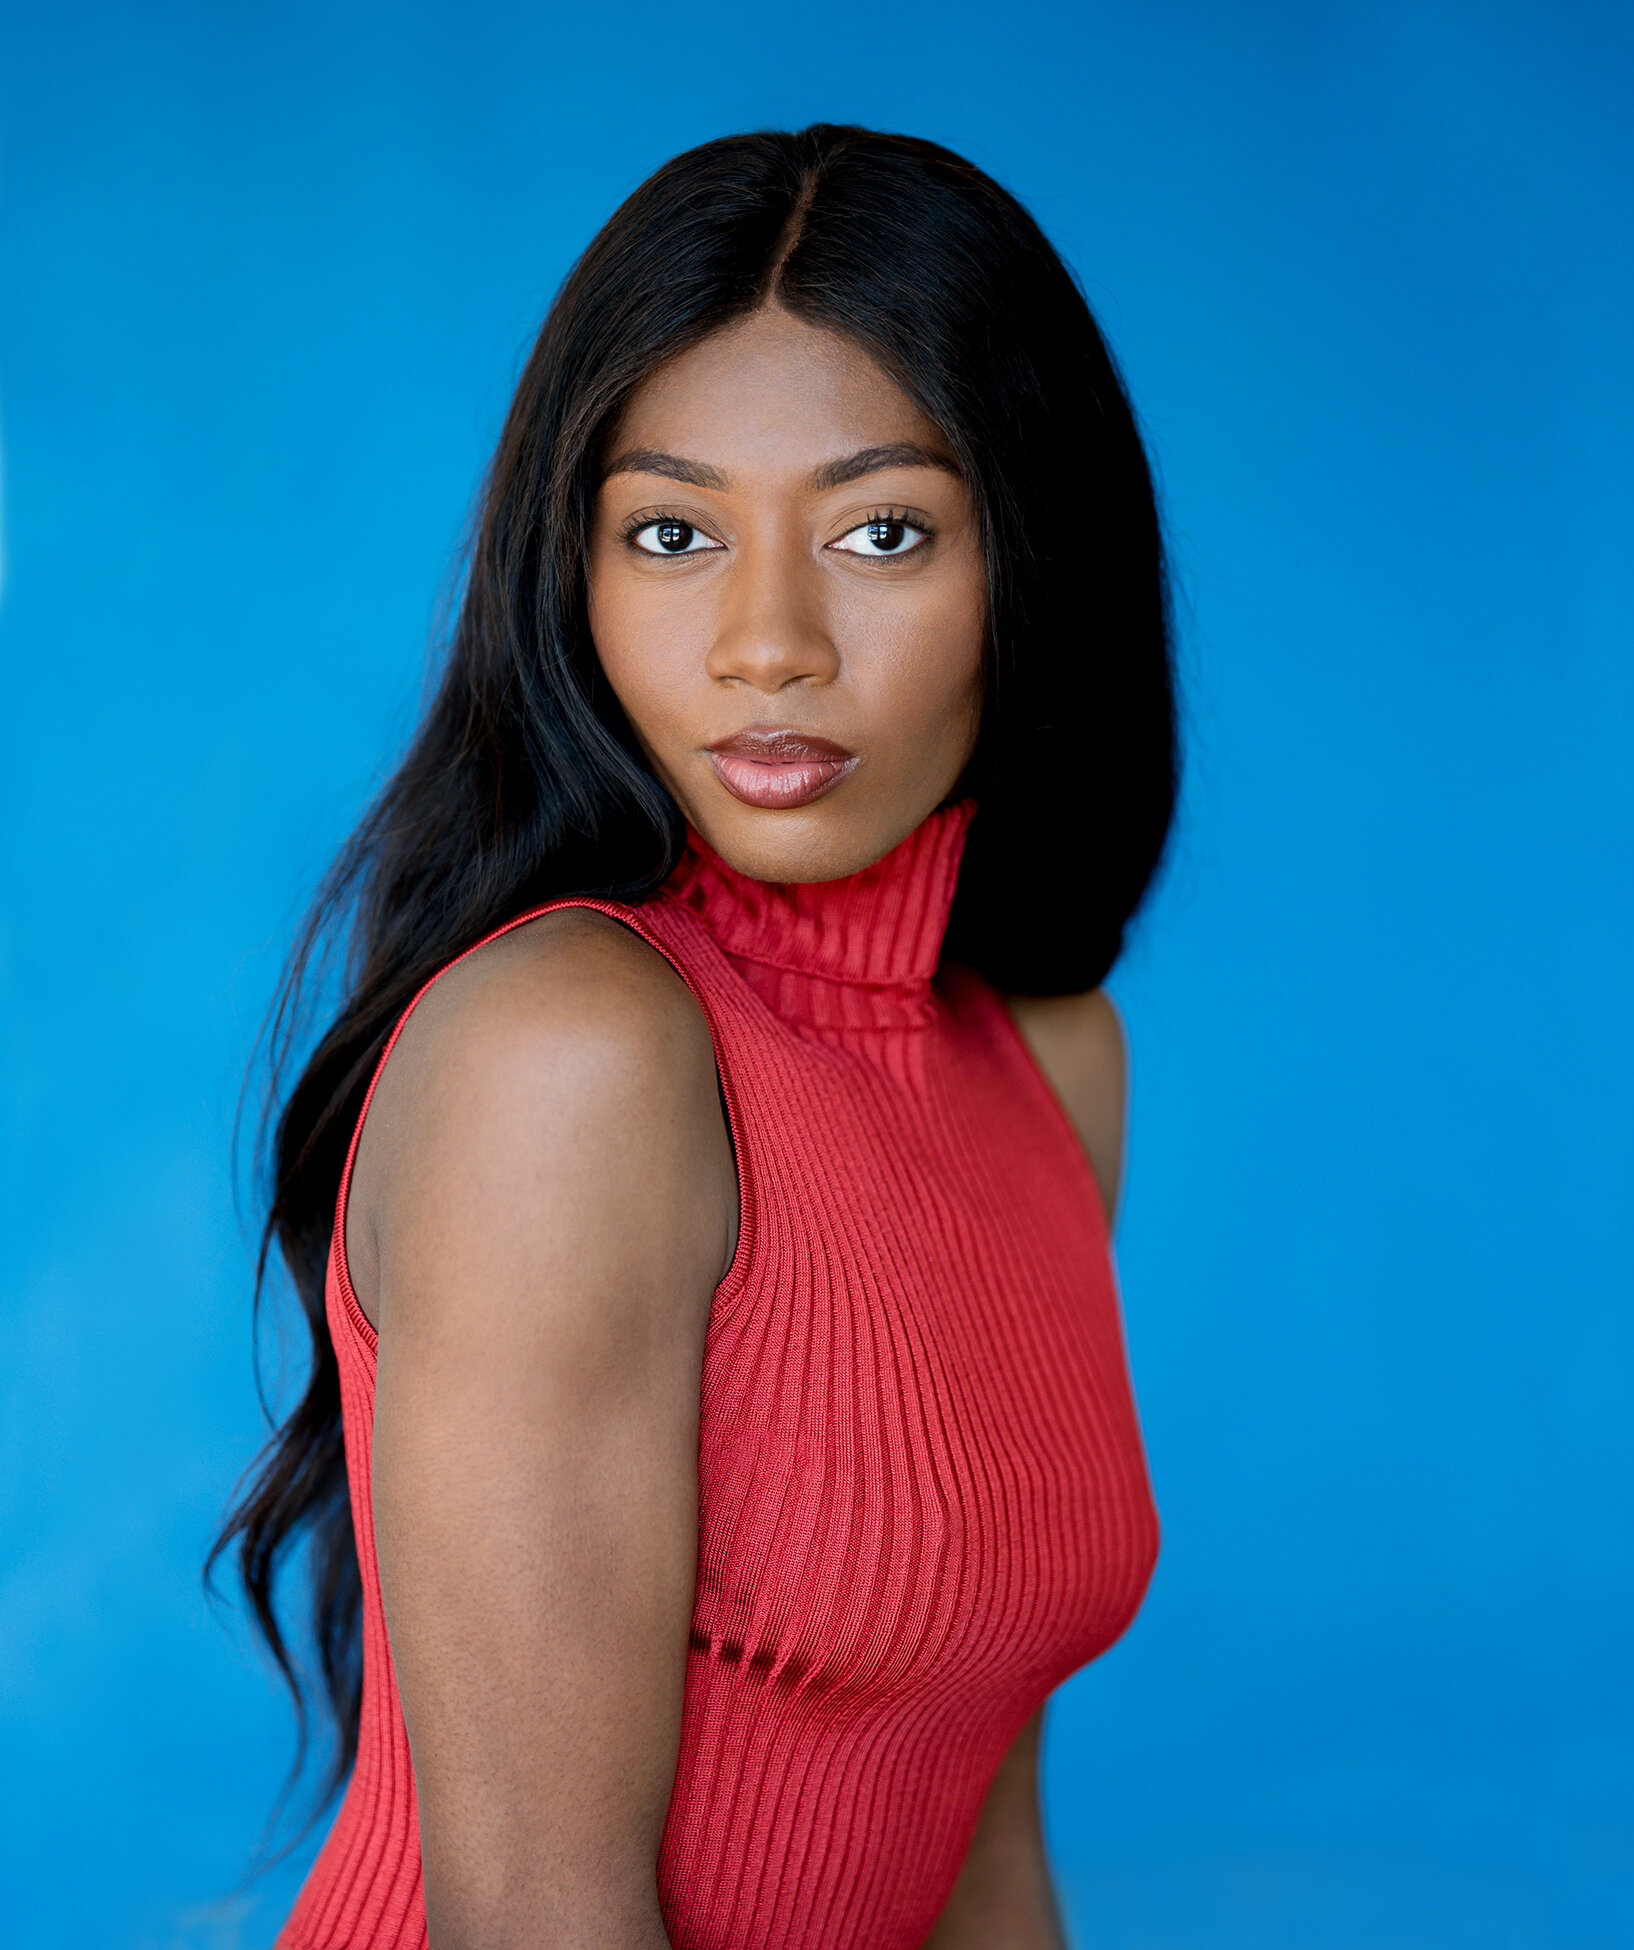
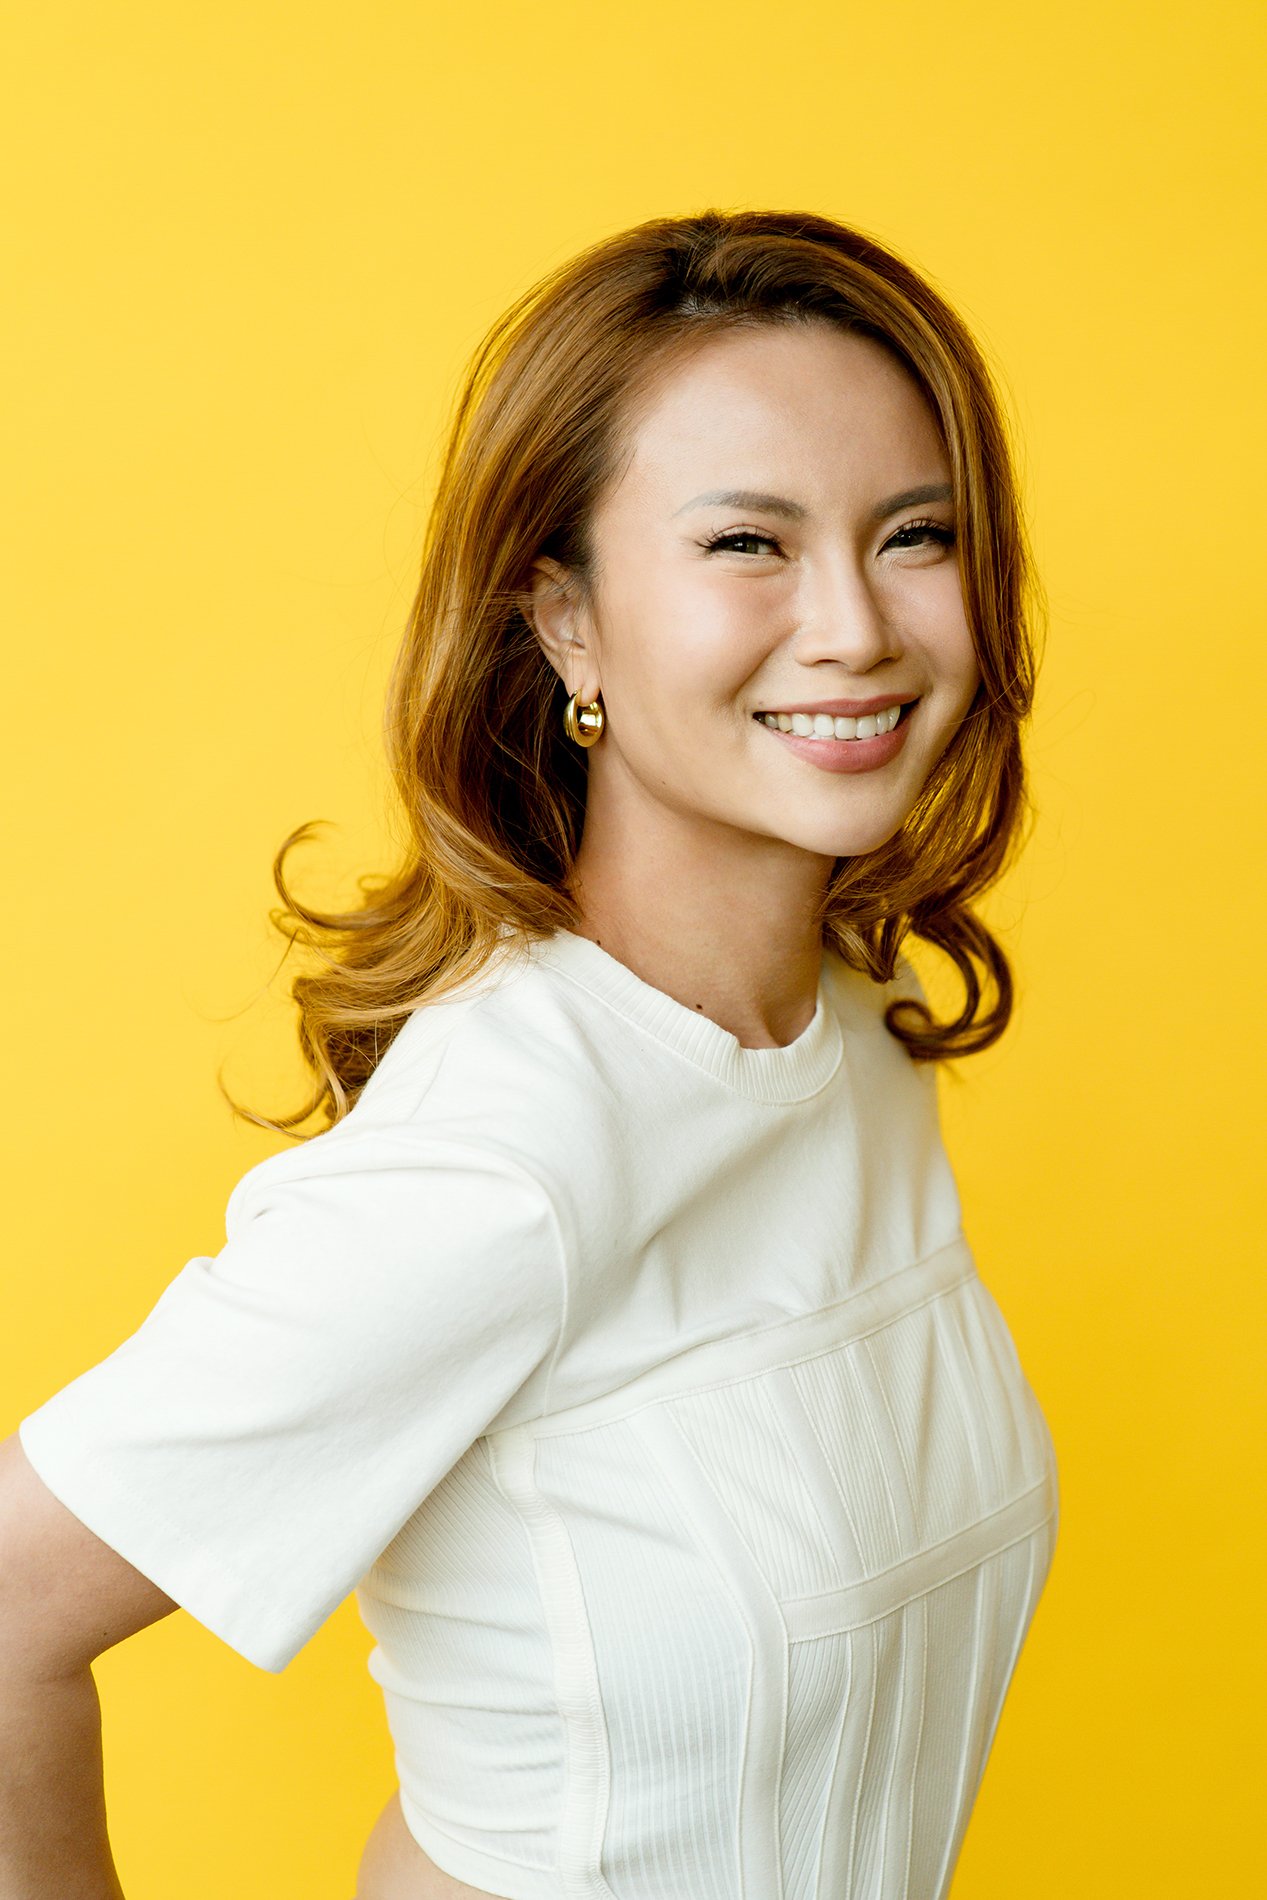
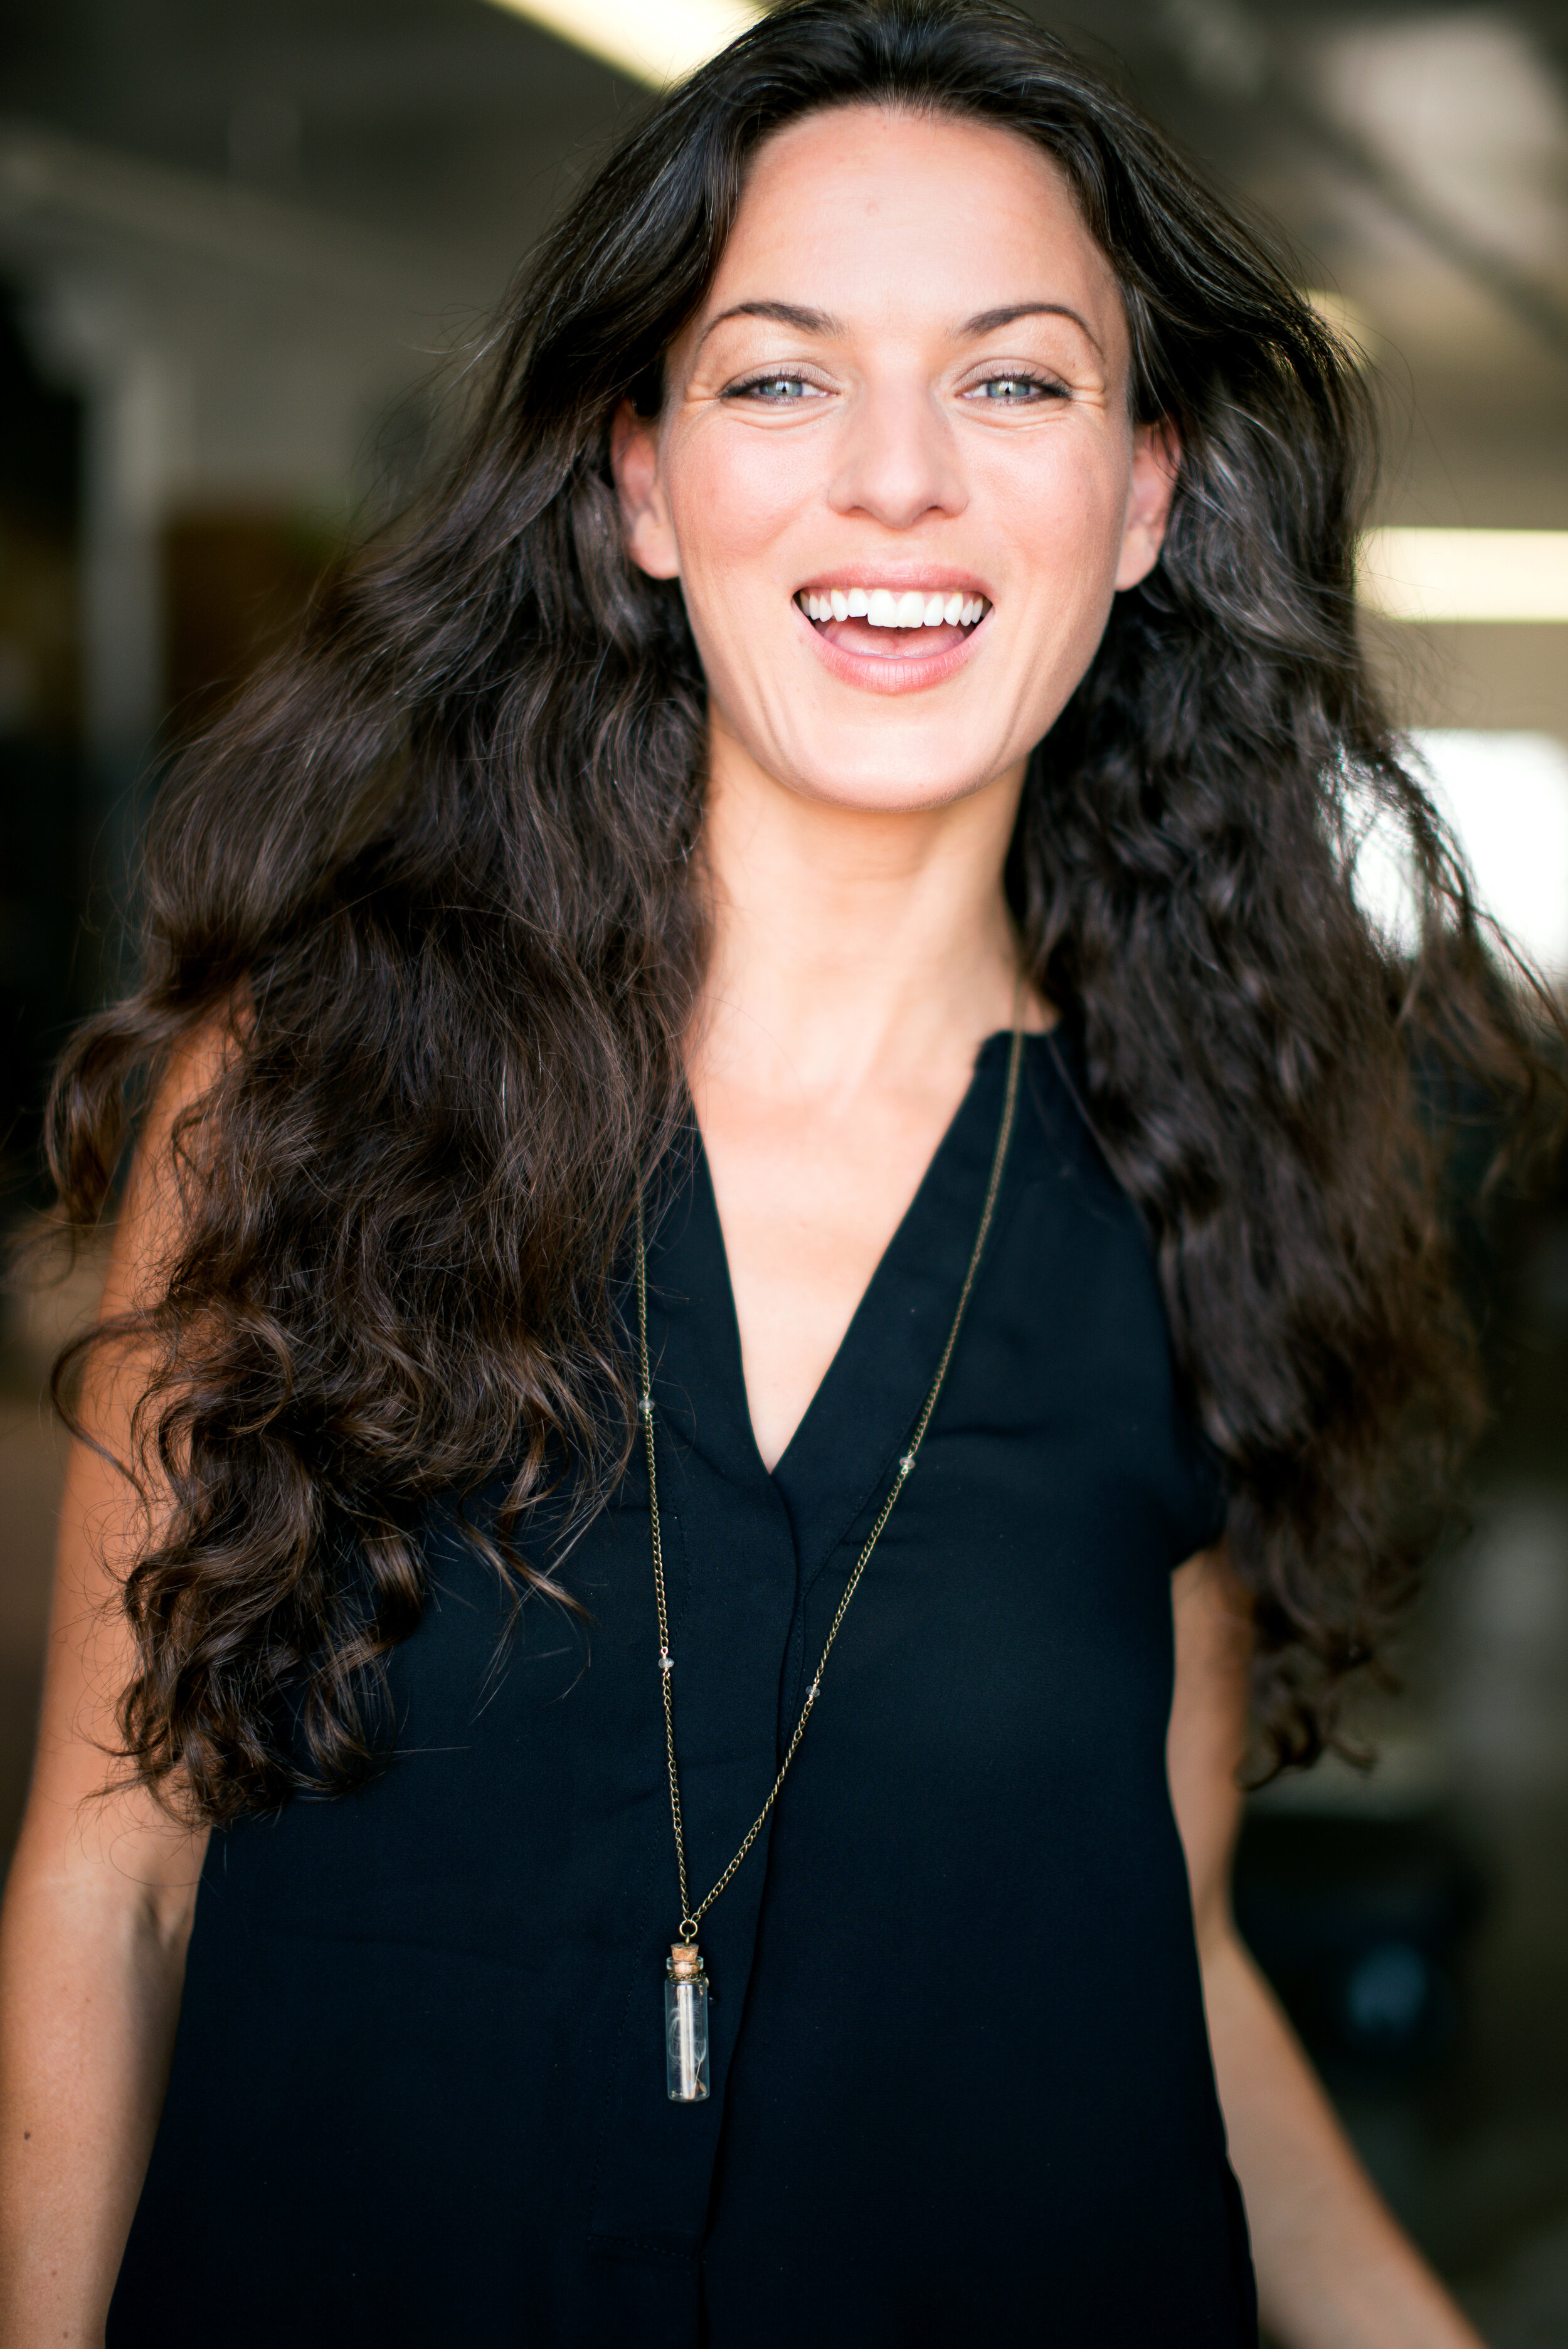
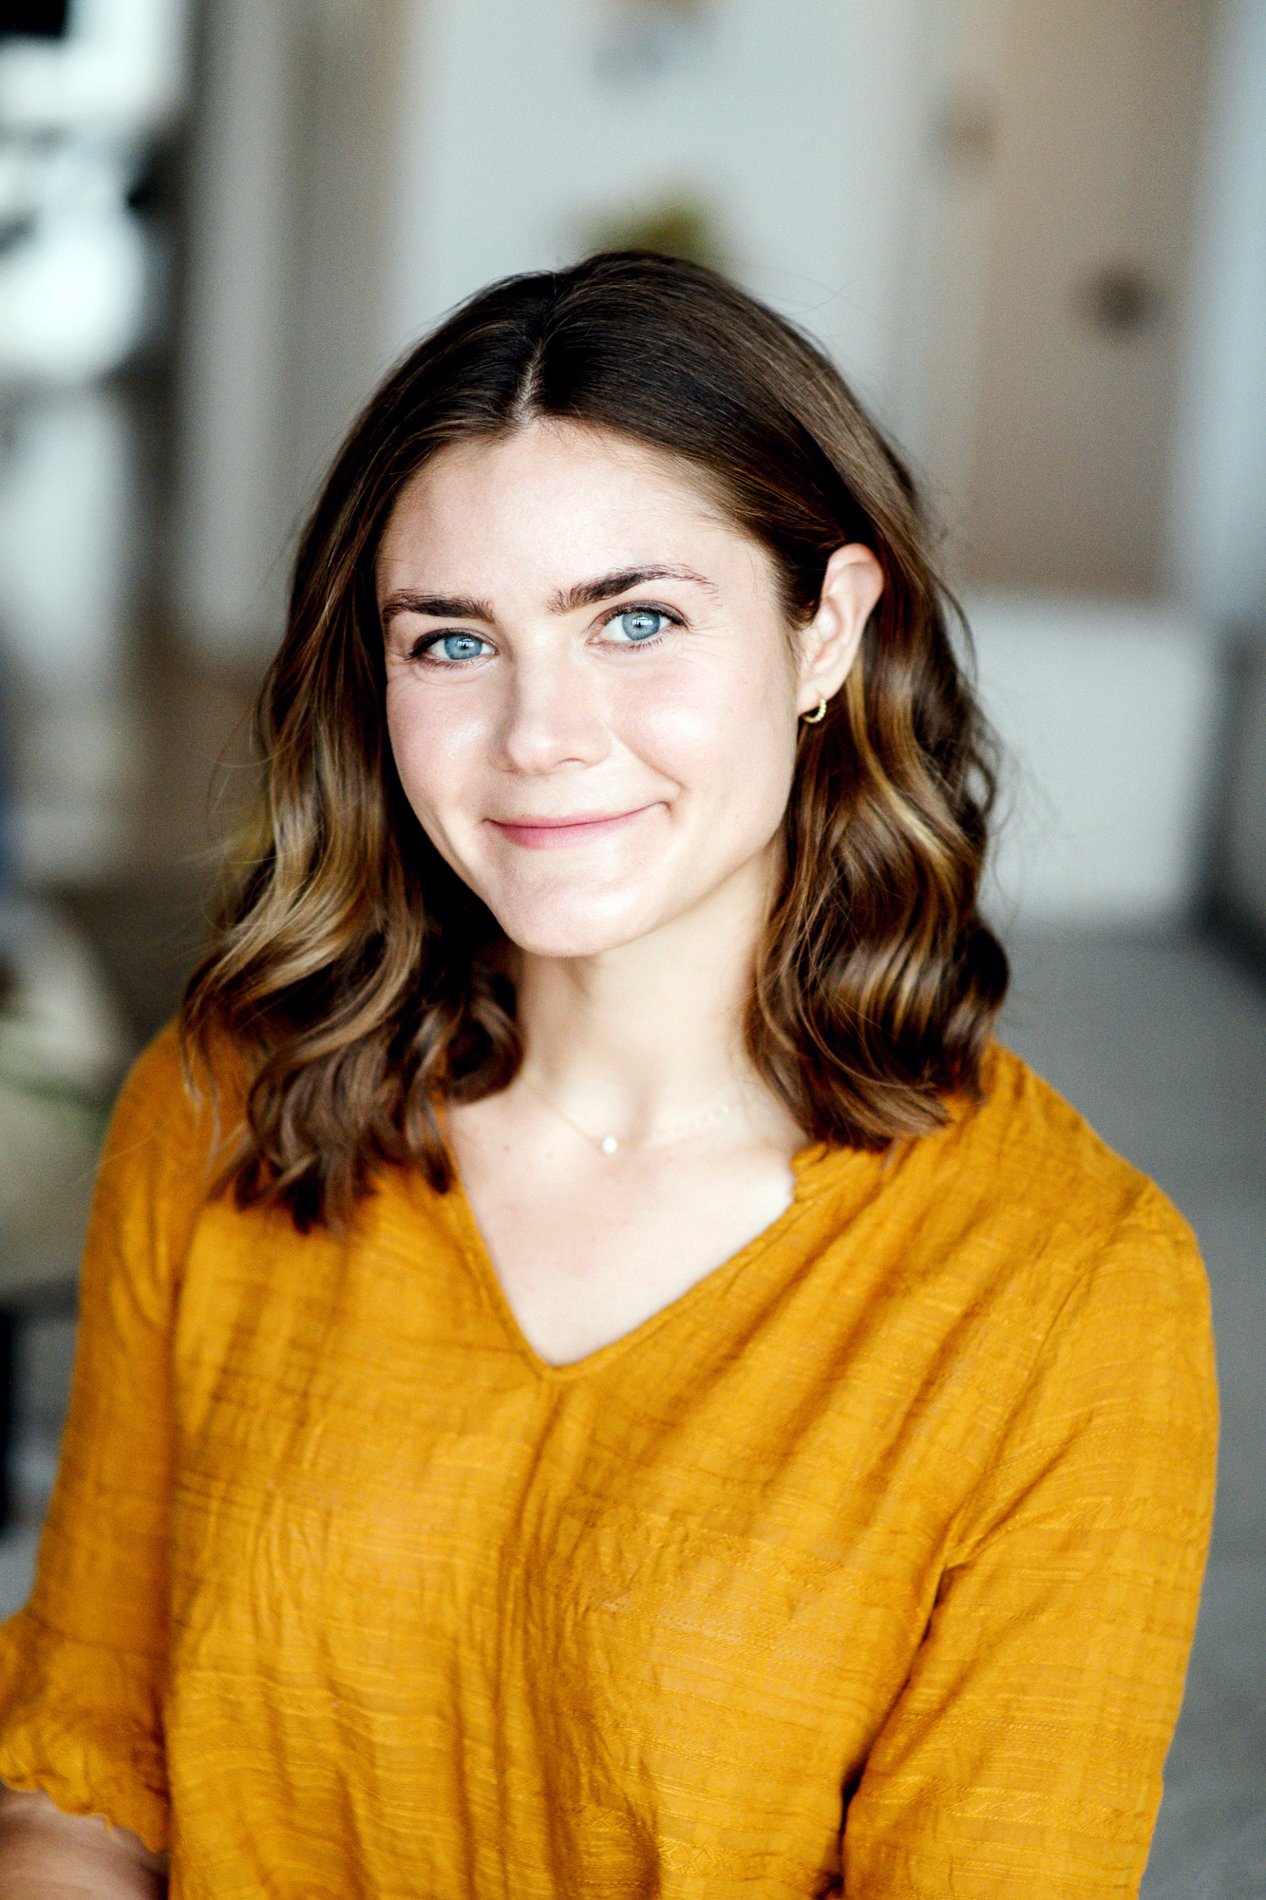
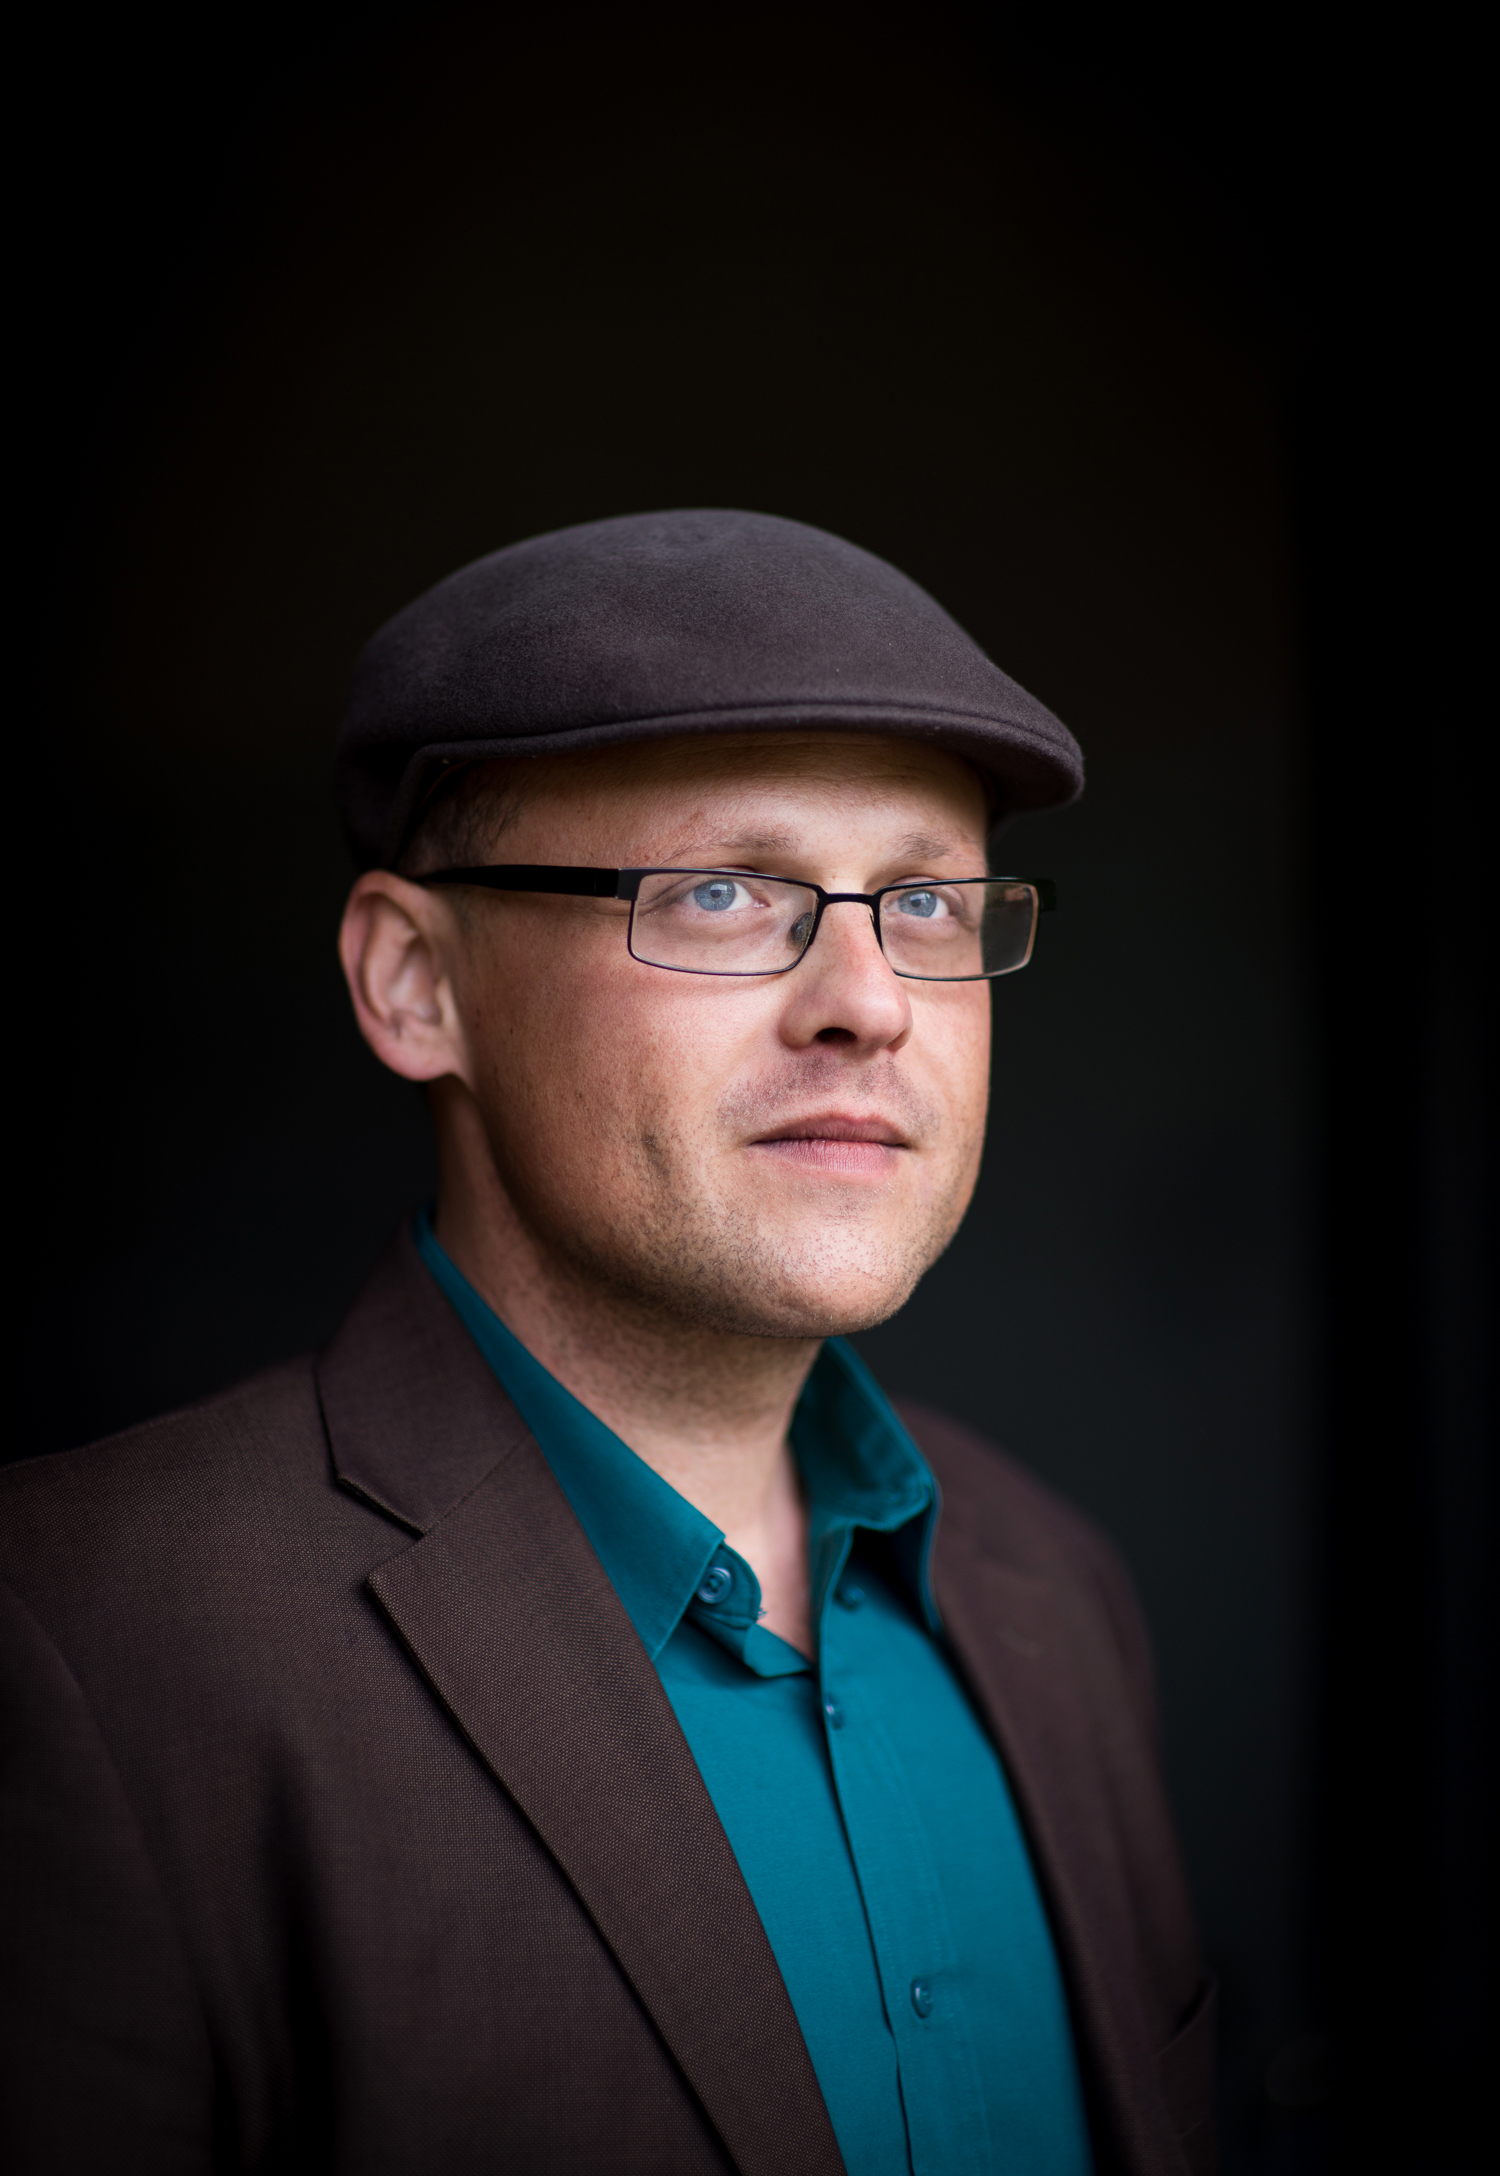
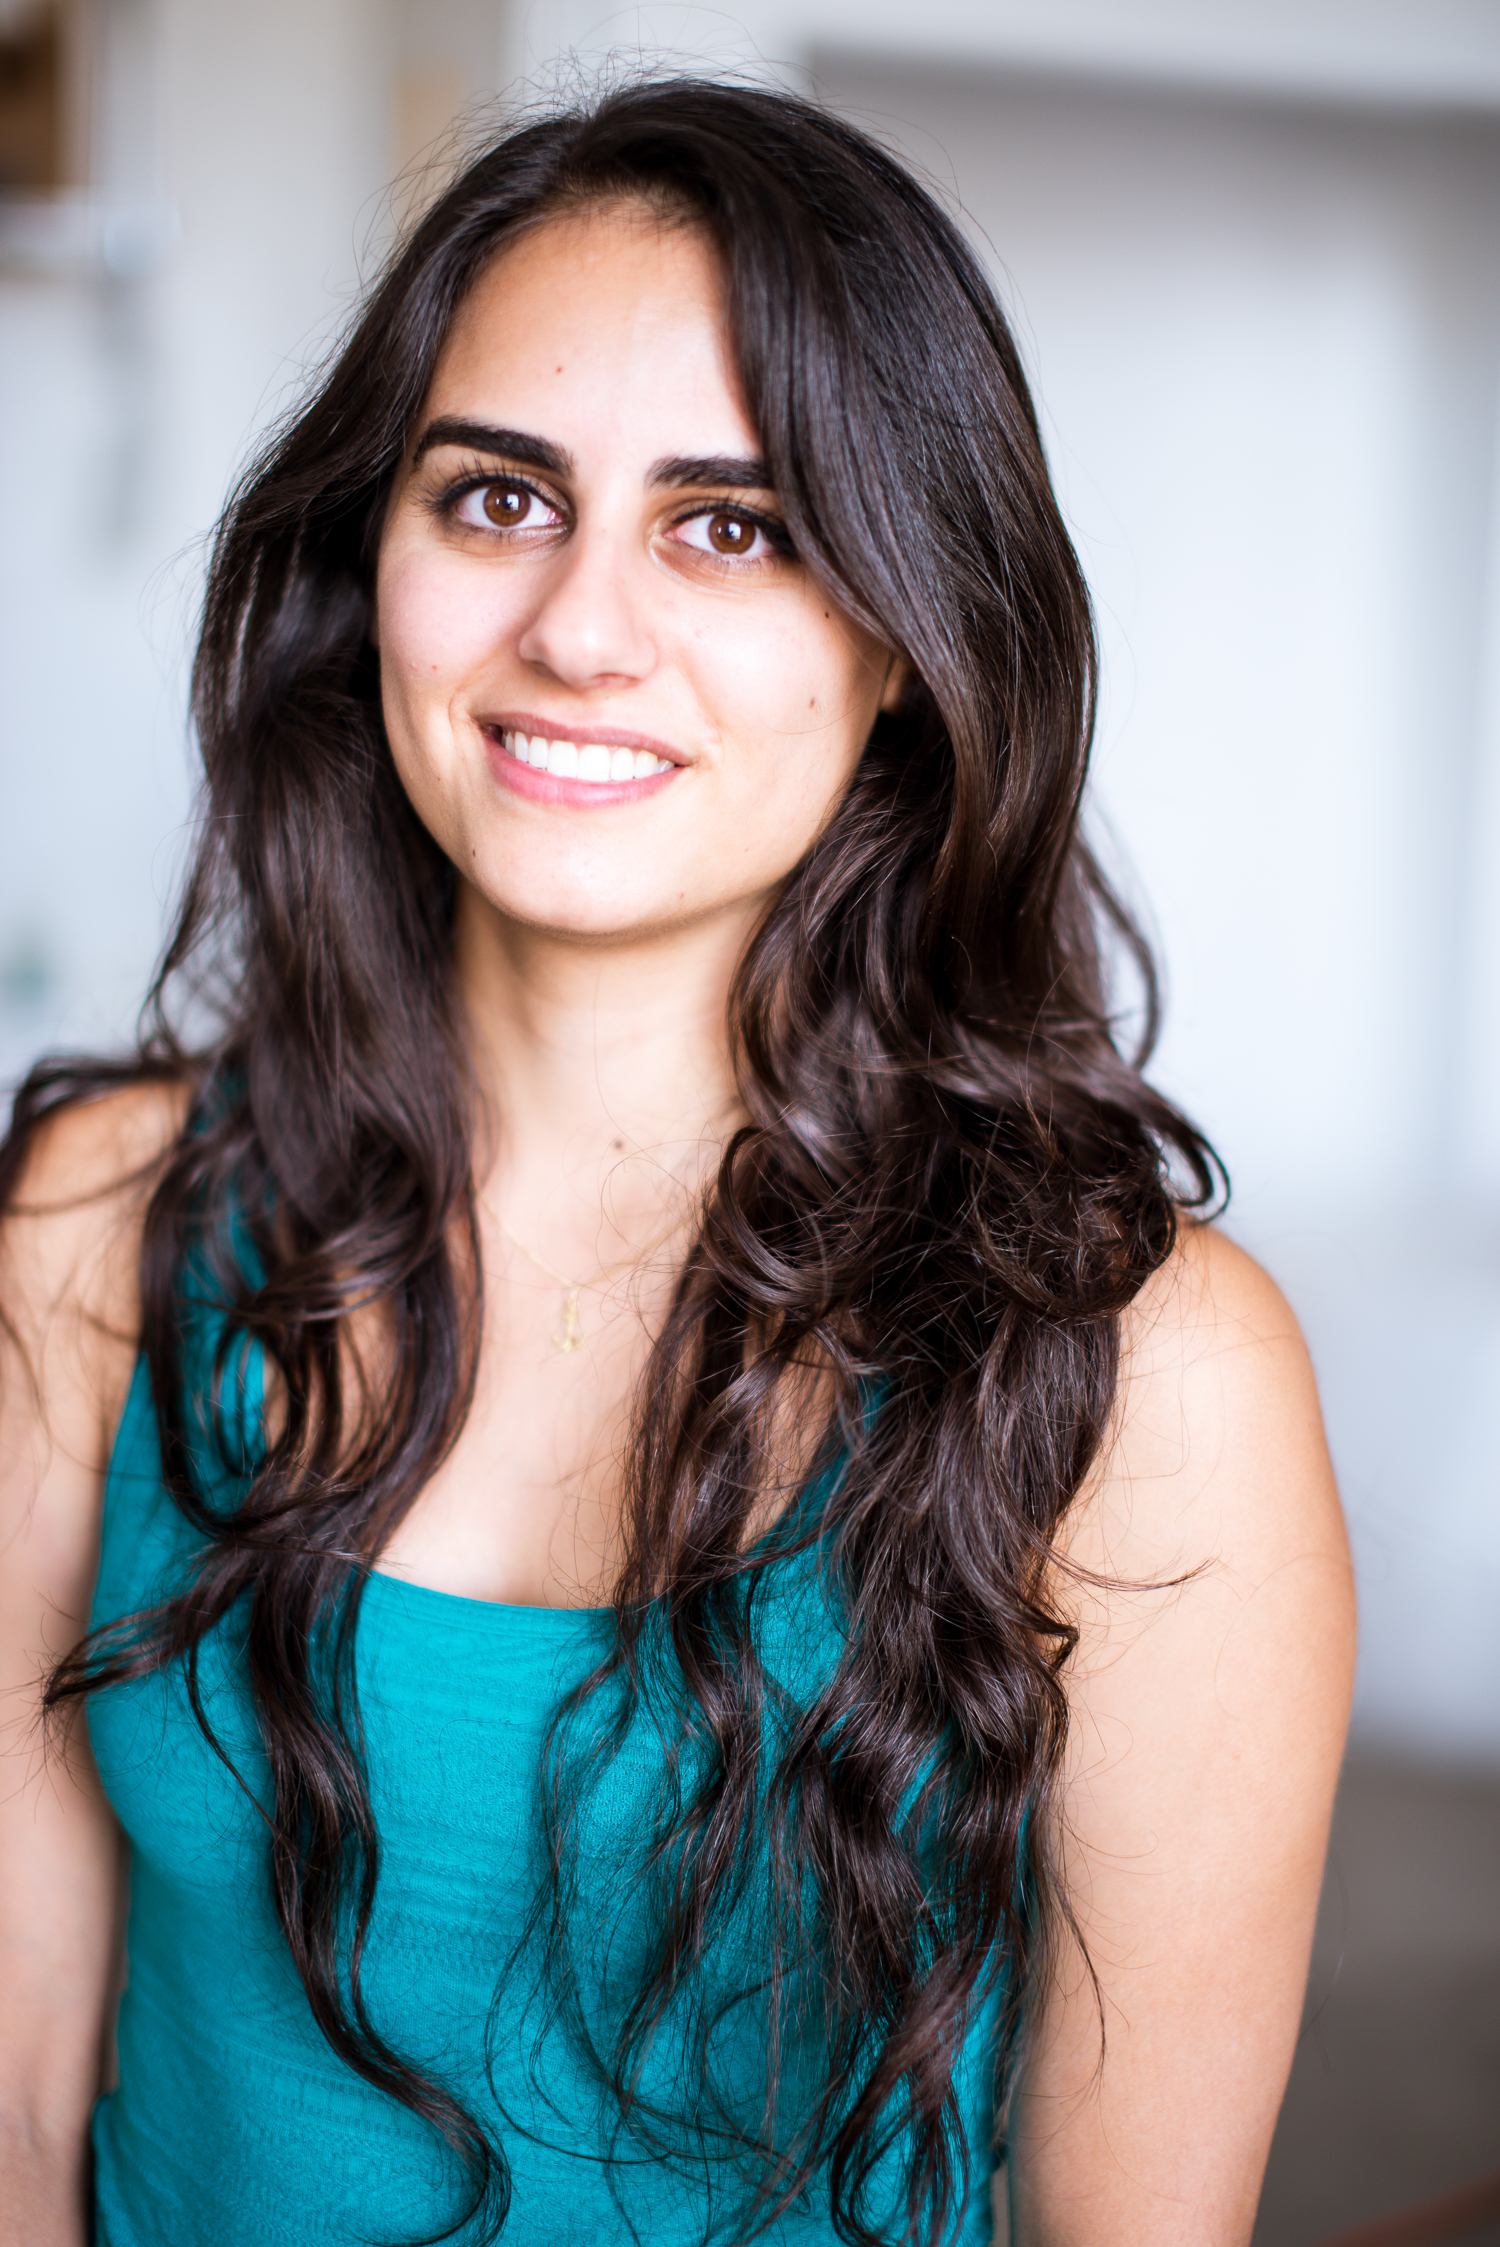
When considering your color options, take a look at your branding materials and choose a color that will fit in cohesively on your website, Instagram, email signature, or company website. I like simple black for a minimalistic look, and I also love bold colors. If you feel clueless about color, think about it symbolically. What message are you trying to convey to your clients? Red brings us the message of power, prosperity, and passion. Orange or yellow conveys fun and creativity. Green connects us to the plant world and to the heart. Blue is calming, evoking clarity and insight. Violet brings to mind wisdom, bravery, and intuition. Your. color choice is another opportunity for you to communicate to your clients.
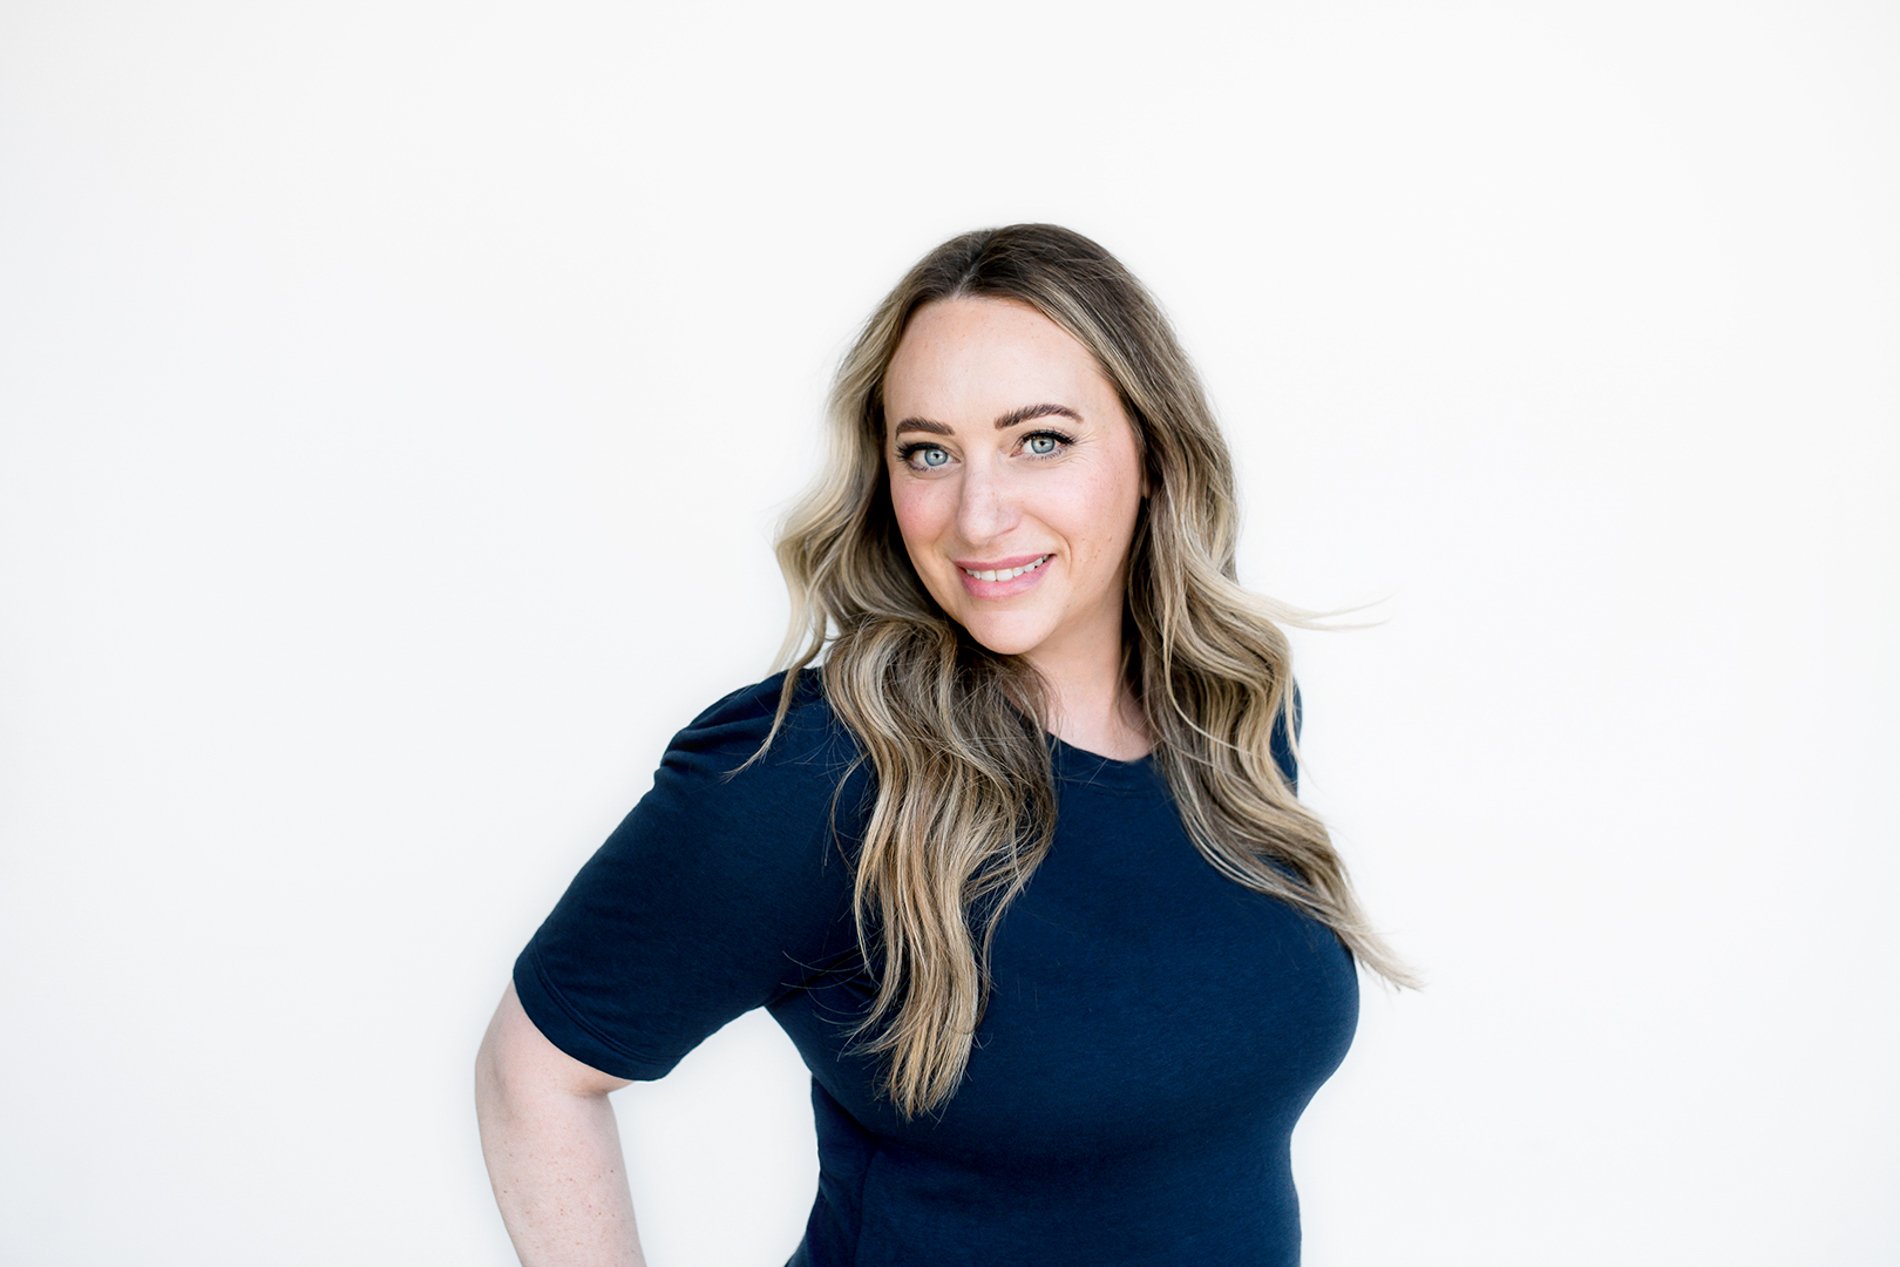
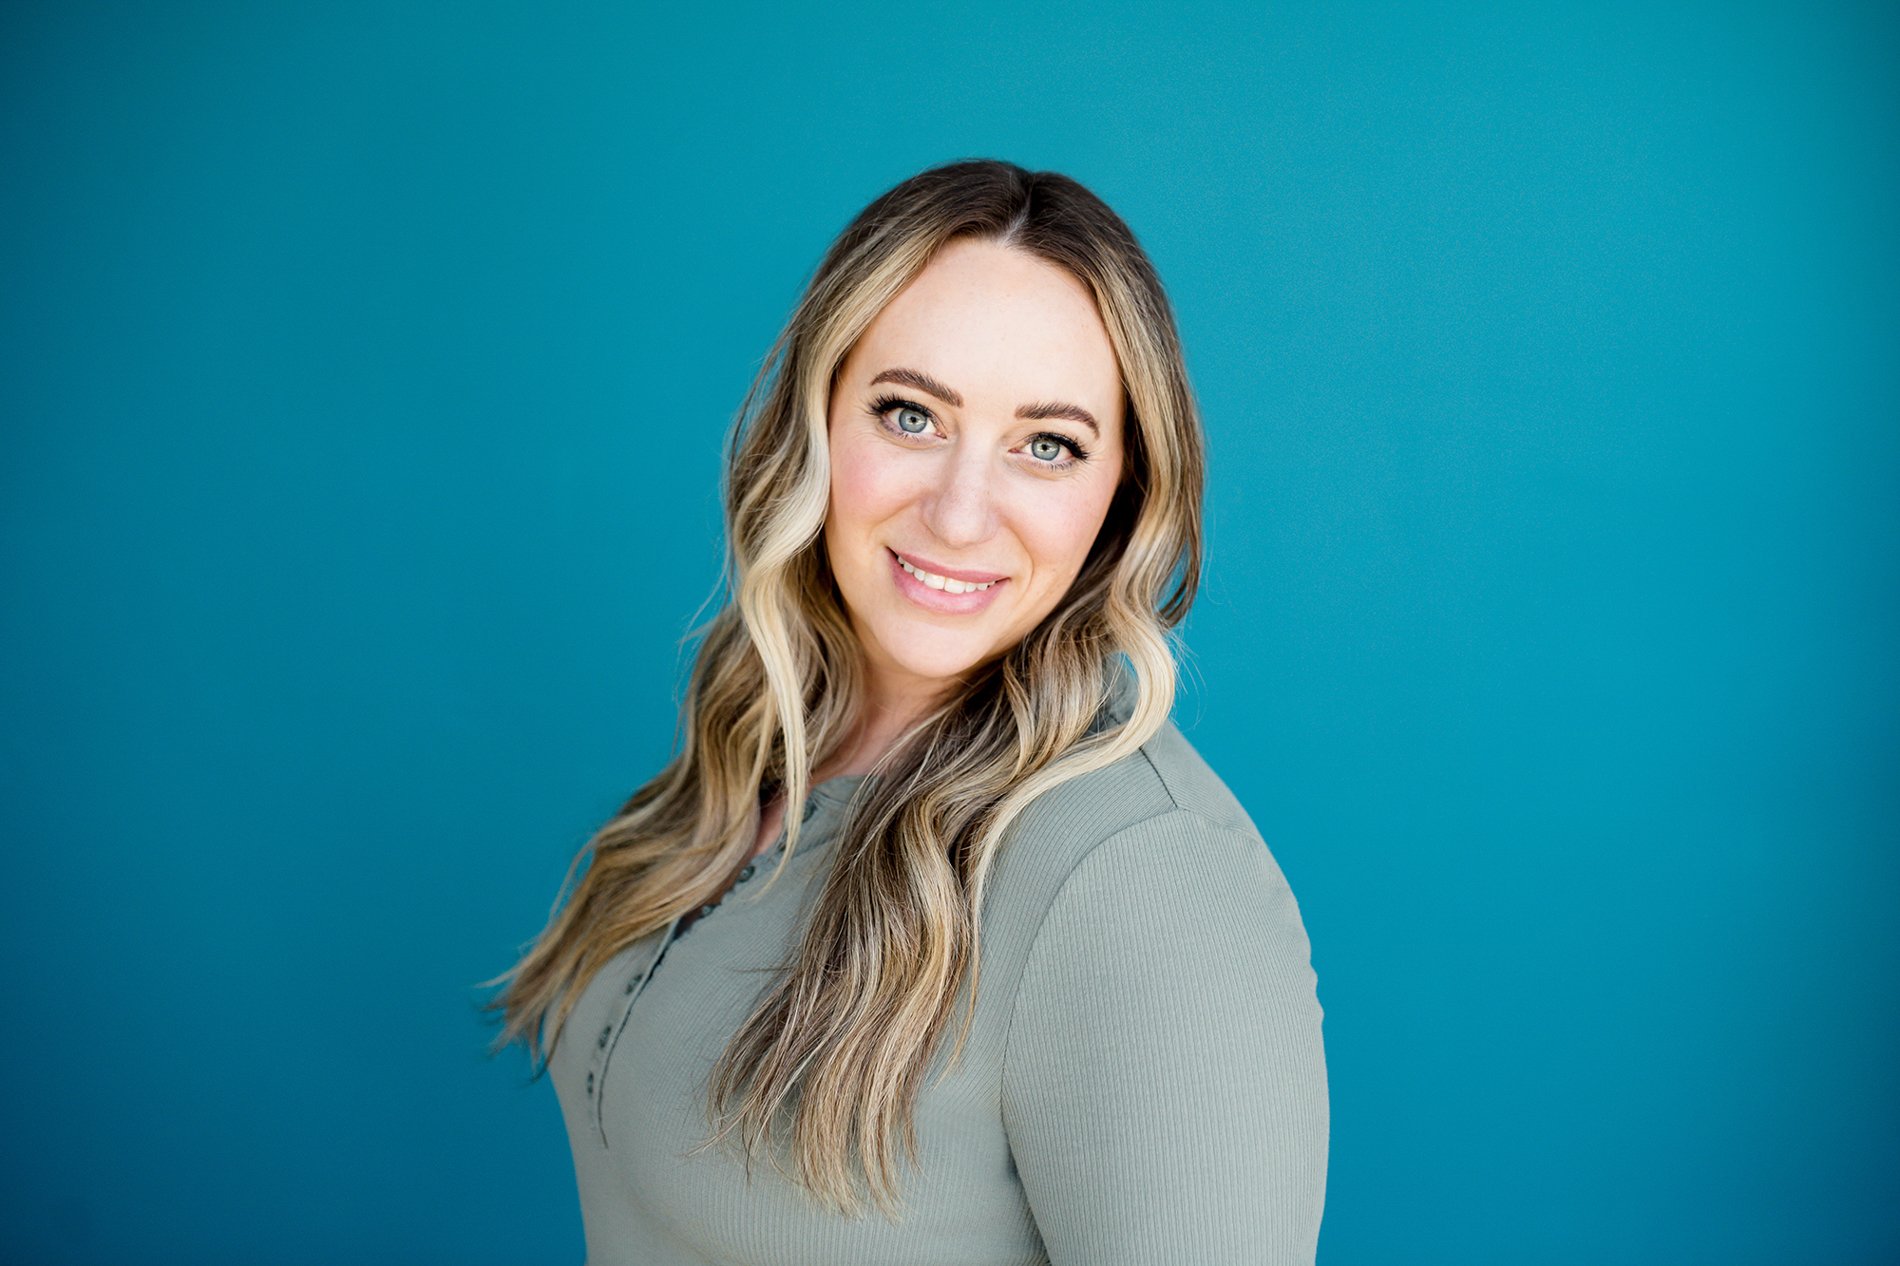
Another consideration is the background color for your photos. If you’re being photographed on a white backdrop don’t wear white. If you’re on a black, don’t wear black.
Have your clothes pressed, and bring them to the studio on hangers. There is a steamer and lint roller available here for touch ups.Exfoliate and moisturize. The morning of your session (or the night before if your skin is sensitive) is a great time to scrub your skin with a gentle exfoliant. This evens out the texture and plumps your skin for a glowing and supple look. Some of my go to scrubs are The Clean Dirt from May Lindstrom Skin and the Microdermabrasion Scrub from DERMA E.
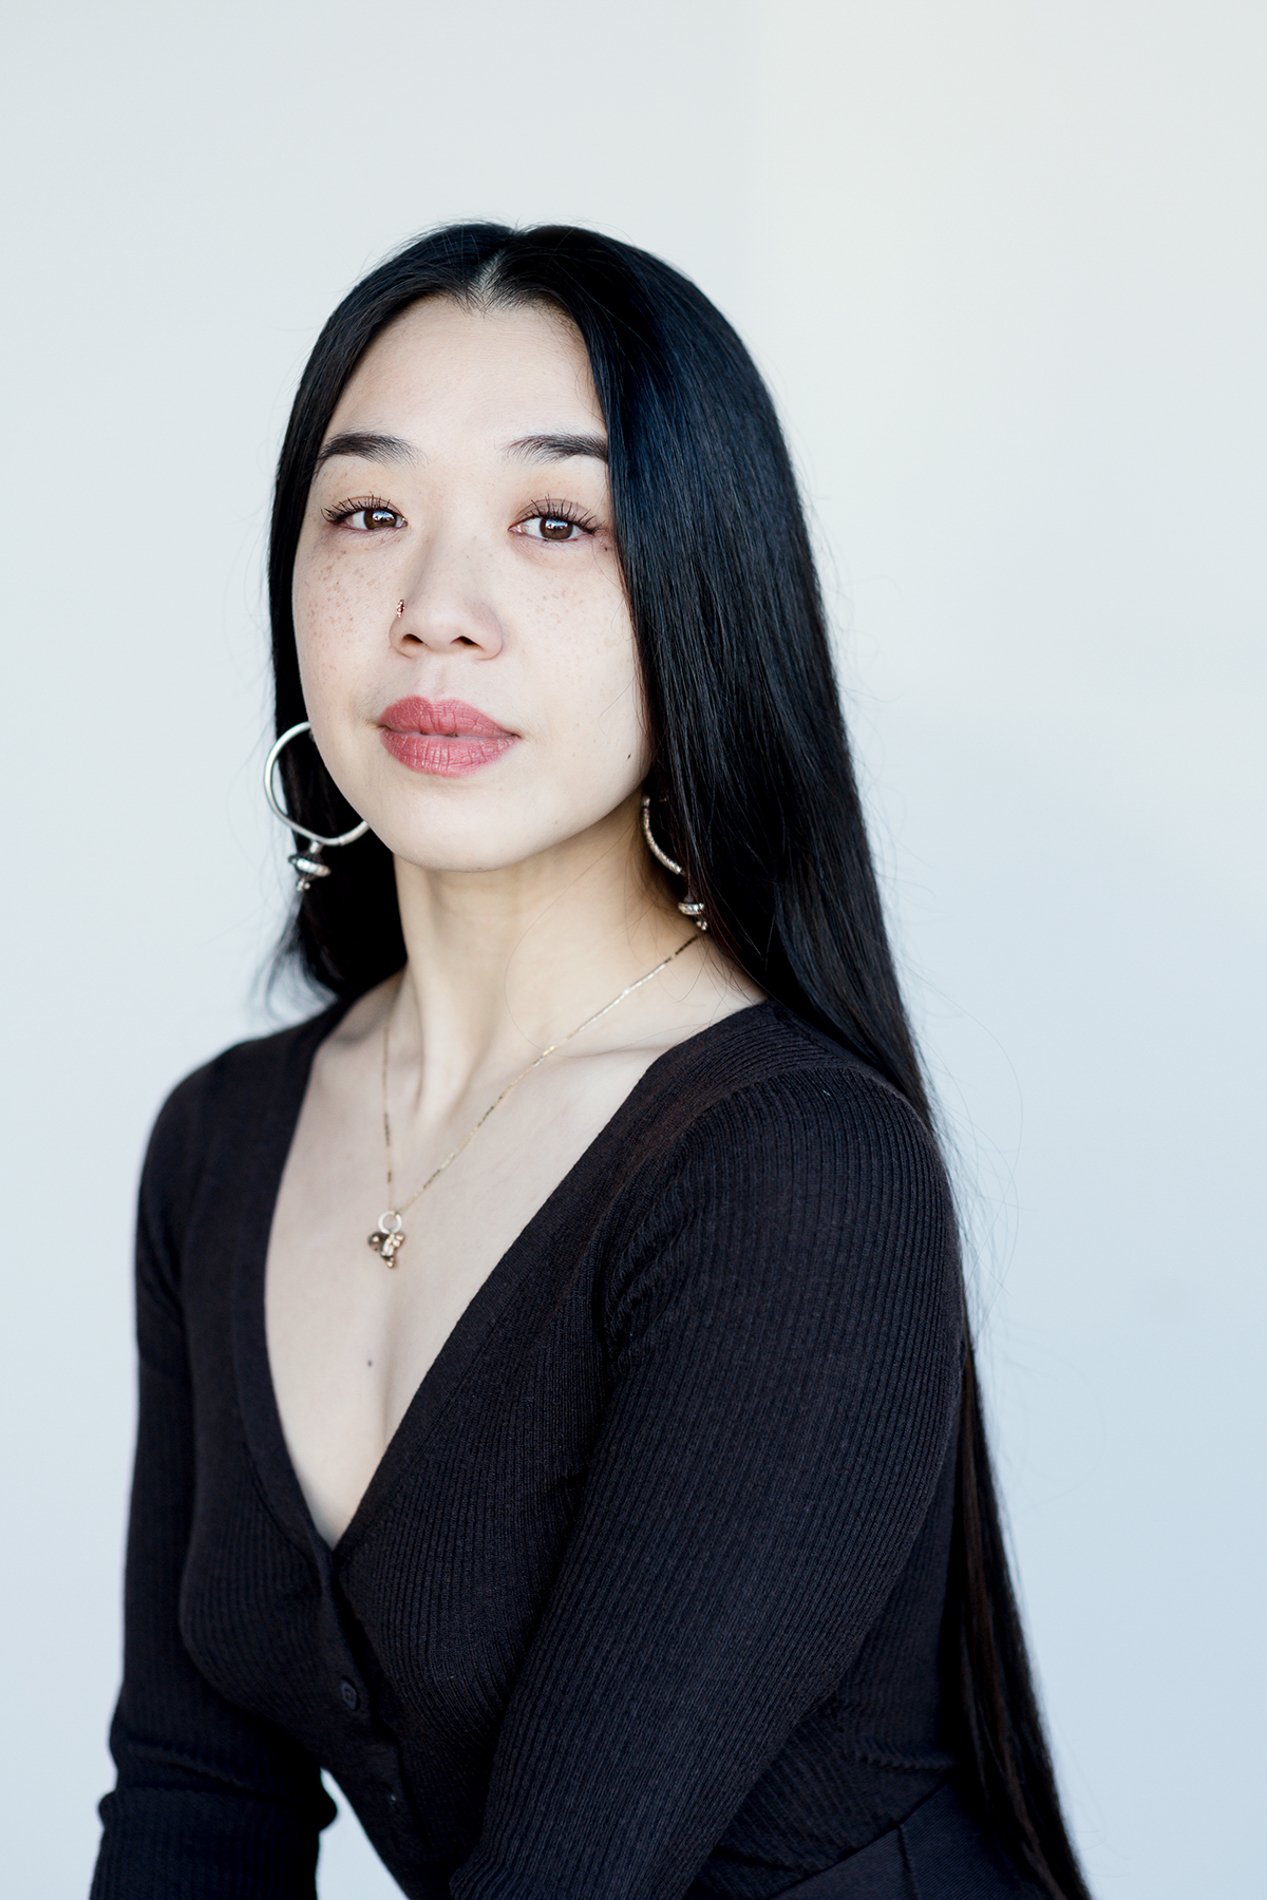
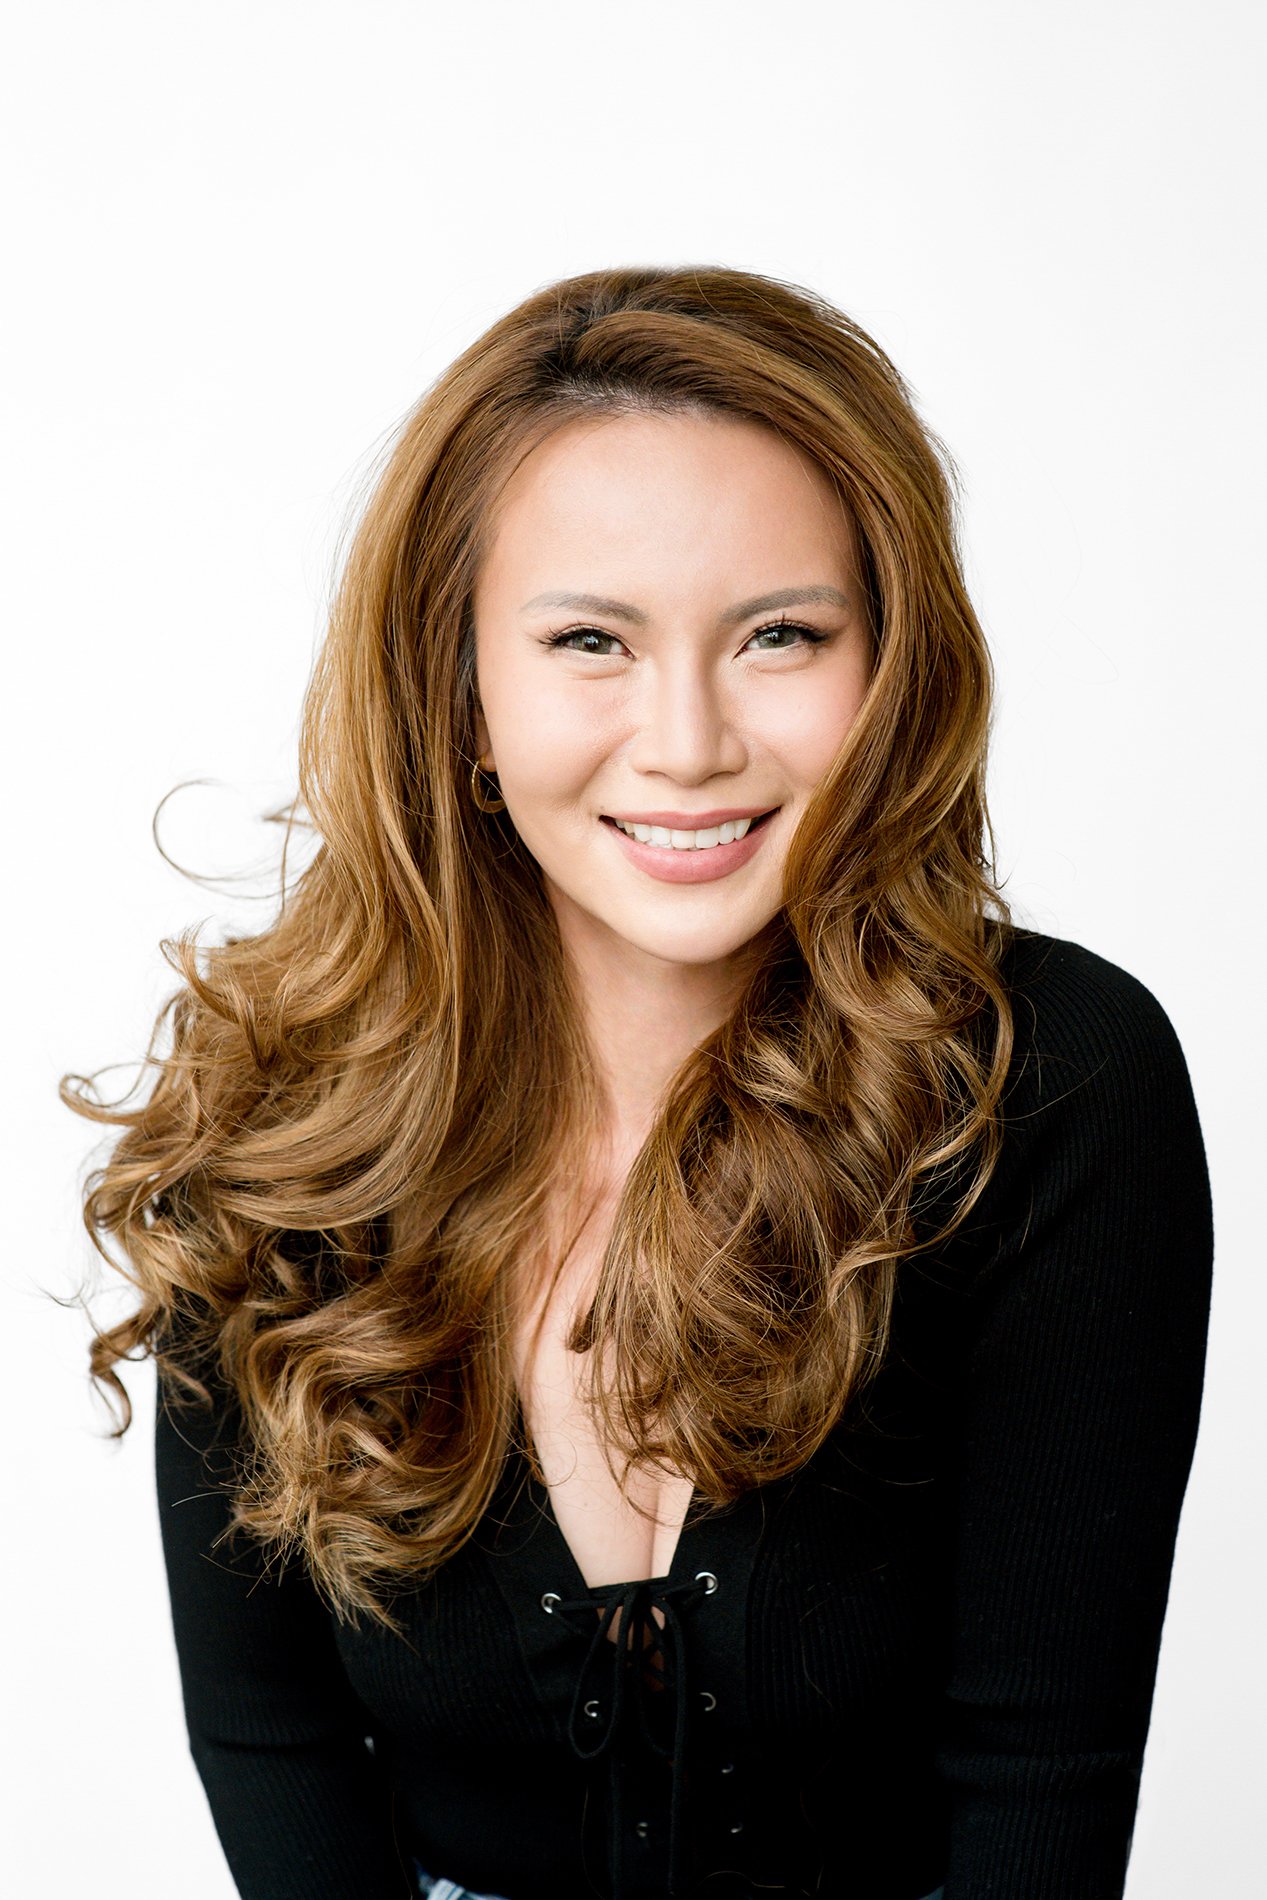
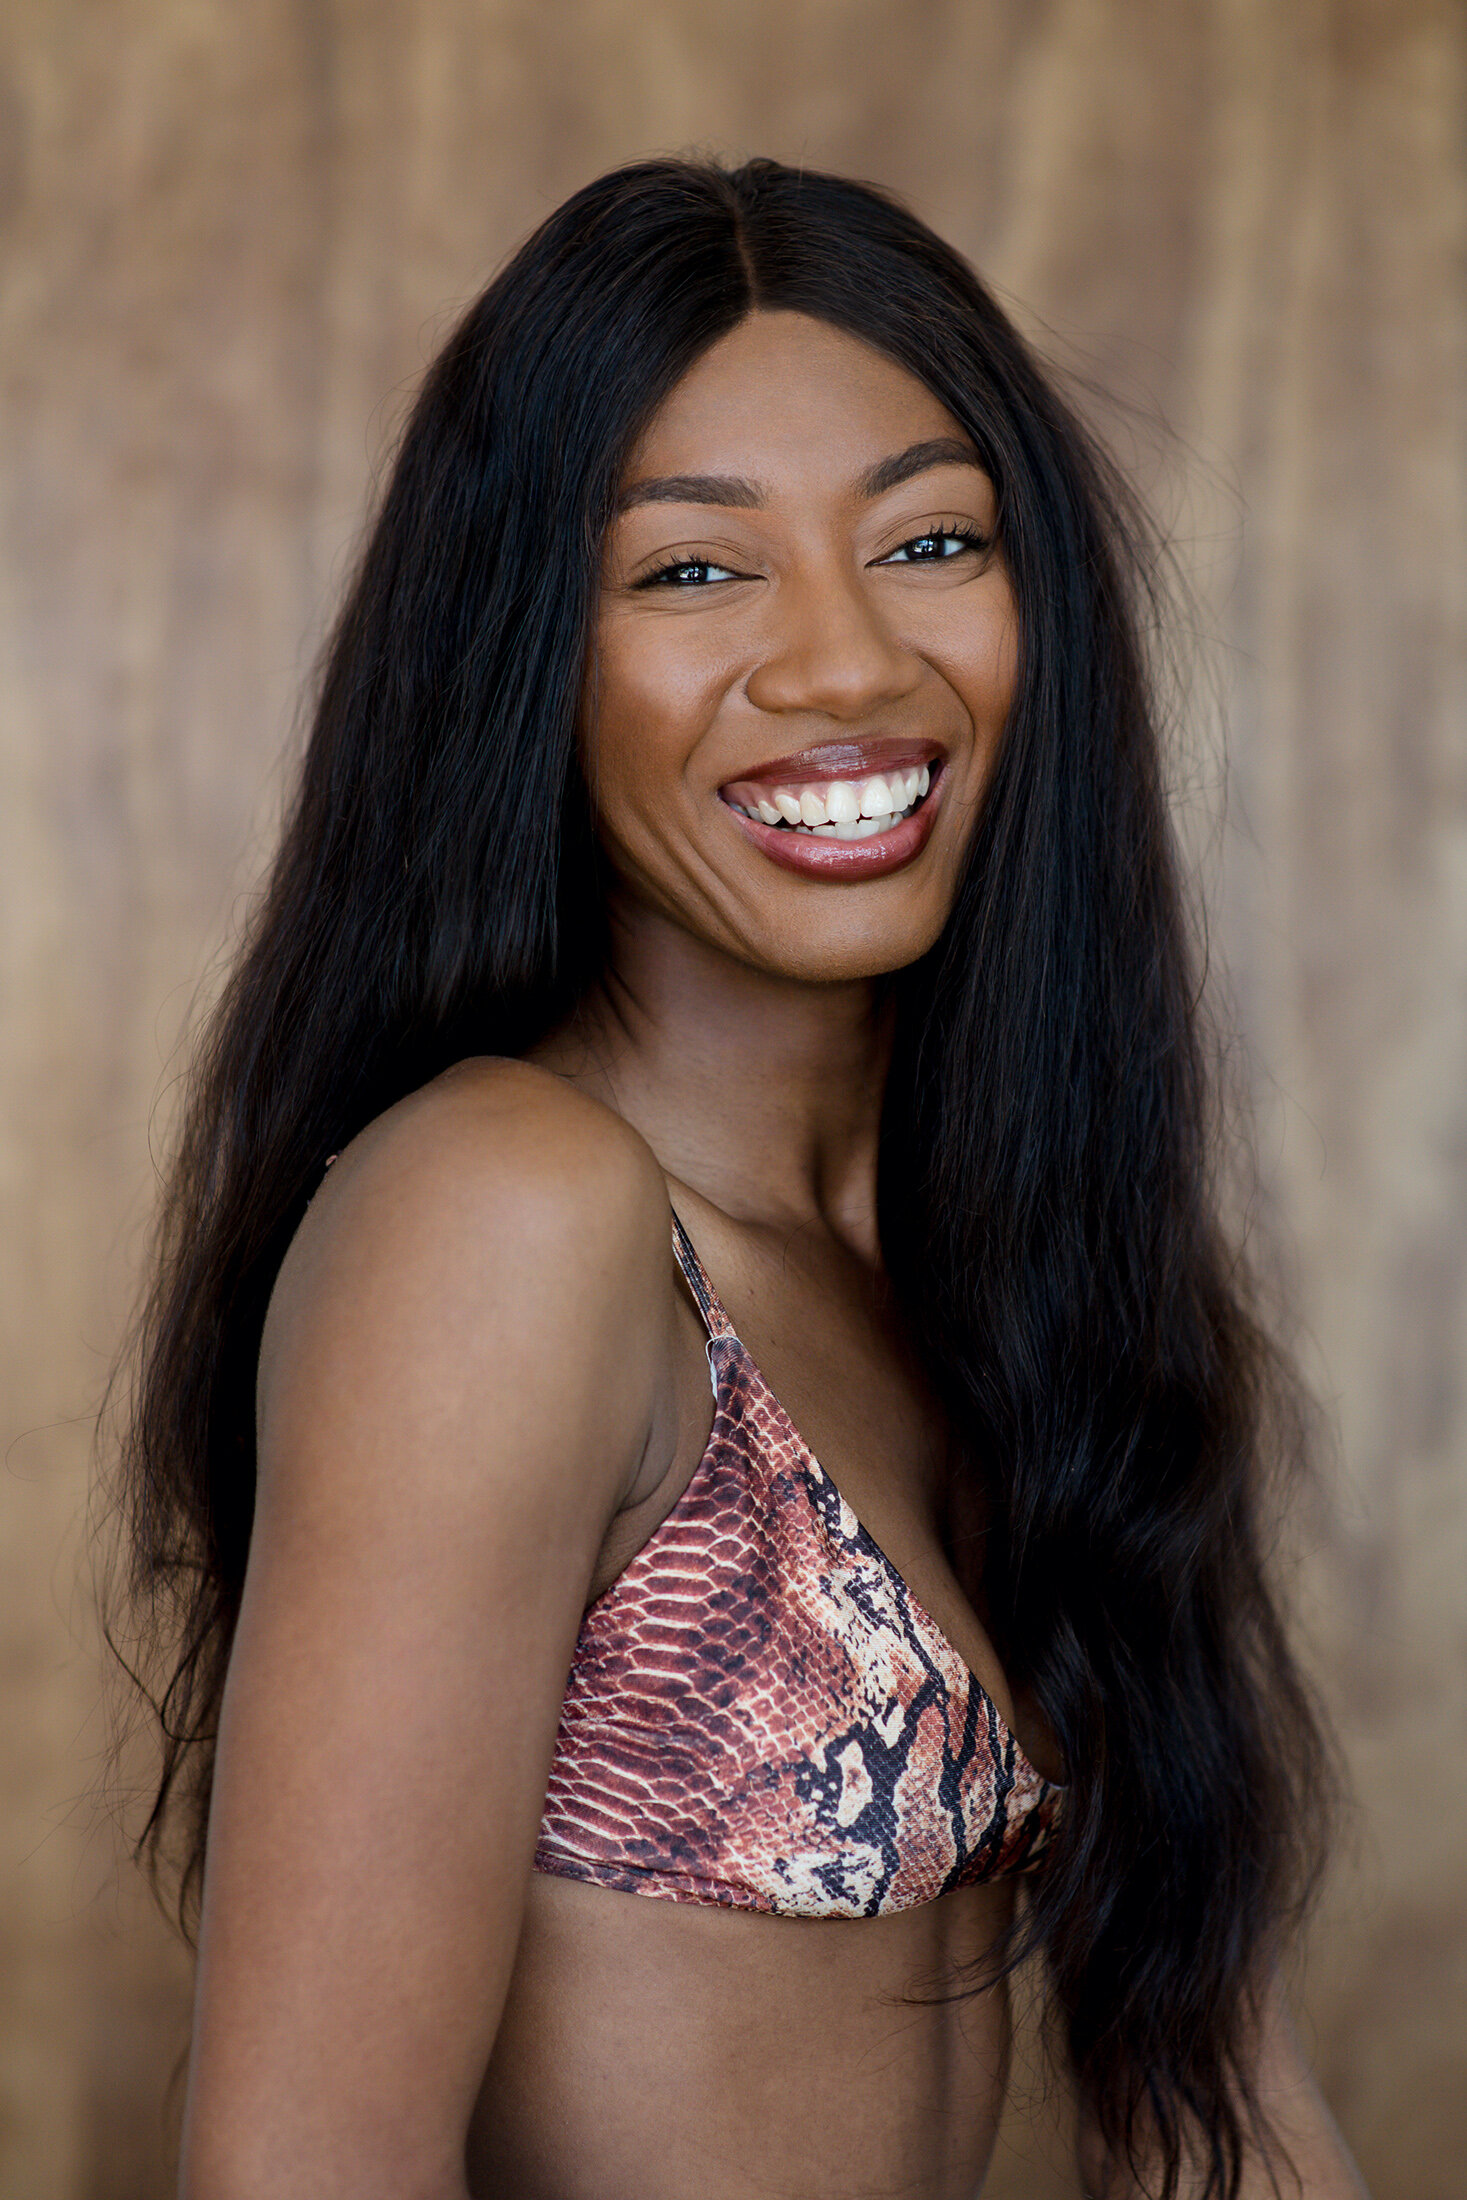
Extra makeup, but not too much extra. If you are someone who wears makeup, go on the side of more definition. At the very least, I recommend defining your brows and setting them with a brow gel, wearing some mascara and concealer, using a lip color slightly darker than your natural shade, and setting powder. Avoid smokey eyes, glitter, and lipglosses that are very frosted. Bring extra lipstick and powder with you to the session. If you want to try a bold lip color but aren’t sure you’ll like it in the photos, bring it with you to put on for the last photo set.
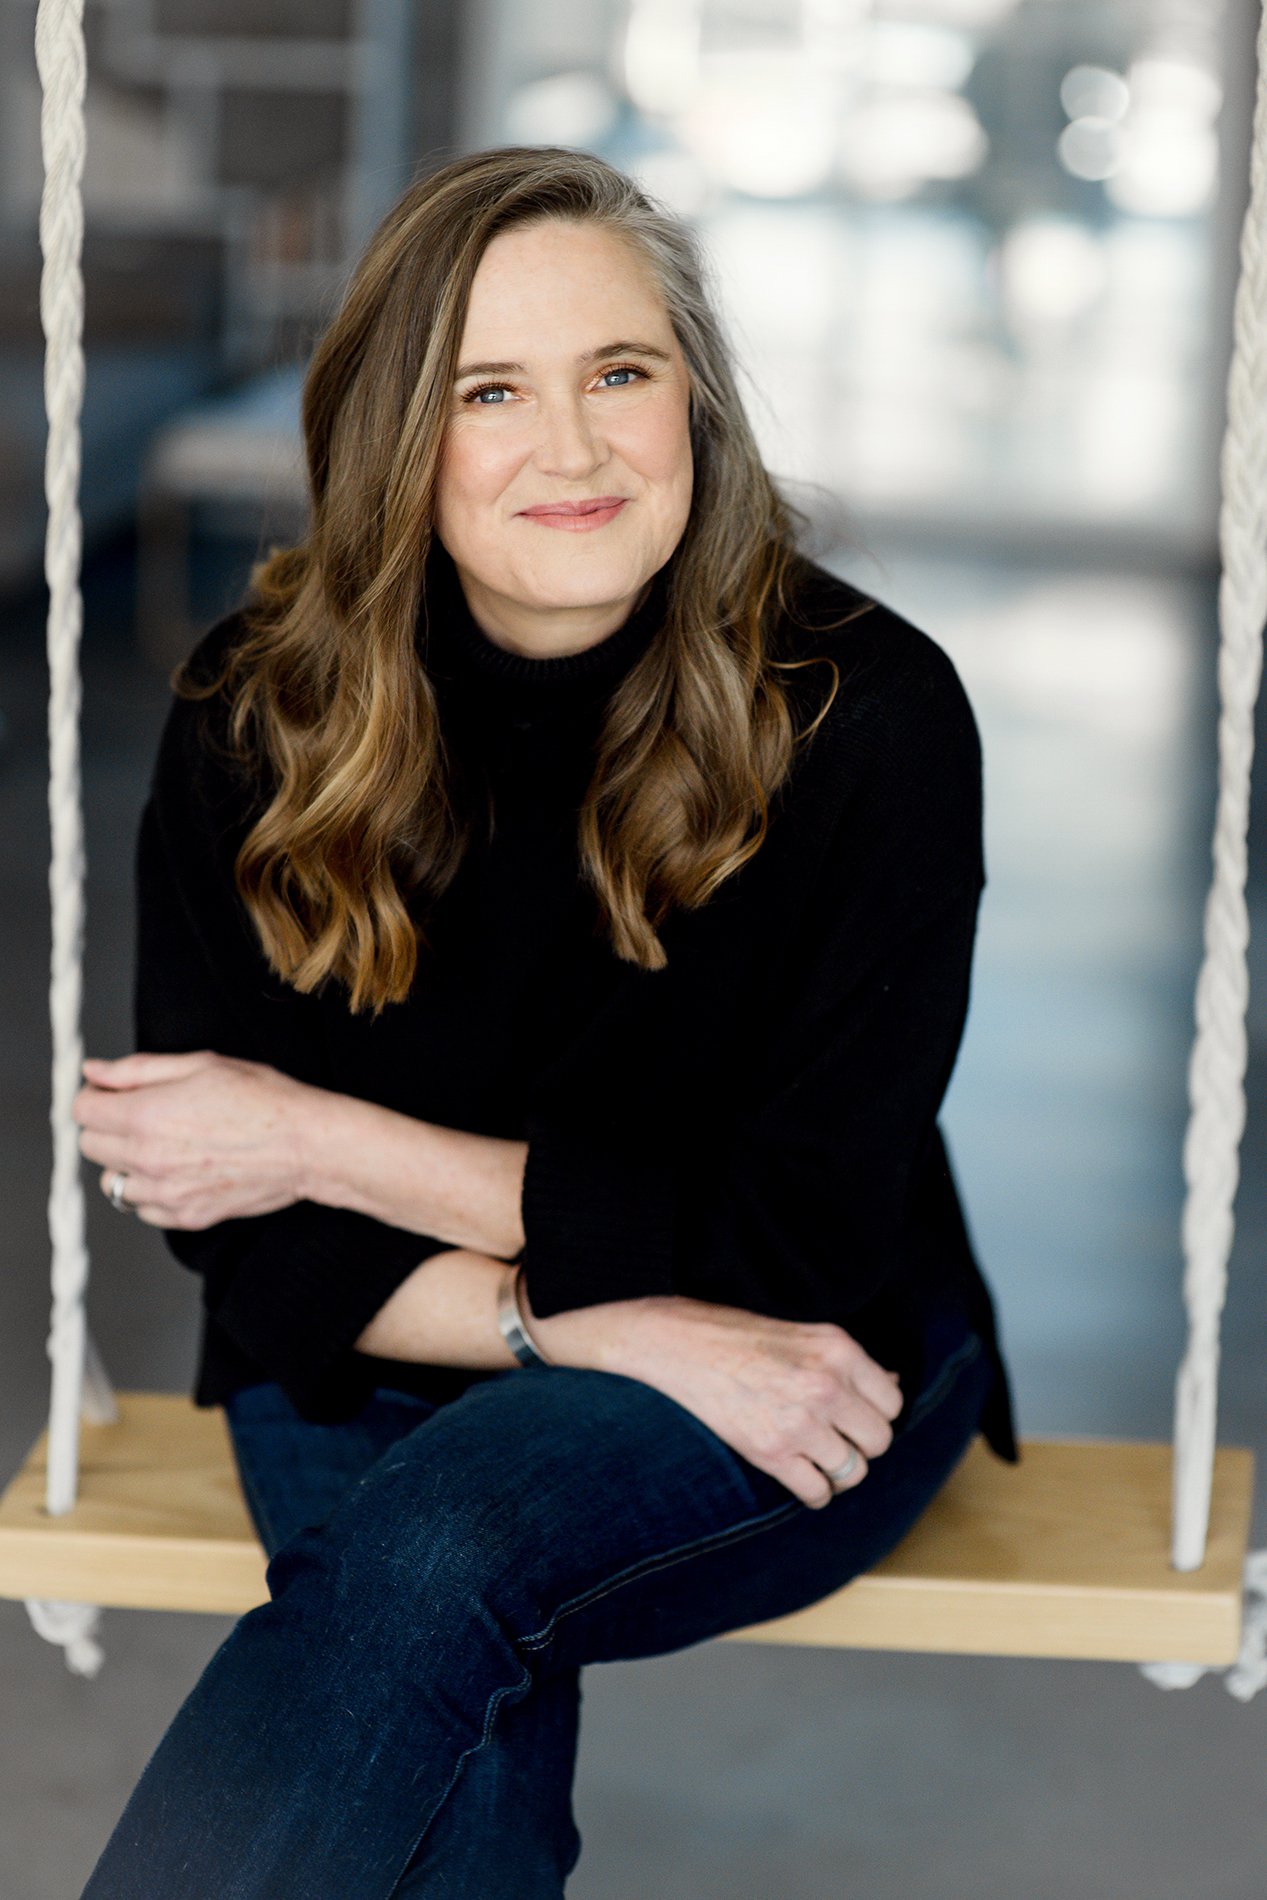
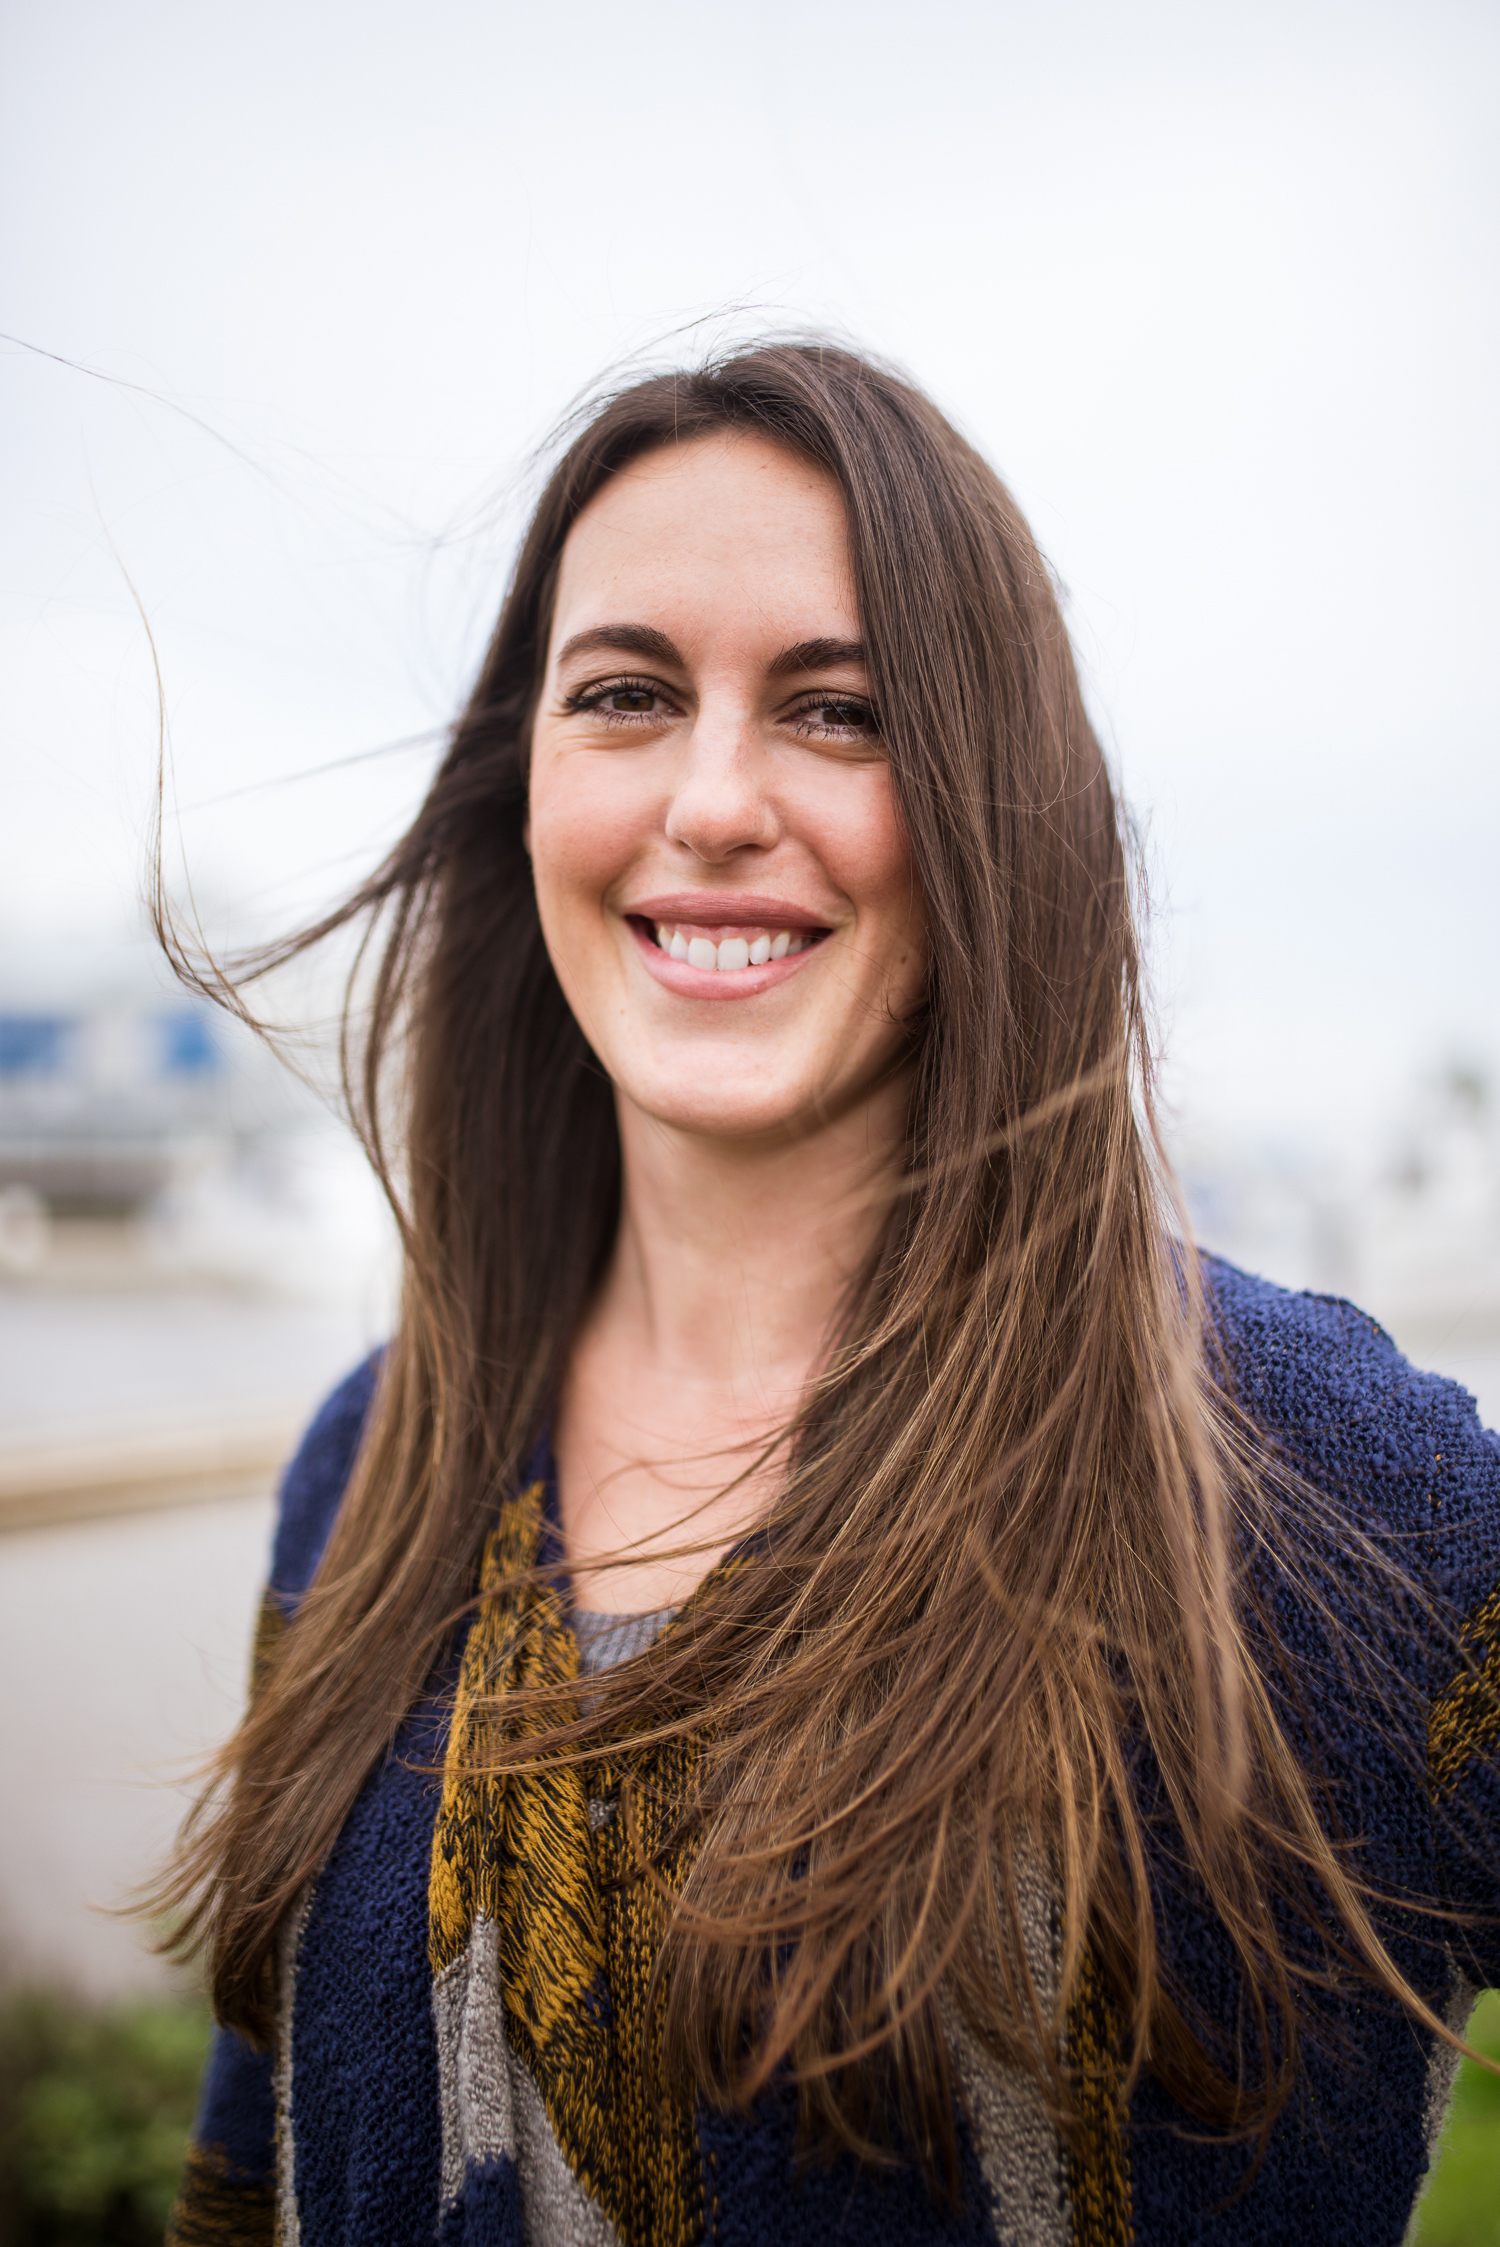
Polish your tresses. Your hair style is up to your preference, but do style it and use finishing spray to smooth away flyaway hairs. I also recommend a shine spray! This brings a lot more dimension and texture to your hair in the photos. My favorite is Headrush by Tiji Bed Head.
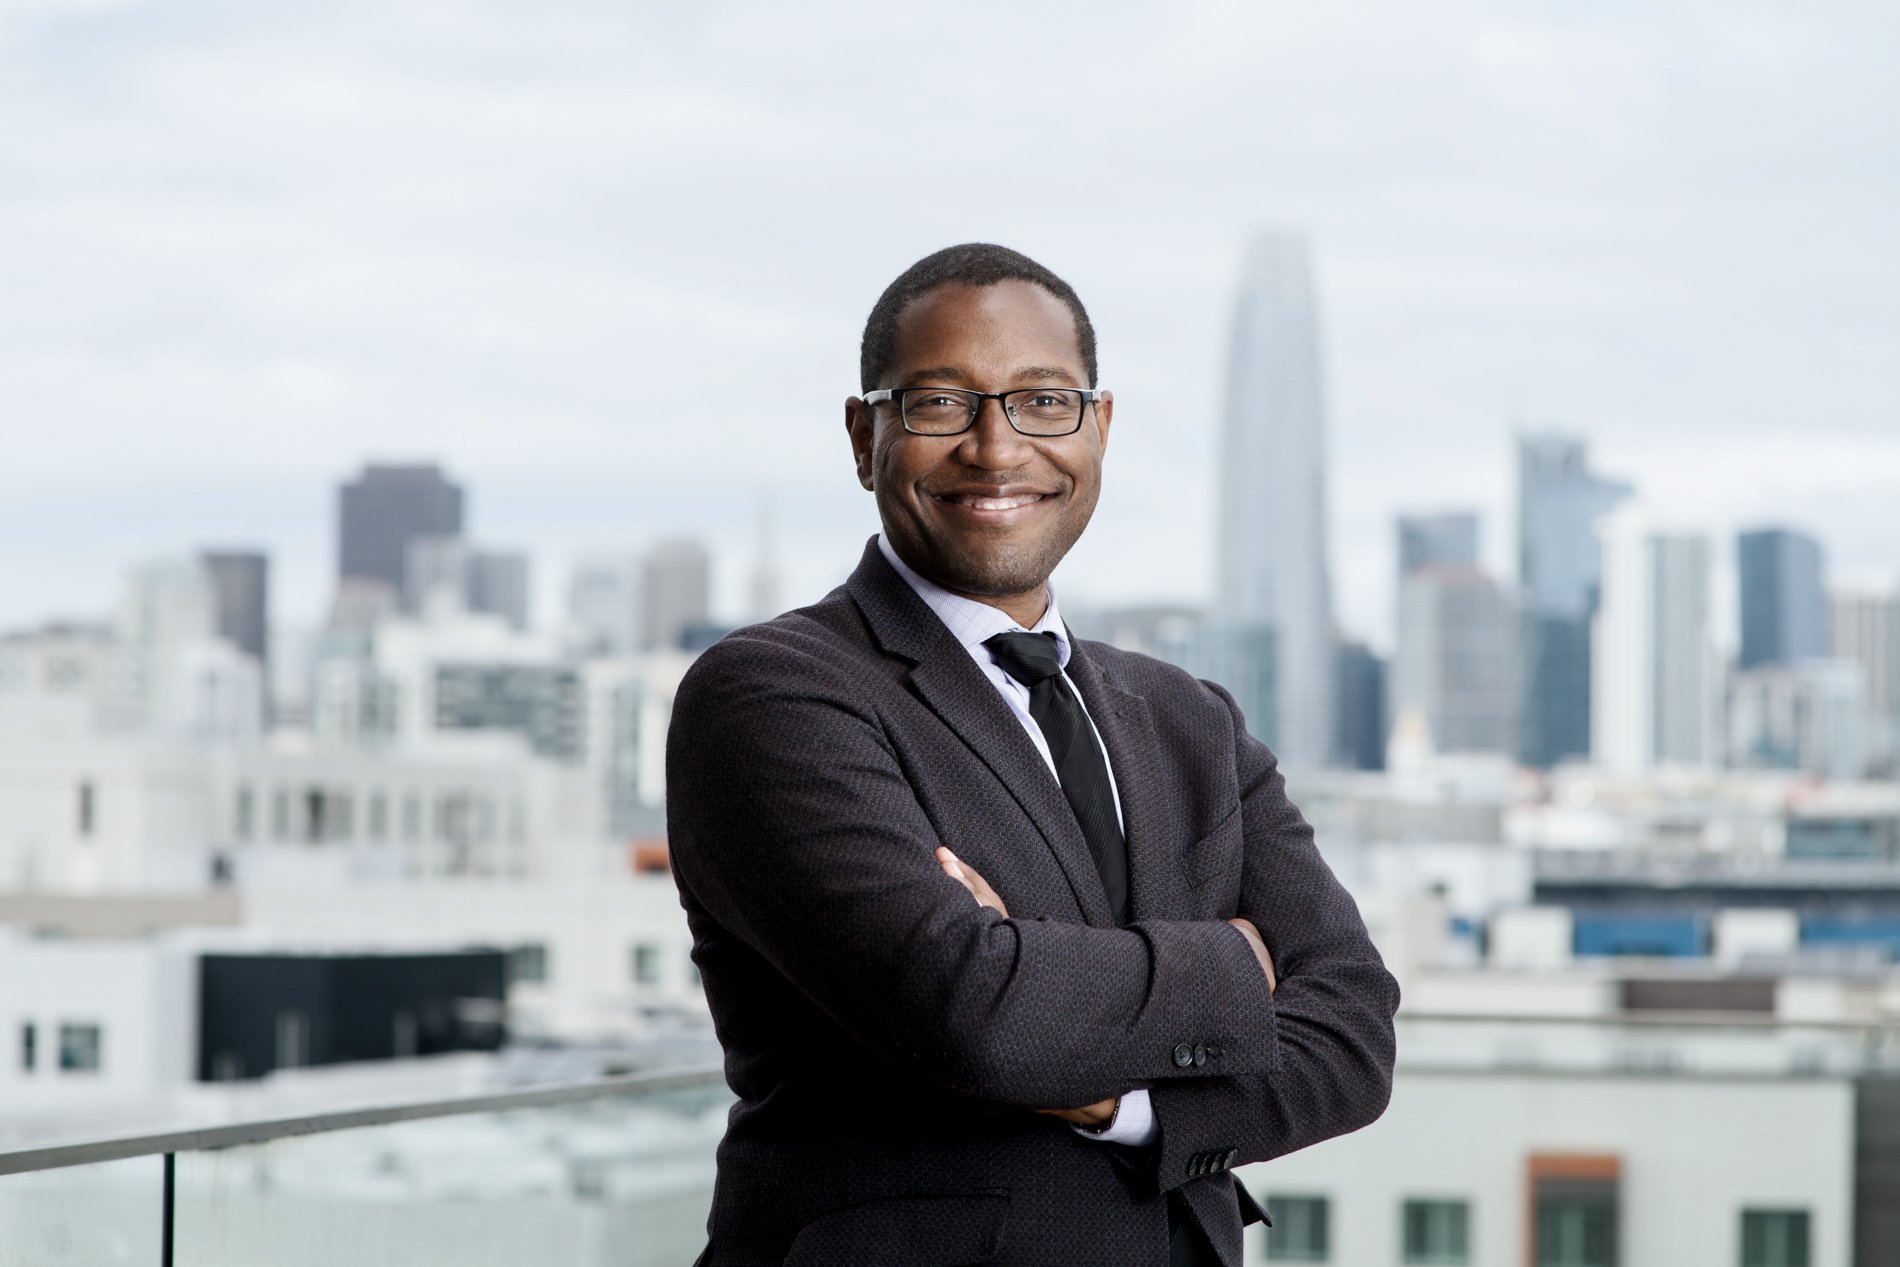
Communicate your needs. Share your old headshot photos with your photographer, along with what you like or don’t like about those photos. Let your photographer know what your goal is with the photos, and if there is a set way the image needs to be cropped or oriented (for example, actor headshots need to be vertical 8x10 photos, whereas some company websites will need a horizontal orientation and specific background to match their other photos). Express any concerns you have or things you want to avoid in the photos. Share your favorite photos from the photographer’s portfolio with them so they know the vibe you want.
Surrender to the process. Having prepared for your headshot and communicated your photo goals with your selected professional, try to relax and enjoy the session. Trust that they are doing their best to make you look your best, taking into consideration your end goal and preferences. Try not to fiddle around too much with your hair or outfit in between shots. Embrace the direction they give as an opportunity to get you to express more of yourself. Avoid rigidity and getting stuck in one position because you think it’s the best. What’s best is you looking natural and connected, and the best way to create the magic moment where everything comes together is to experiment and keep the energy flowing.
I hope this helps you get the most out of your headshot photography session! As always I’m available for in studio and on location headshots in the San Francisco Bay Area for entrepreneurs, models, actors, and companies large and small. My specialty is making people feel comfortable and look amazing. Check out my headshot gallery to see more!